Knowledge Base
Appy Pie : How to publish your iPhone app on app Store?
Priya Gautam
10 min readPublished on Feb 20 2020 | Last updated on Feb 20 2020
Follow below mentioned steps to publish your app on Apple App Store/iTunes Connect:
Step 1. Download your .ipa file
- Download .CSR file from My Apps >> Go Live >> iphone_Publish >>Publish Yourself>>Next>> Download .CSR file
Please follow below mentioned steps to download your .ipa file
Part 1-A: Create your Distribution Certificate
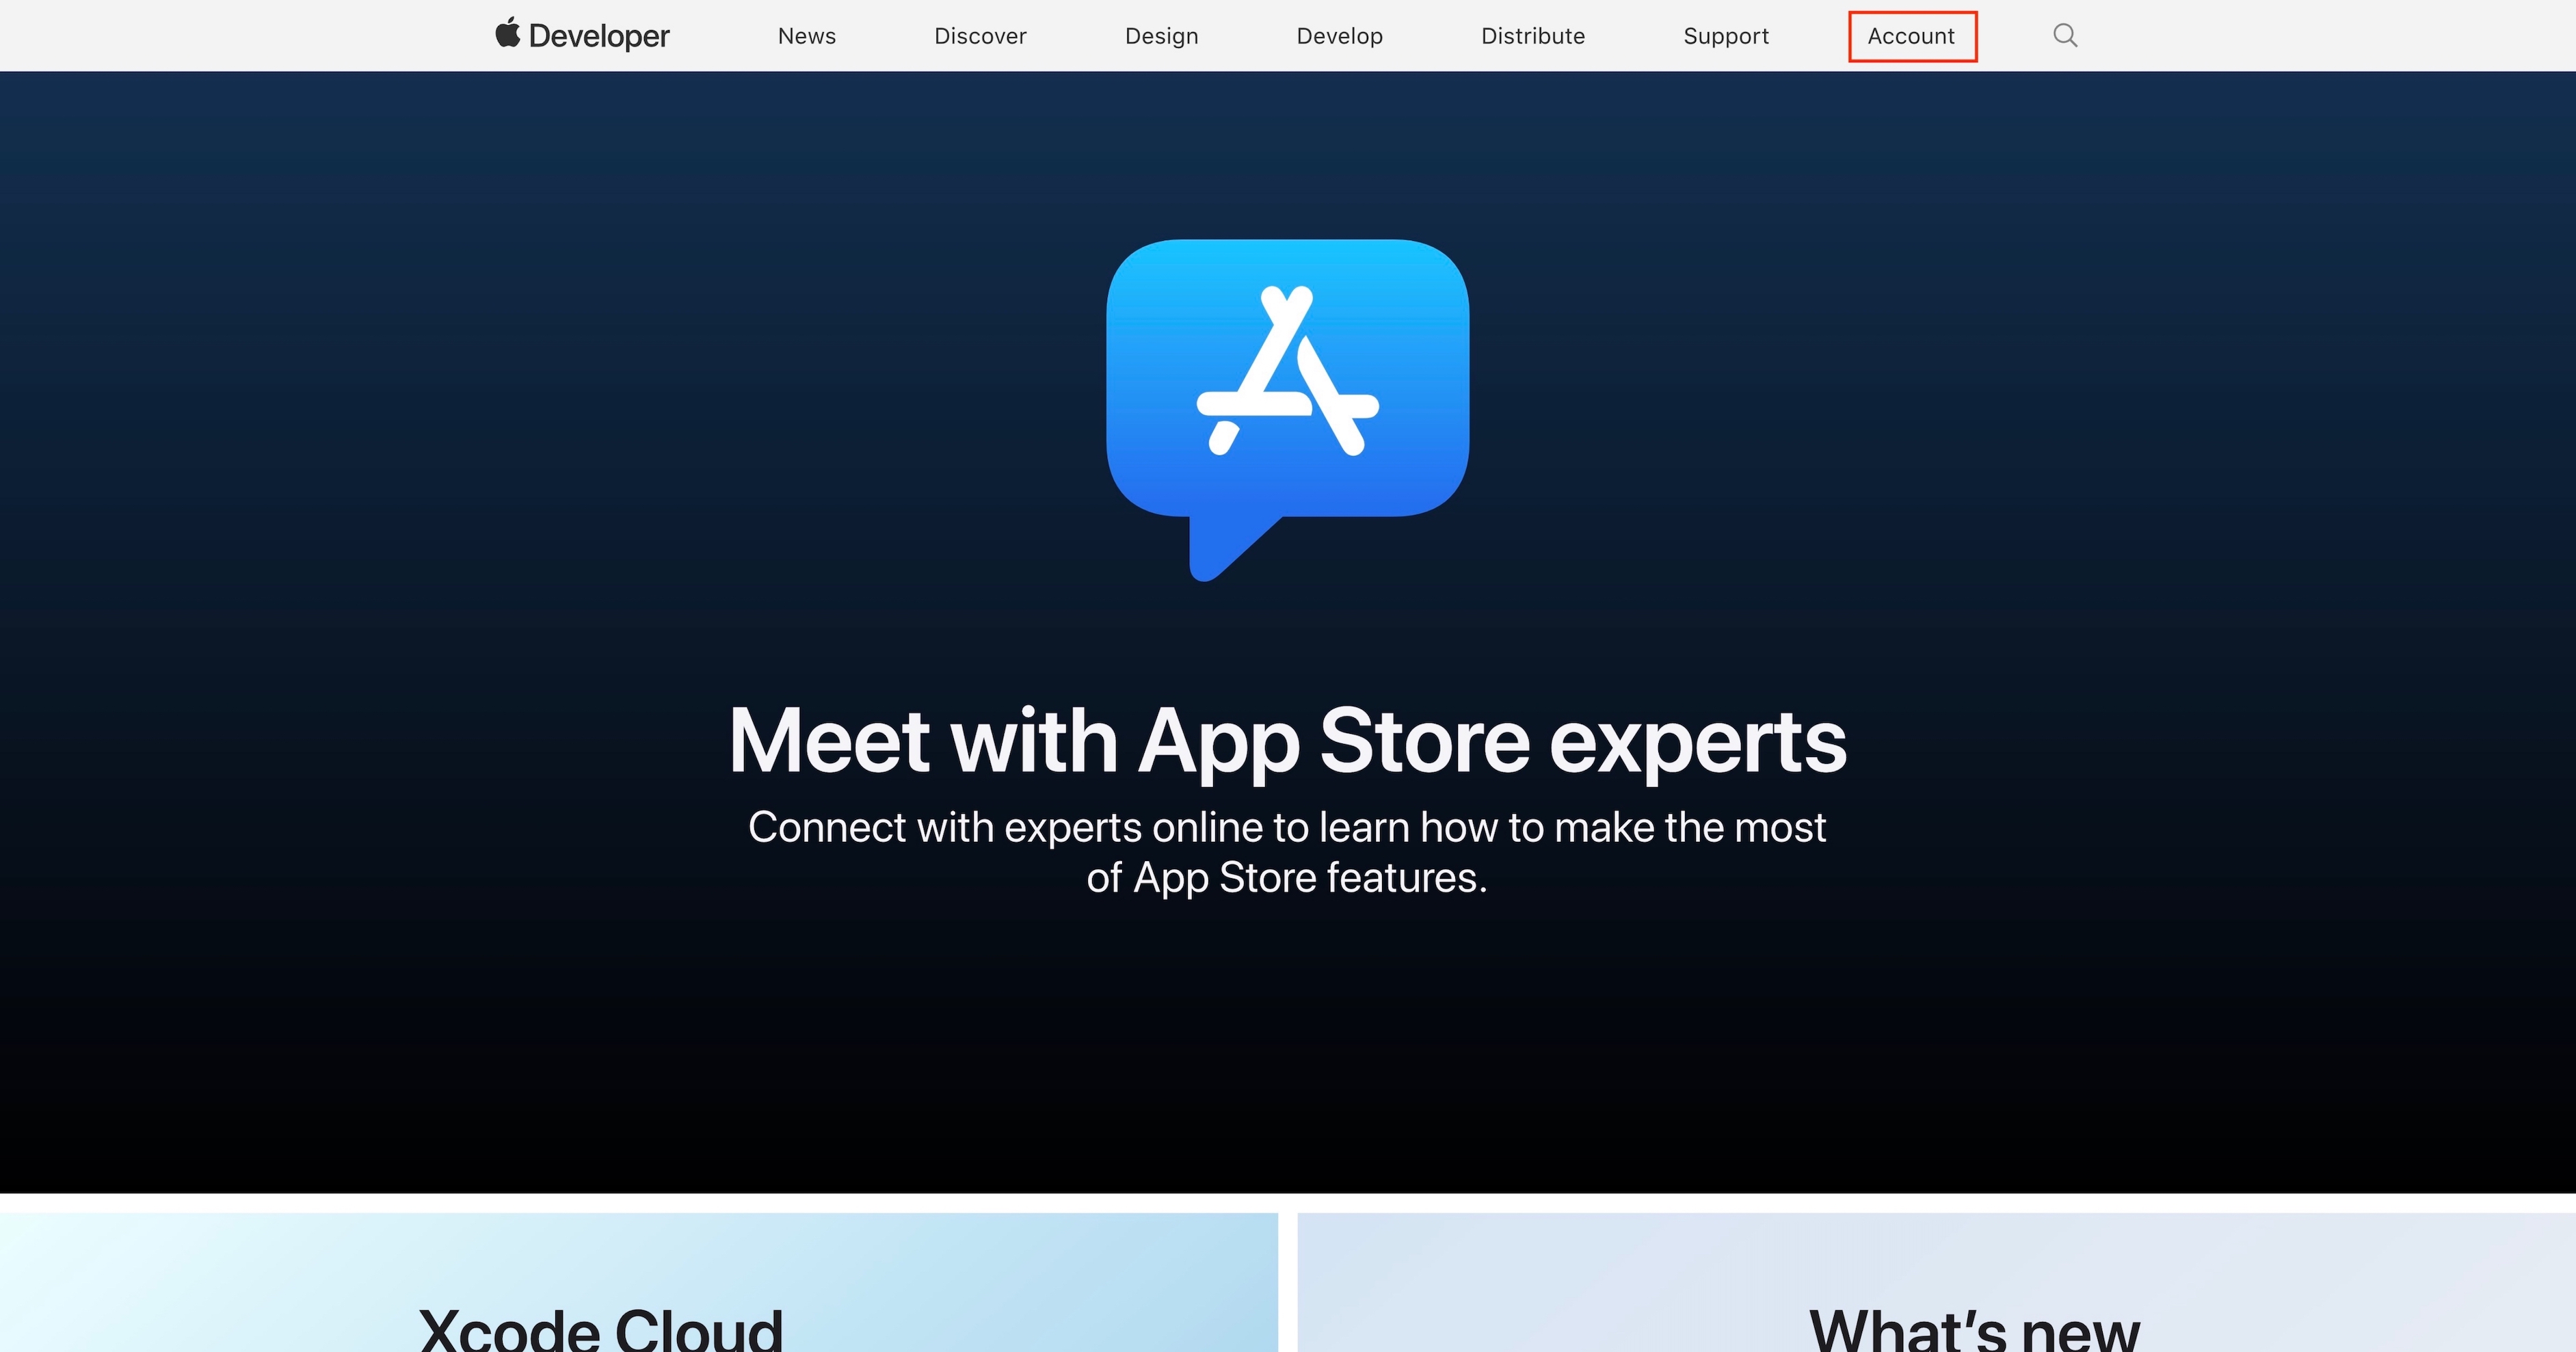
Step 1 : Go to Apple Developer
Step 2. Click on Account
Step 3. If you have an Apple Developer account, enter your credentials and login, or create an account by clicking on Create yours now.

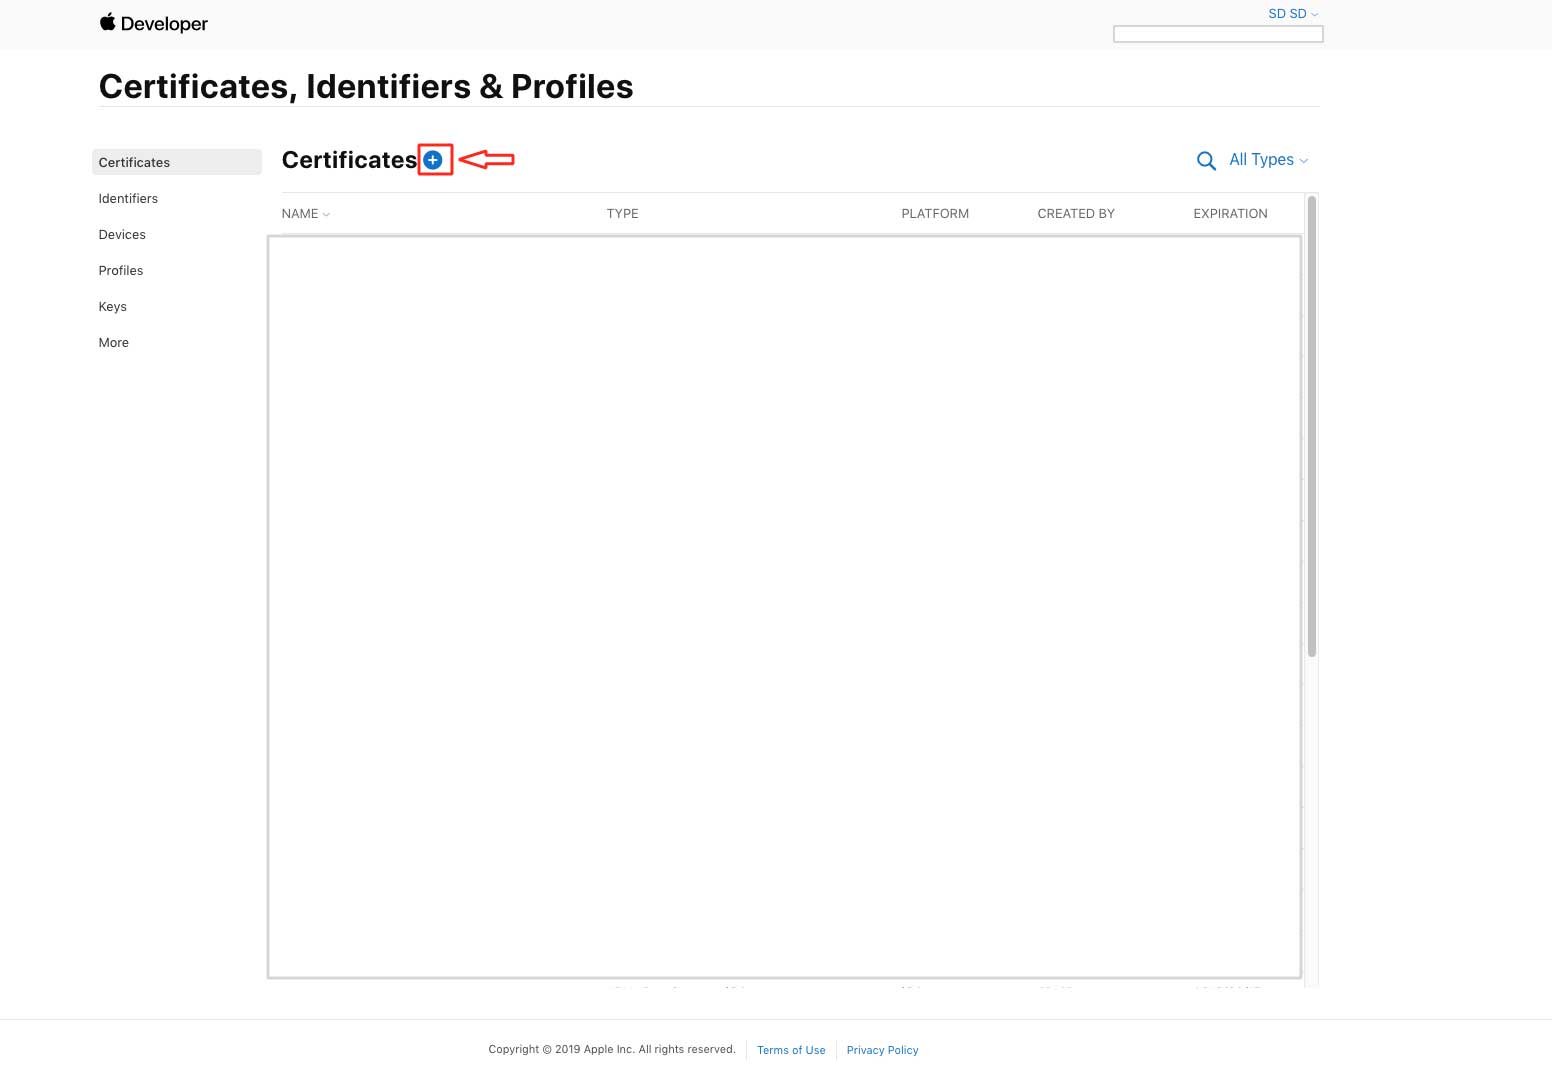
Step 4. Under Certificates, Identifiers & Profiles click on Certificates.
Step 5. Click on ‘+’ icon in front of Certificates
Step 6. Select iOS Distribution (App Store and Ad Hoc) option under Software
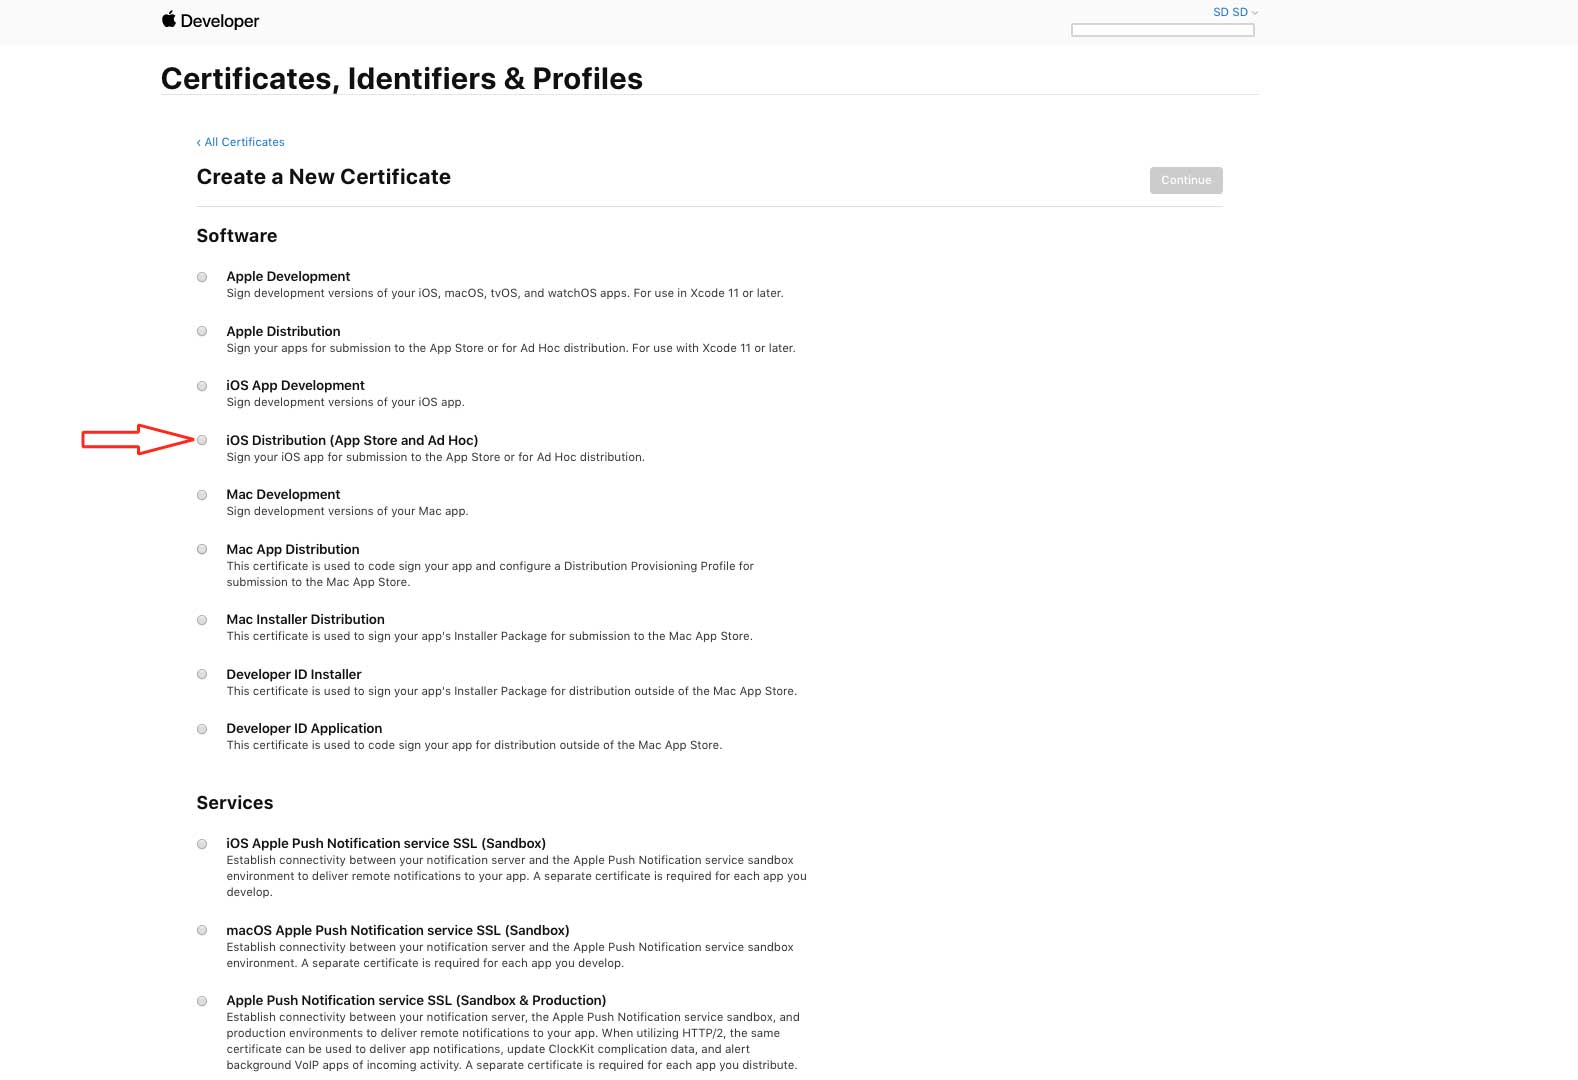
Step 7. Once selected, click on Continue

Step 8. Upload .CSR certificate

Step 9. Click on Continue to finish creating Distribution Certificate

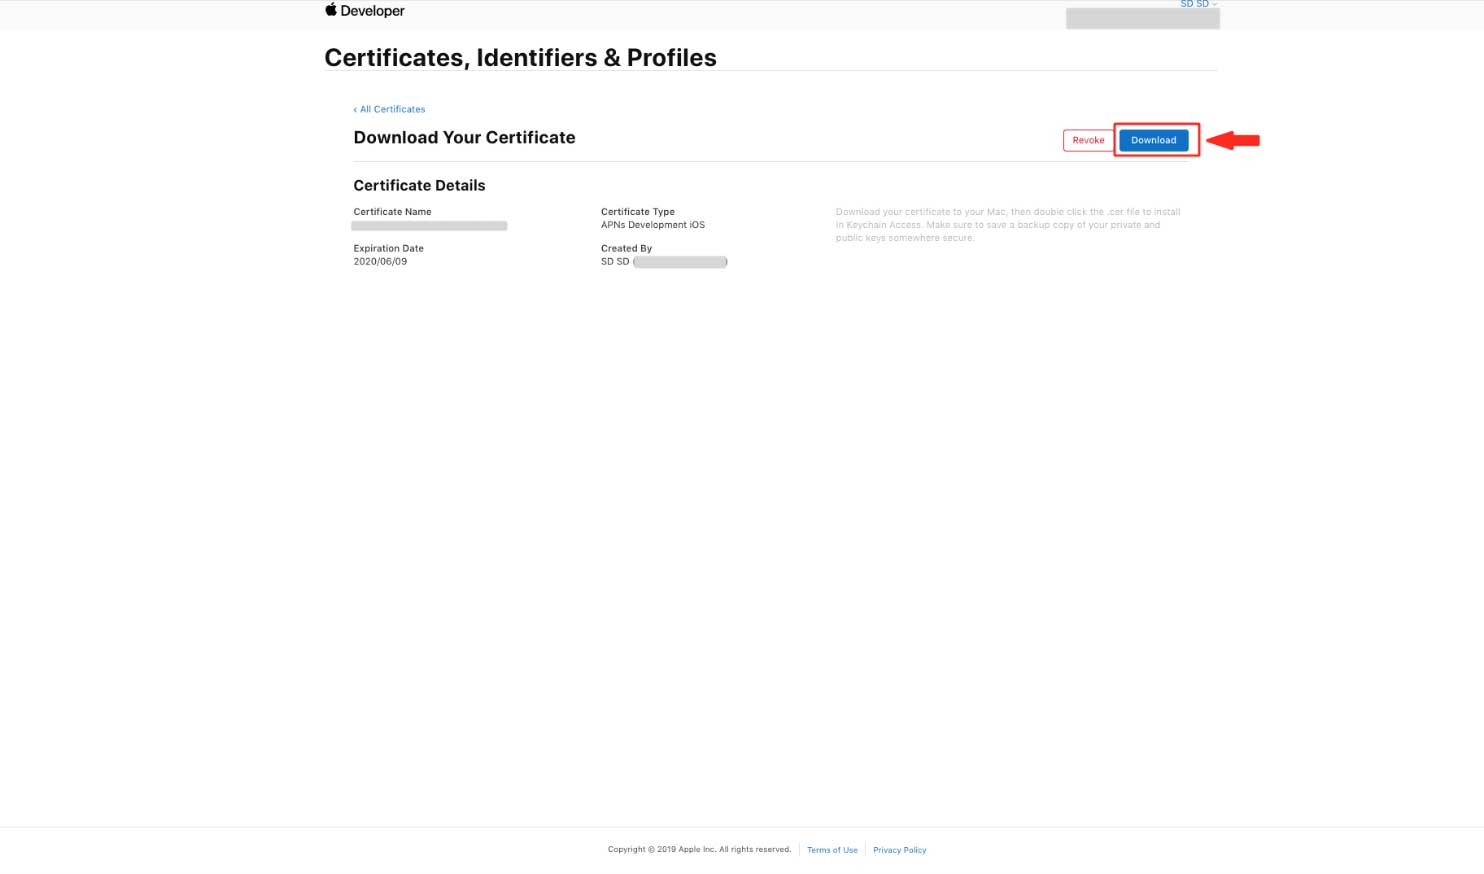
Step 10. Click on Download

Part 1-B: Create Bundle ID
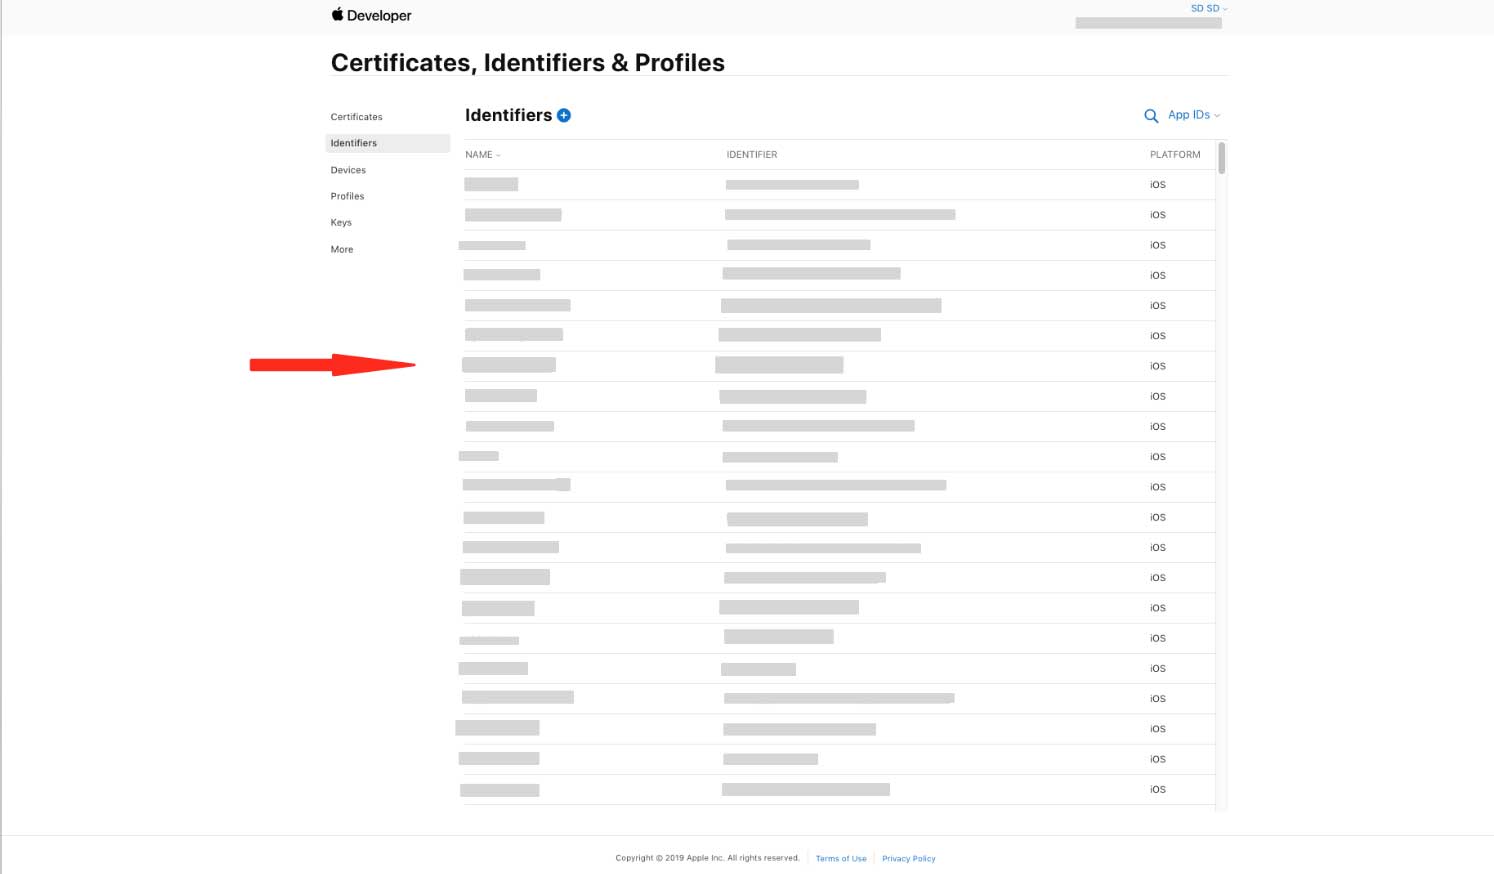
Step 1. Go to Identifiers.

Step 2. Click on the ‘+’ icon next to Identifiers.

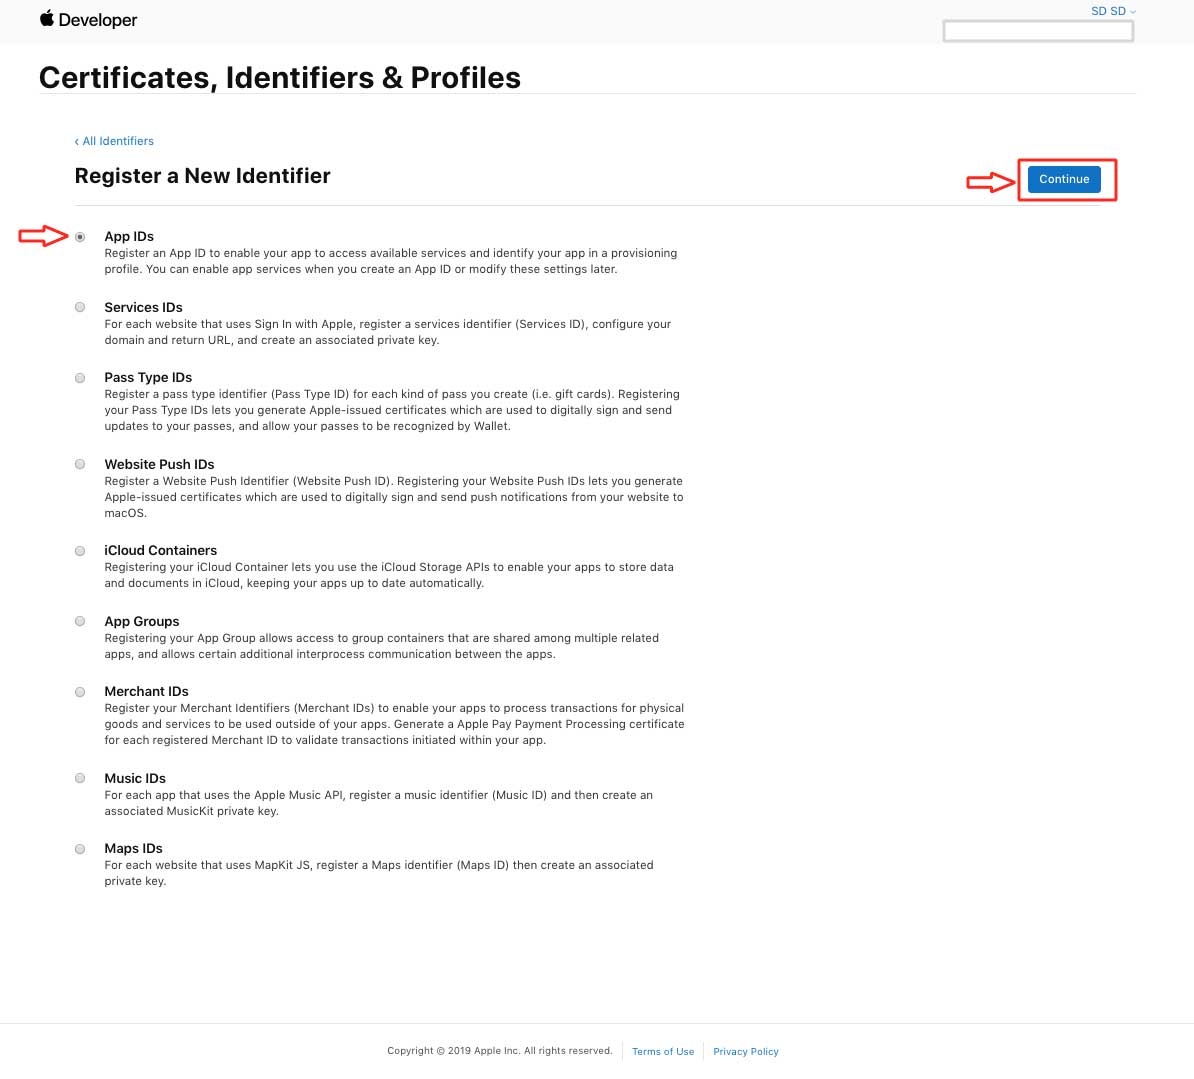
Step 3. Select App IDs option under Register a New Identifier and click on Continue
Step 4. Enter app name in Description field. Under Bundle ID, enter Bundle Identifier (For example - com.YourAppName.YourAppName).
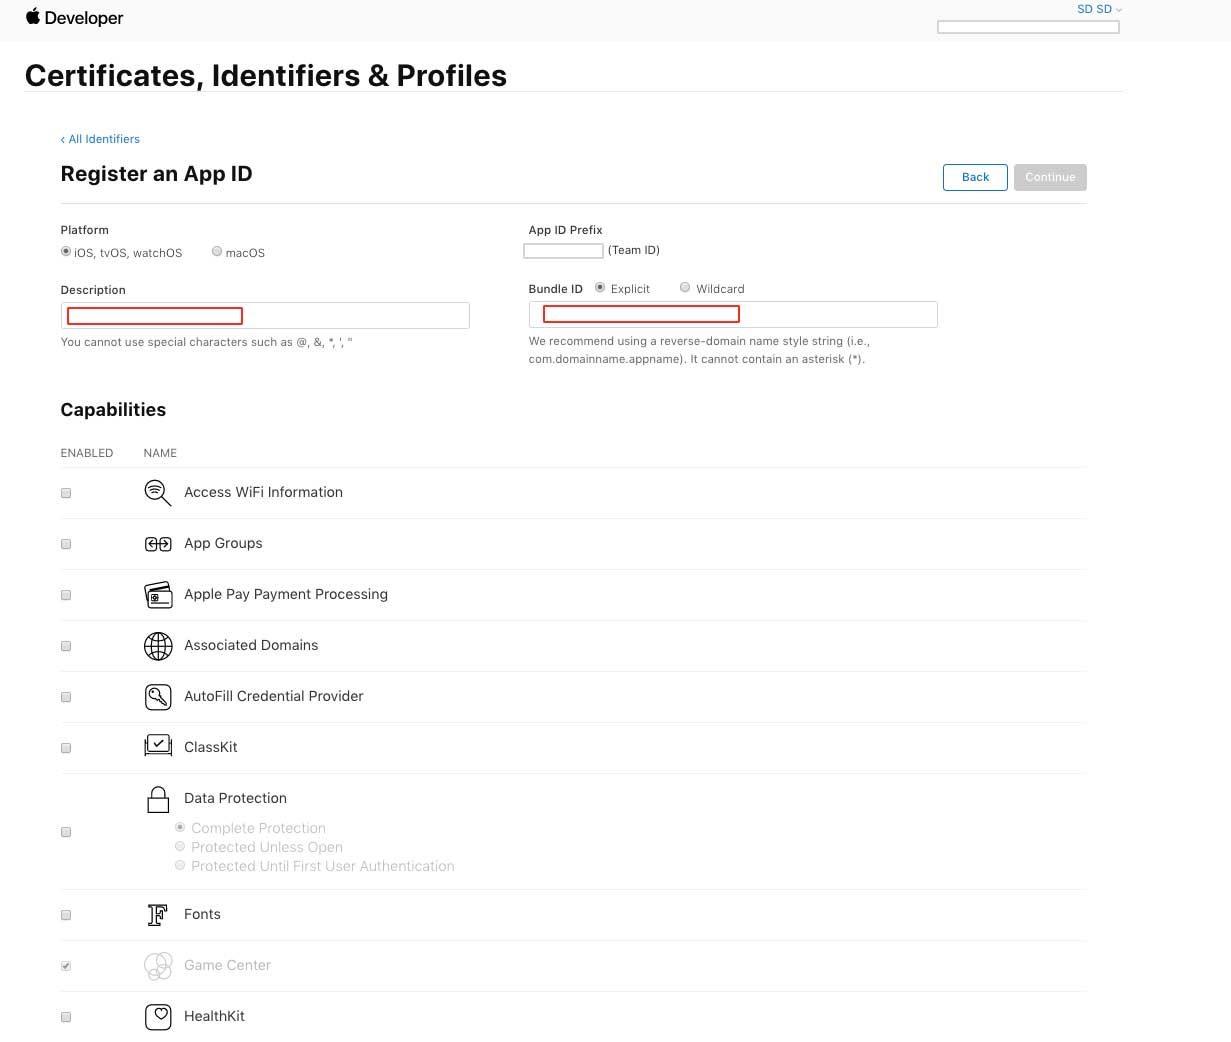
Step 5. Click on Continue.
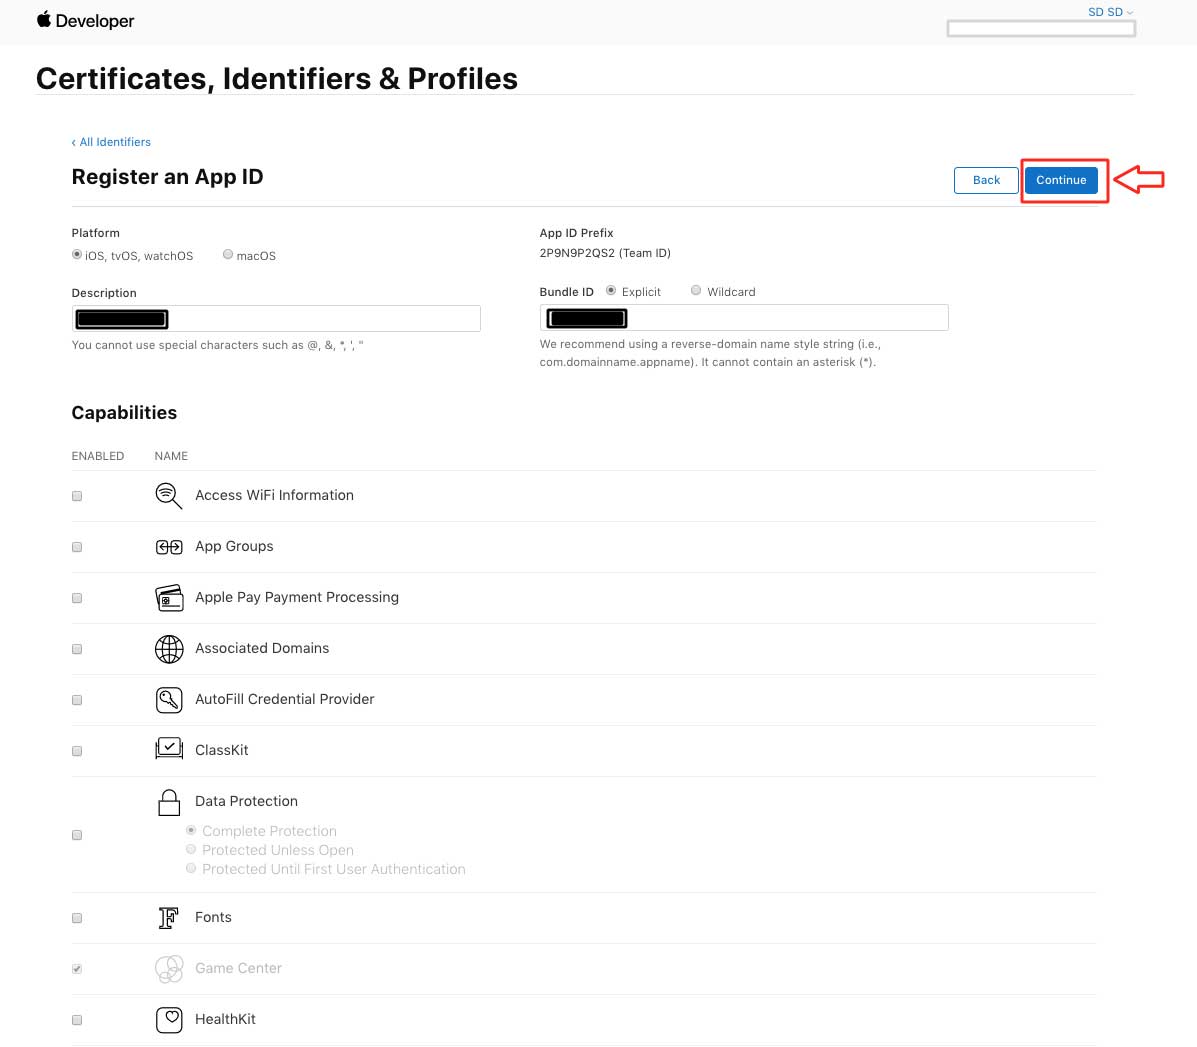
Step 6. Click on Register.

Part 1-C: To insert APNs Certificate
Step 1. In Identifiers section, select the App ID that you want to submit.
Step 2. Click on Configure option in front of Push Notifications.

Step 3. Now you need to create Development and Production SSL Certificates. Click on Create Certificate.

Step 4. Click on Choose File to upload .CSR file.

Step 5. Once uploaded, click on Continue.
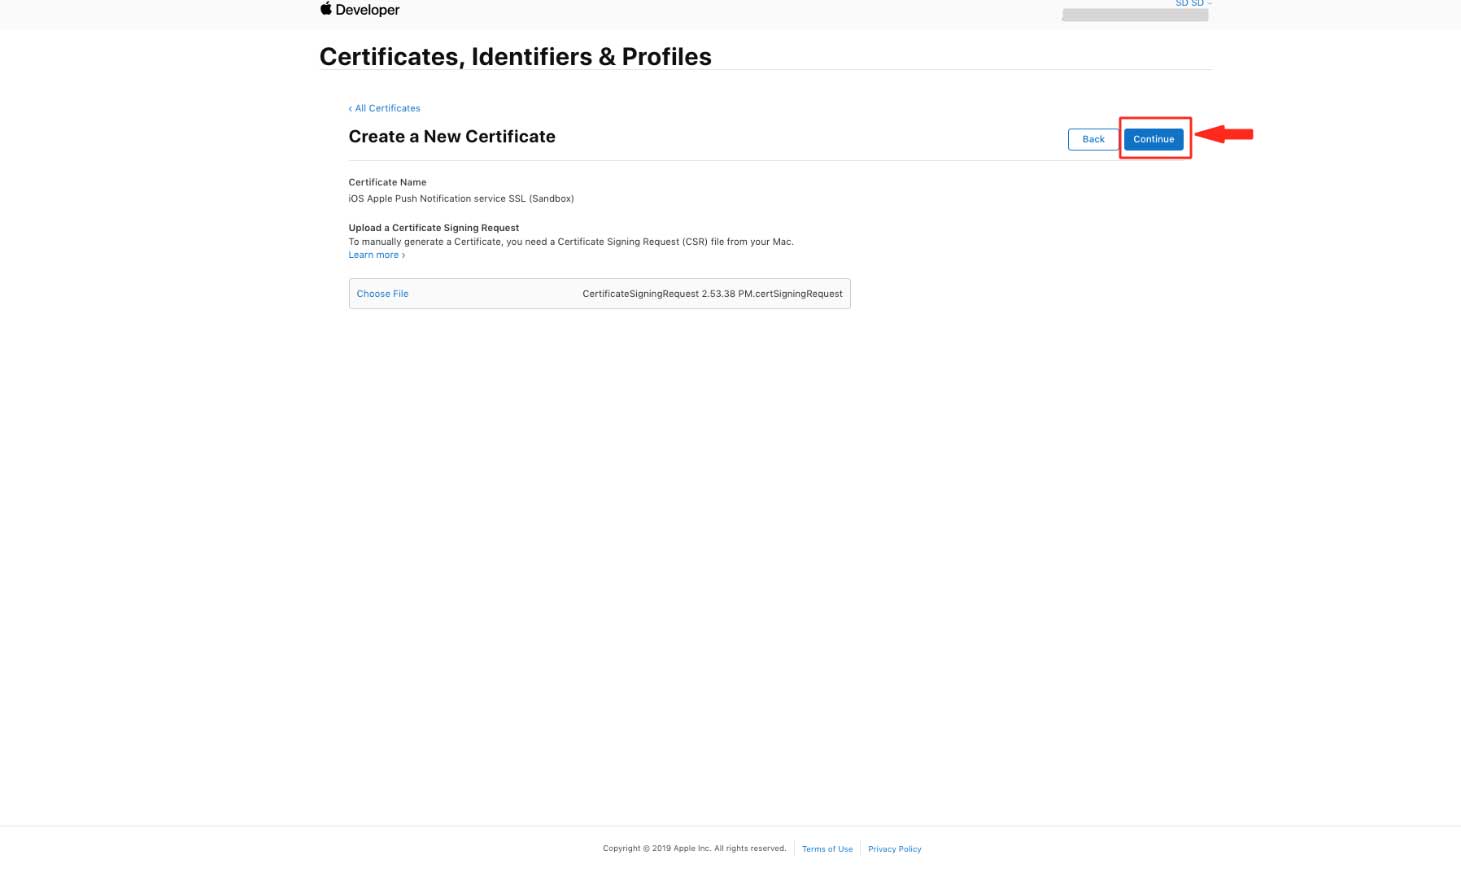
Step 6. Click on Download.
Part 1-D: Create a distribution provisioning profile
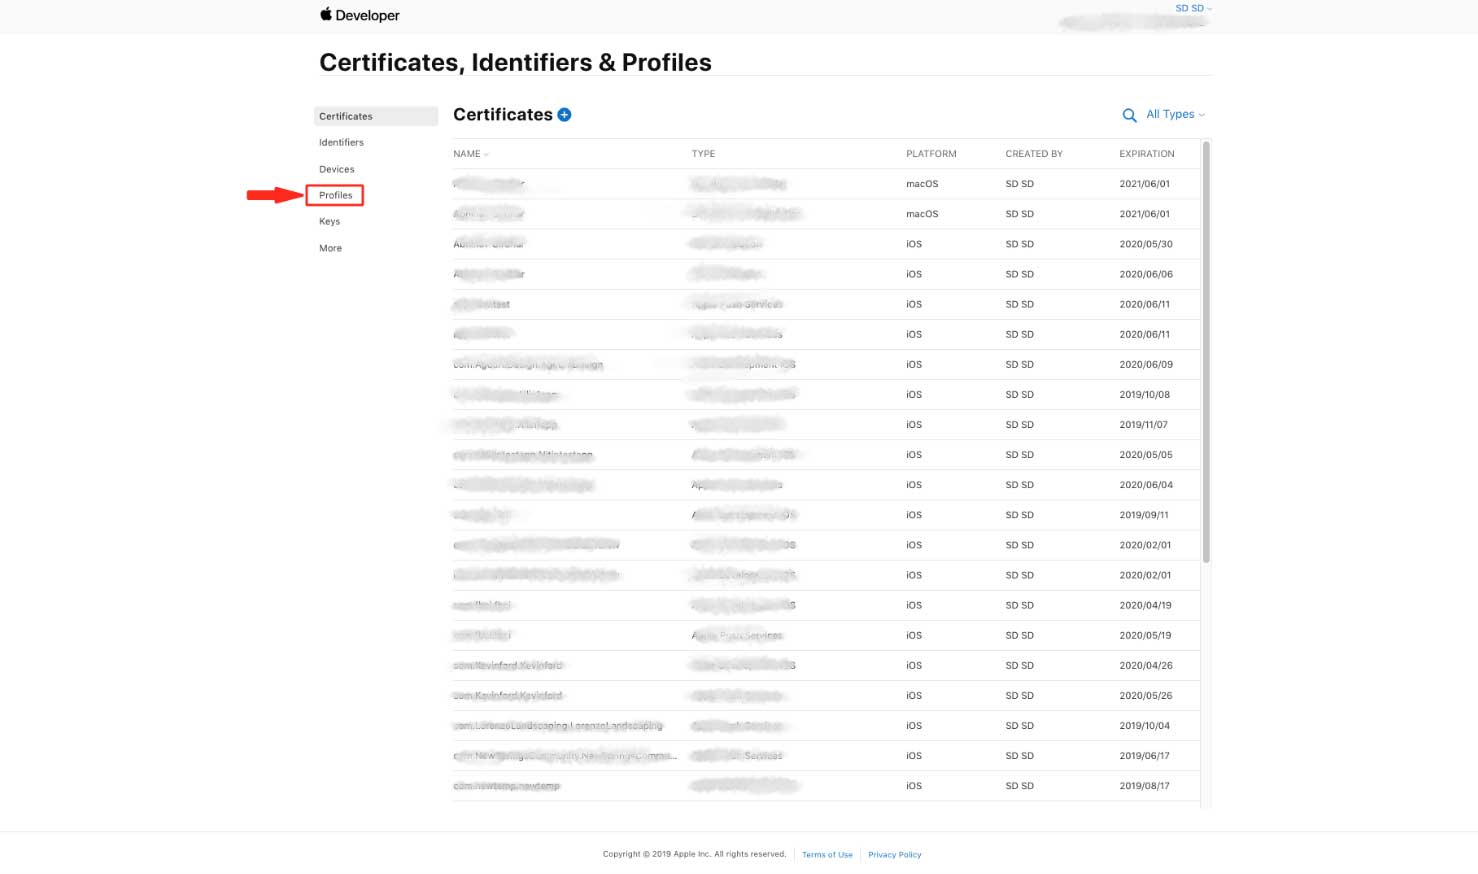
Step 1. Go to Profiles.
Step 2. Open All Types dropdown menu.

Step 3. Select Distribution.

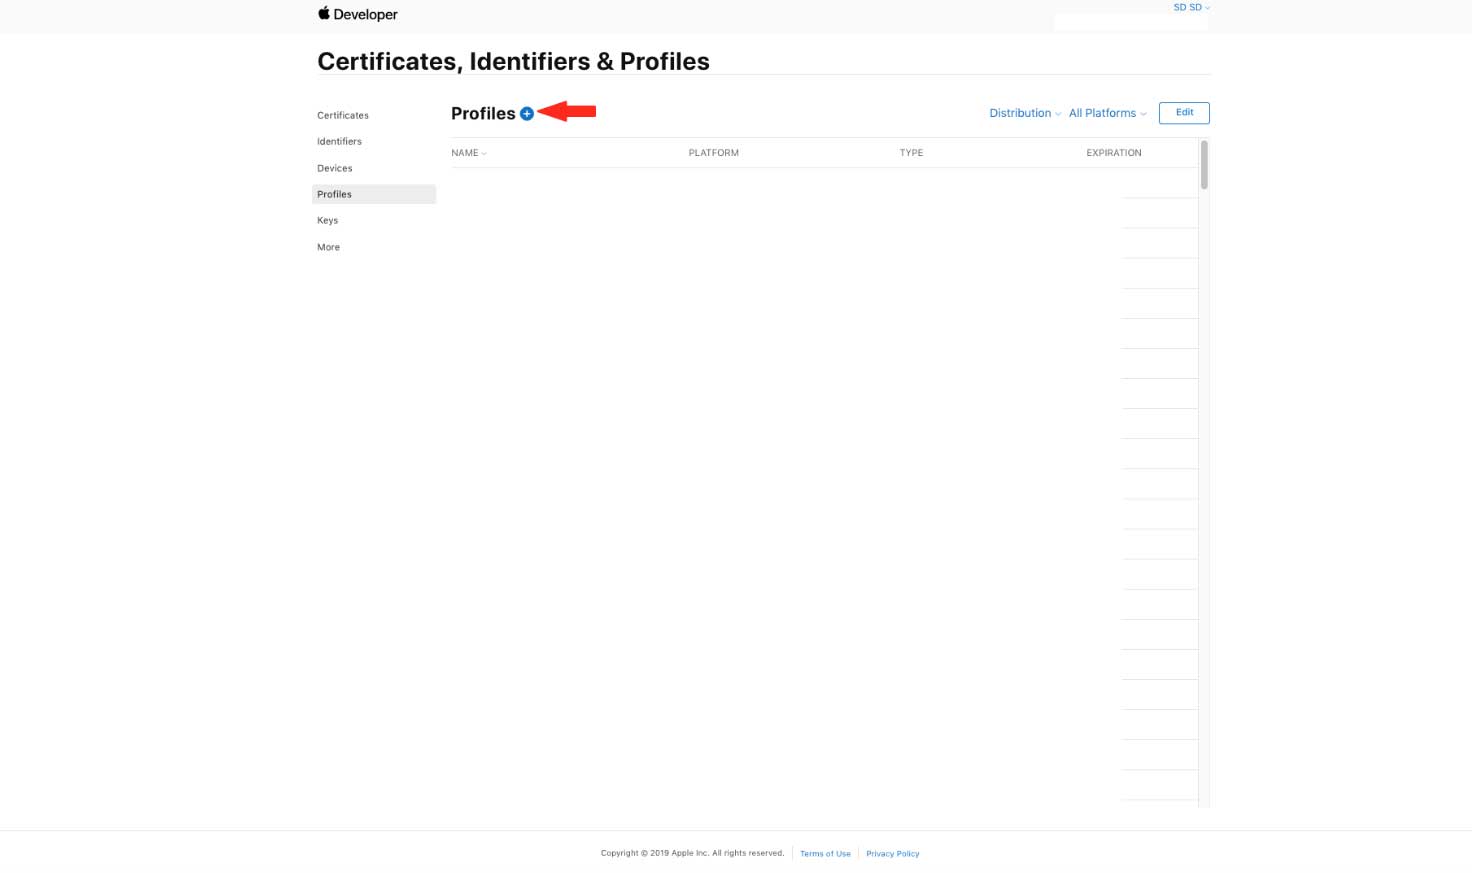
Step 4. Click on ‘+’ icon in front of Profiles.
Step 5. Select App Store option under Distribution.
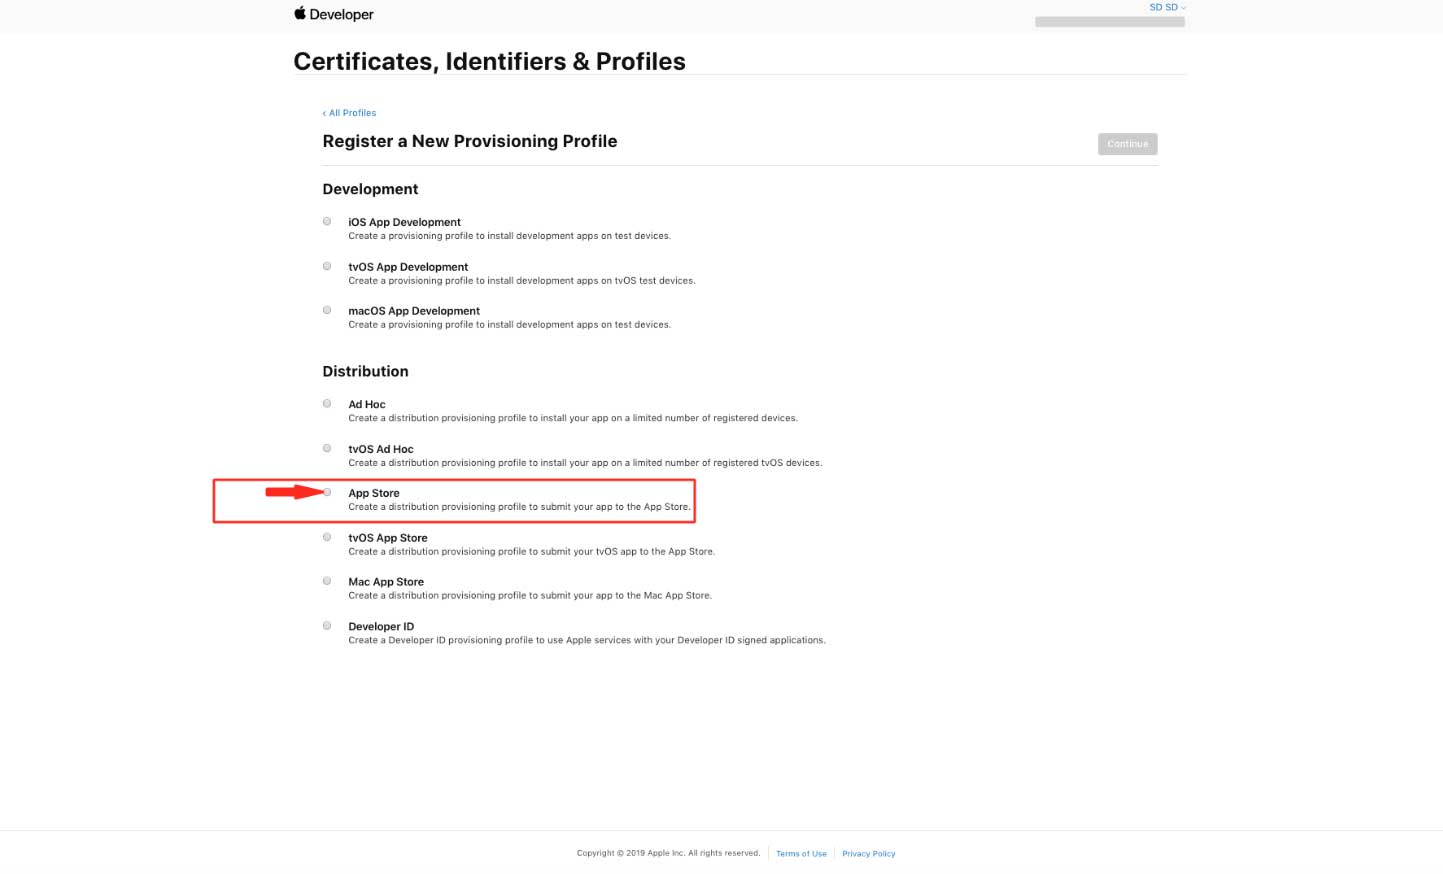
Step 6. Once selected, click on Continue.

Step 7. Open App ID dropdown menu.

Step 8. Select the App ID that you want to publish.
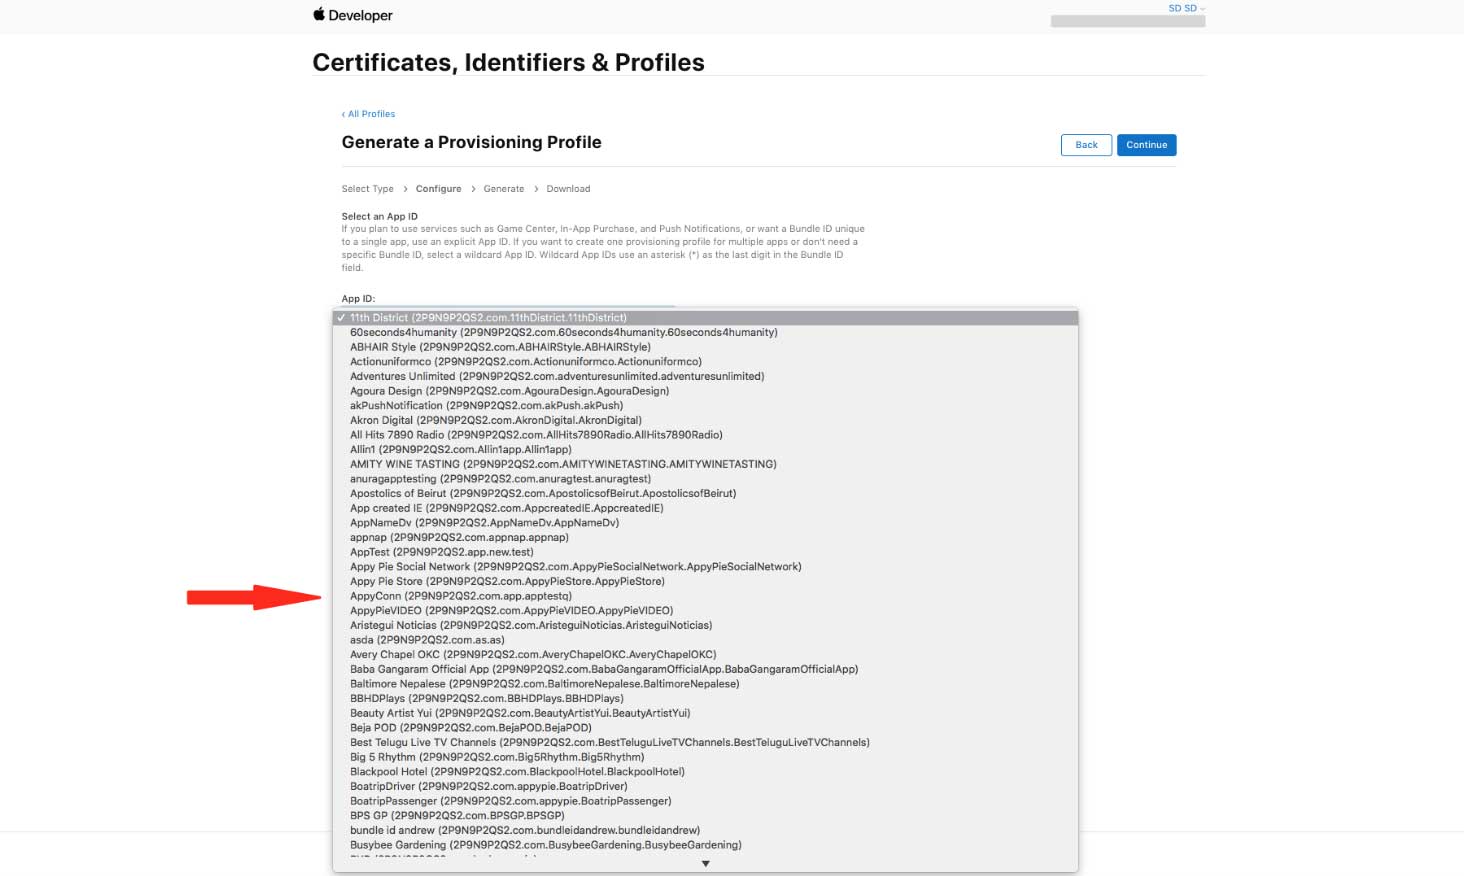
Step 9. Once selected, click on Continue.

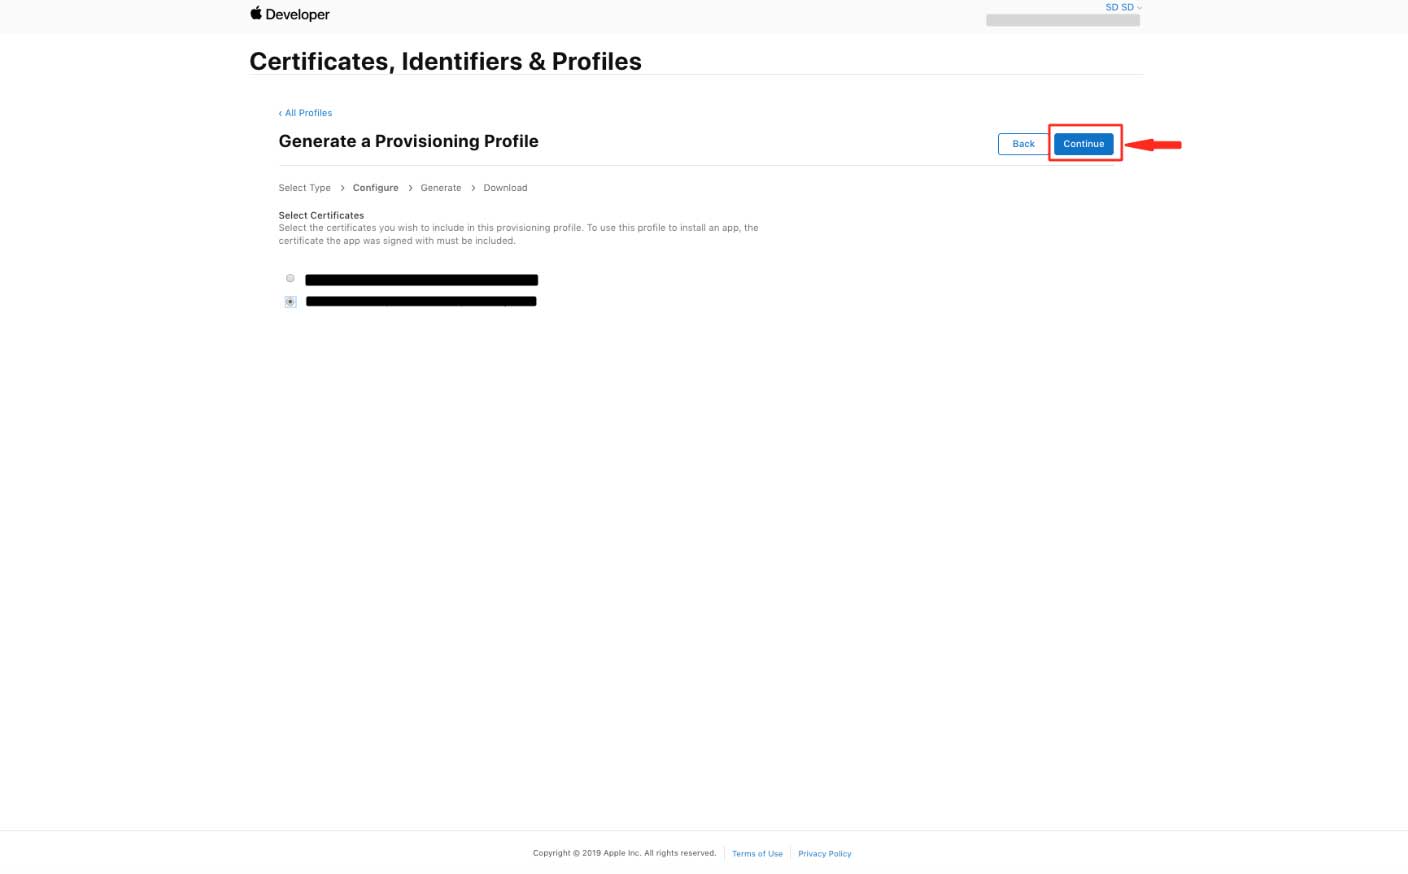
Step 10. Select the Certificate.
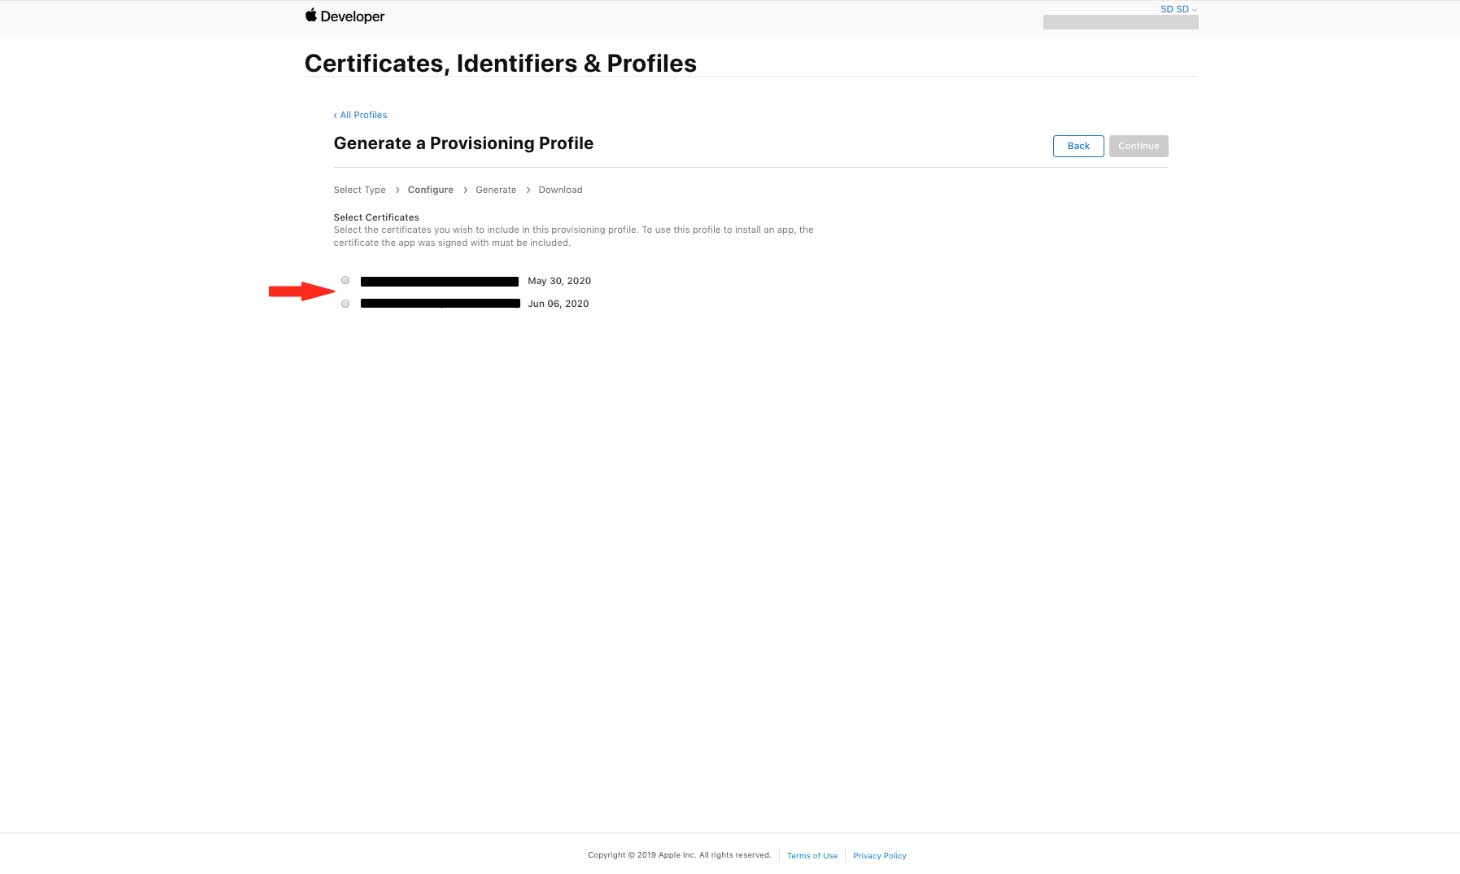
Step 11. Once selected, click on Continue.
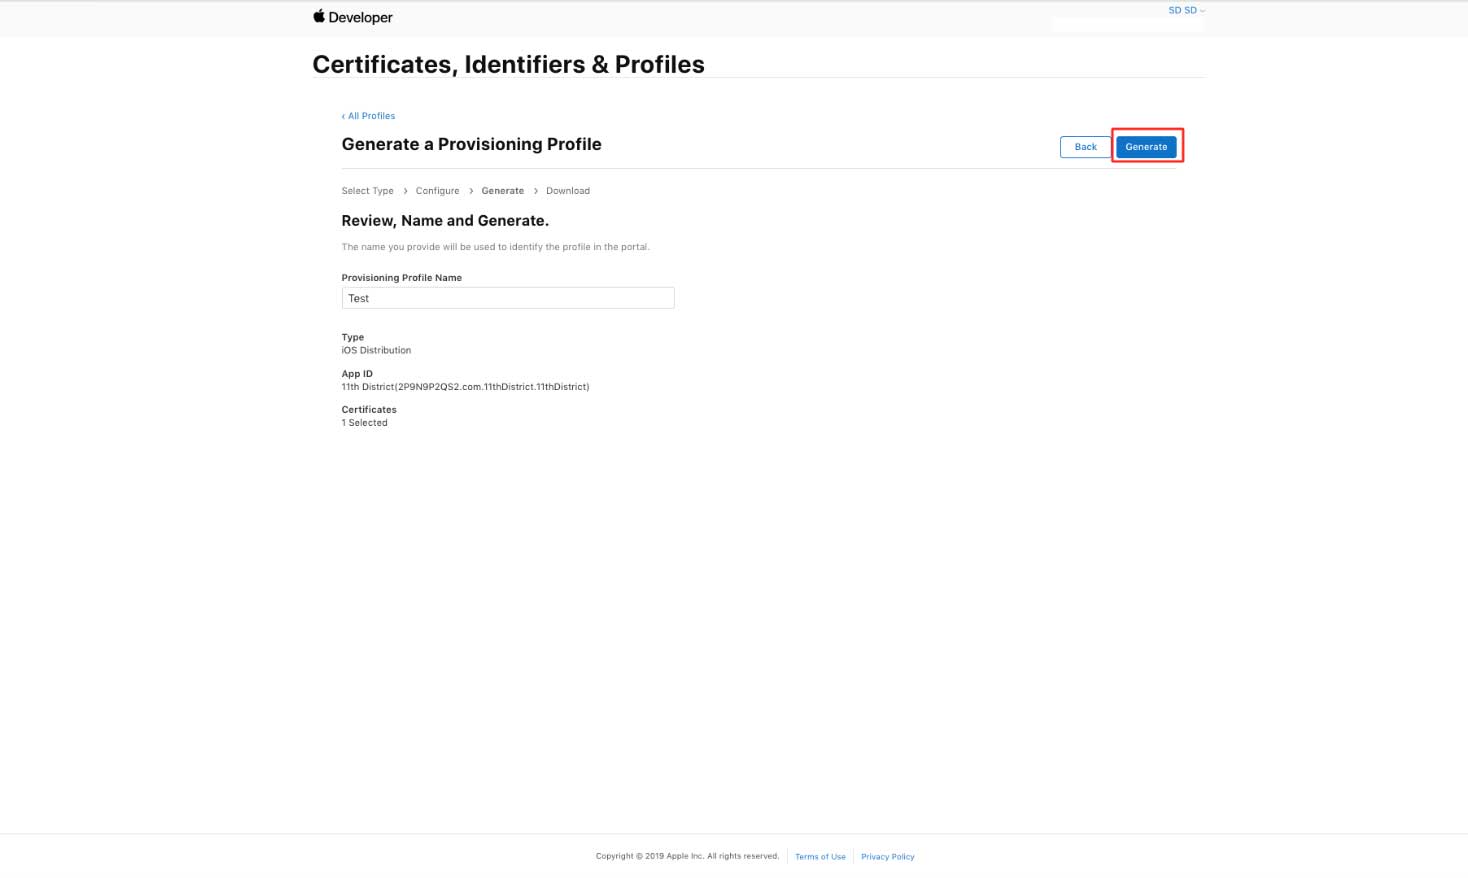
Step 12. Enter Provisioning Profile Name.
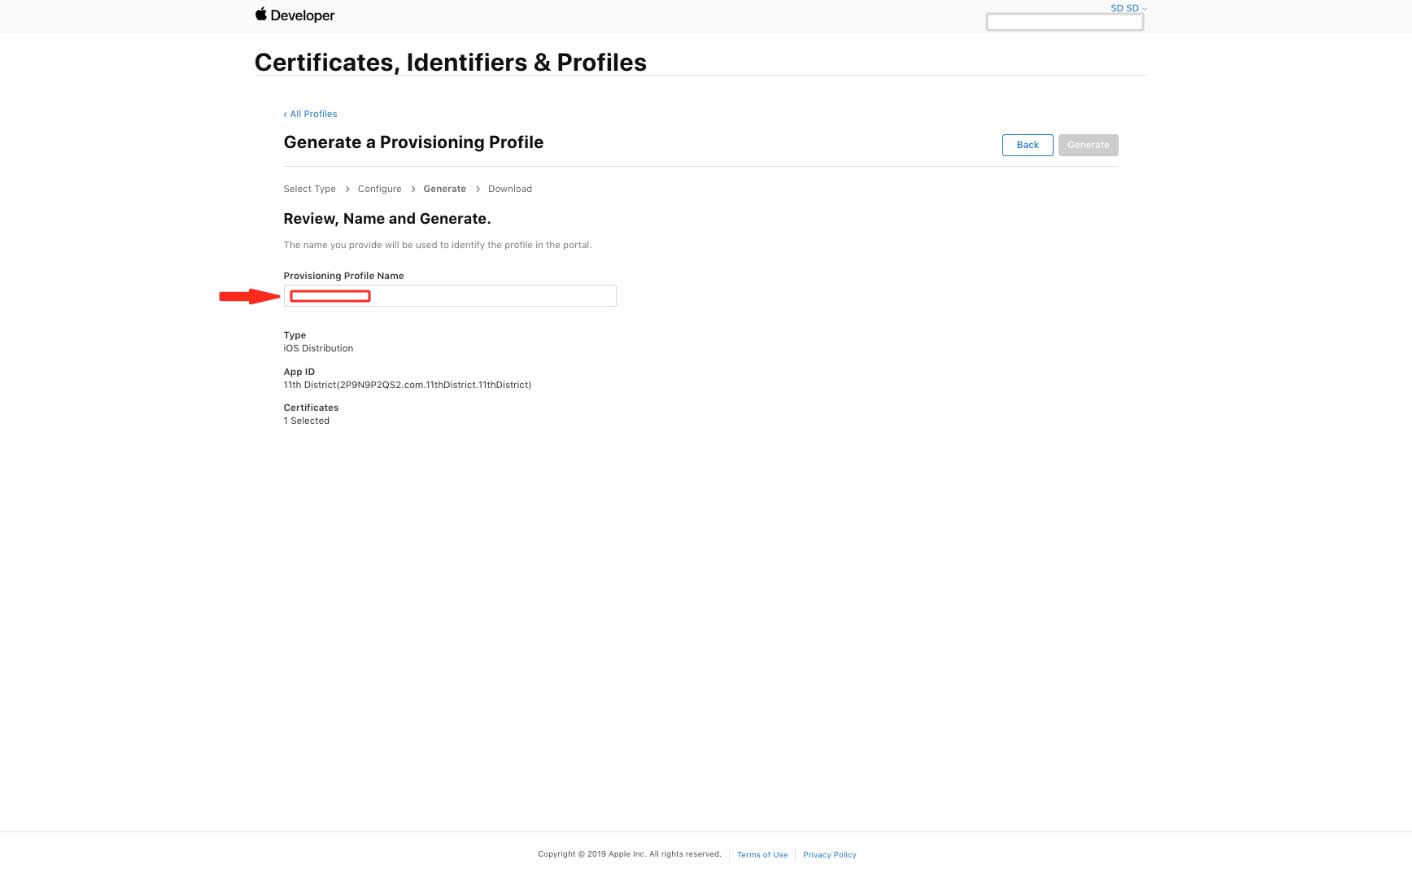
Step 13. Click on Generate.
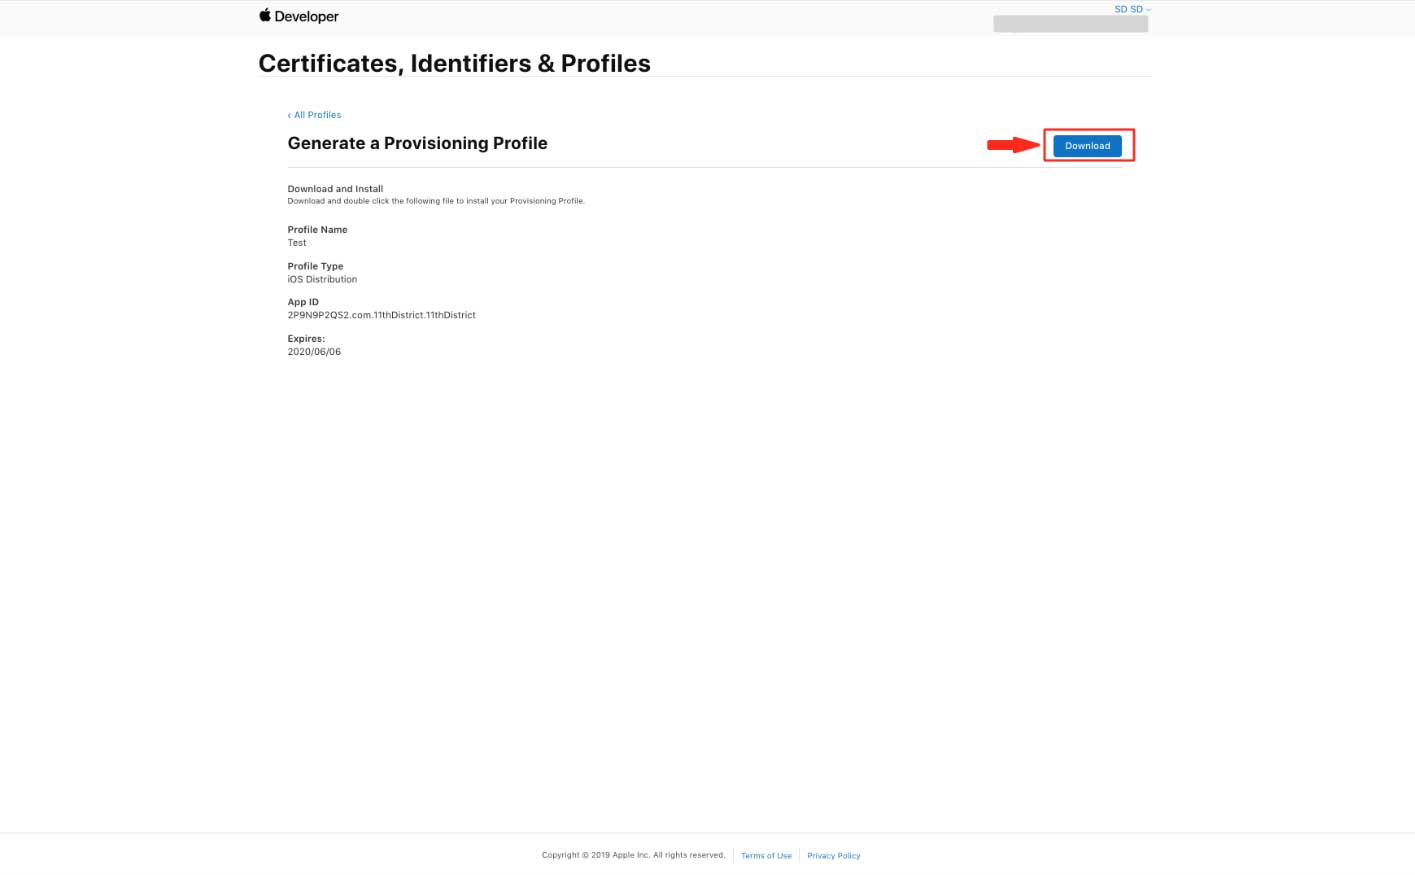
Step 14. Click on Download for downloading to Generate the Provisioning Profile.
Step 2. Create app into Appstore Connect
- Go to Appstore Connect.

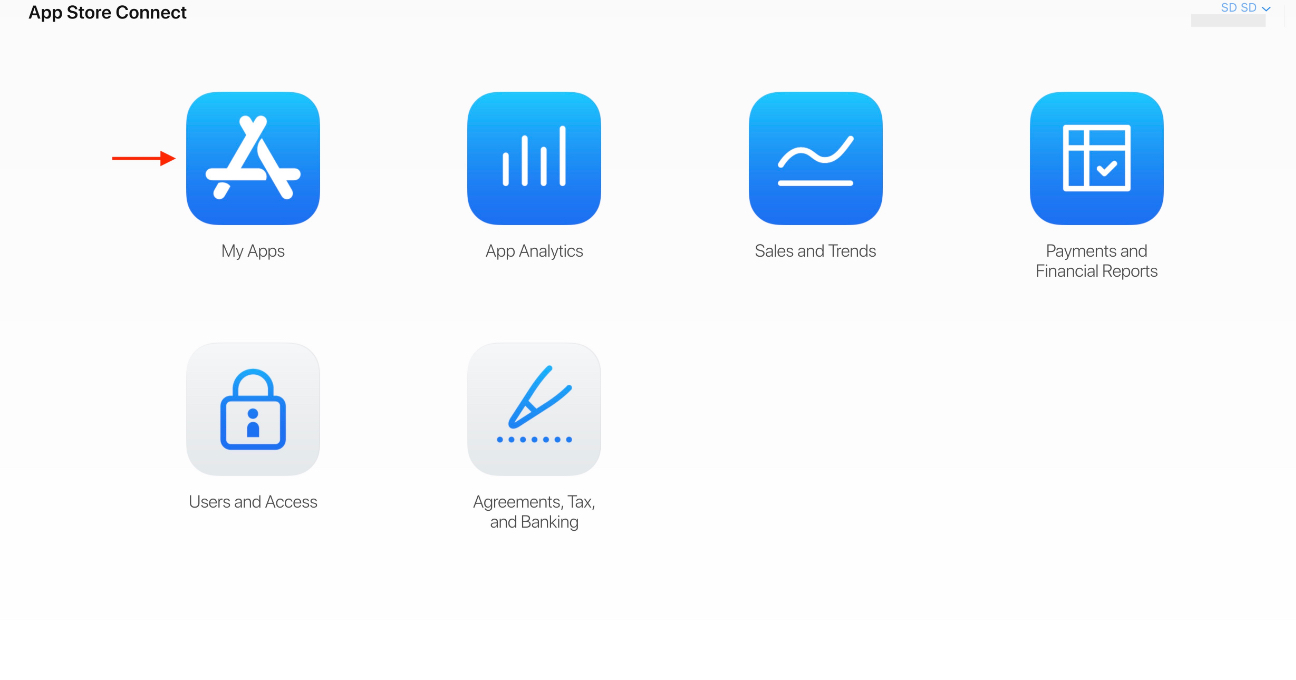
- Click on My Apps.

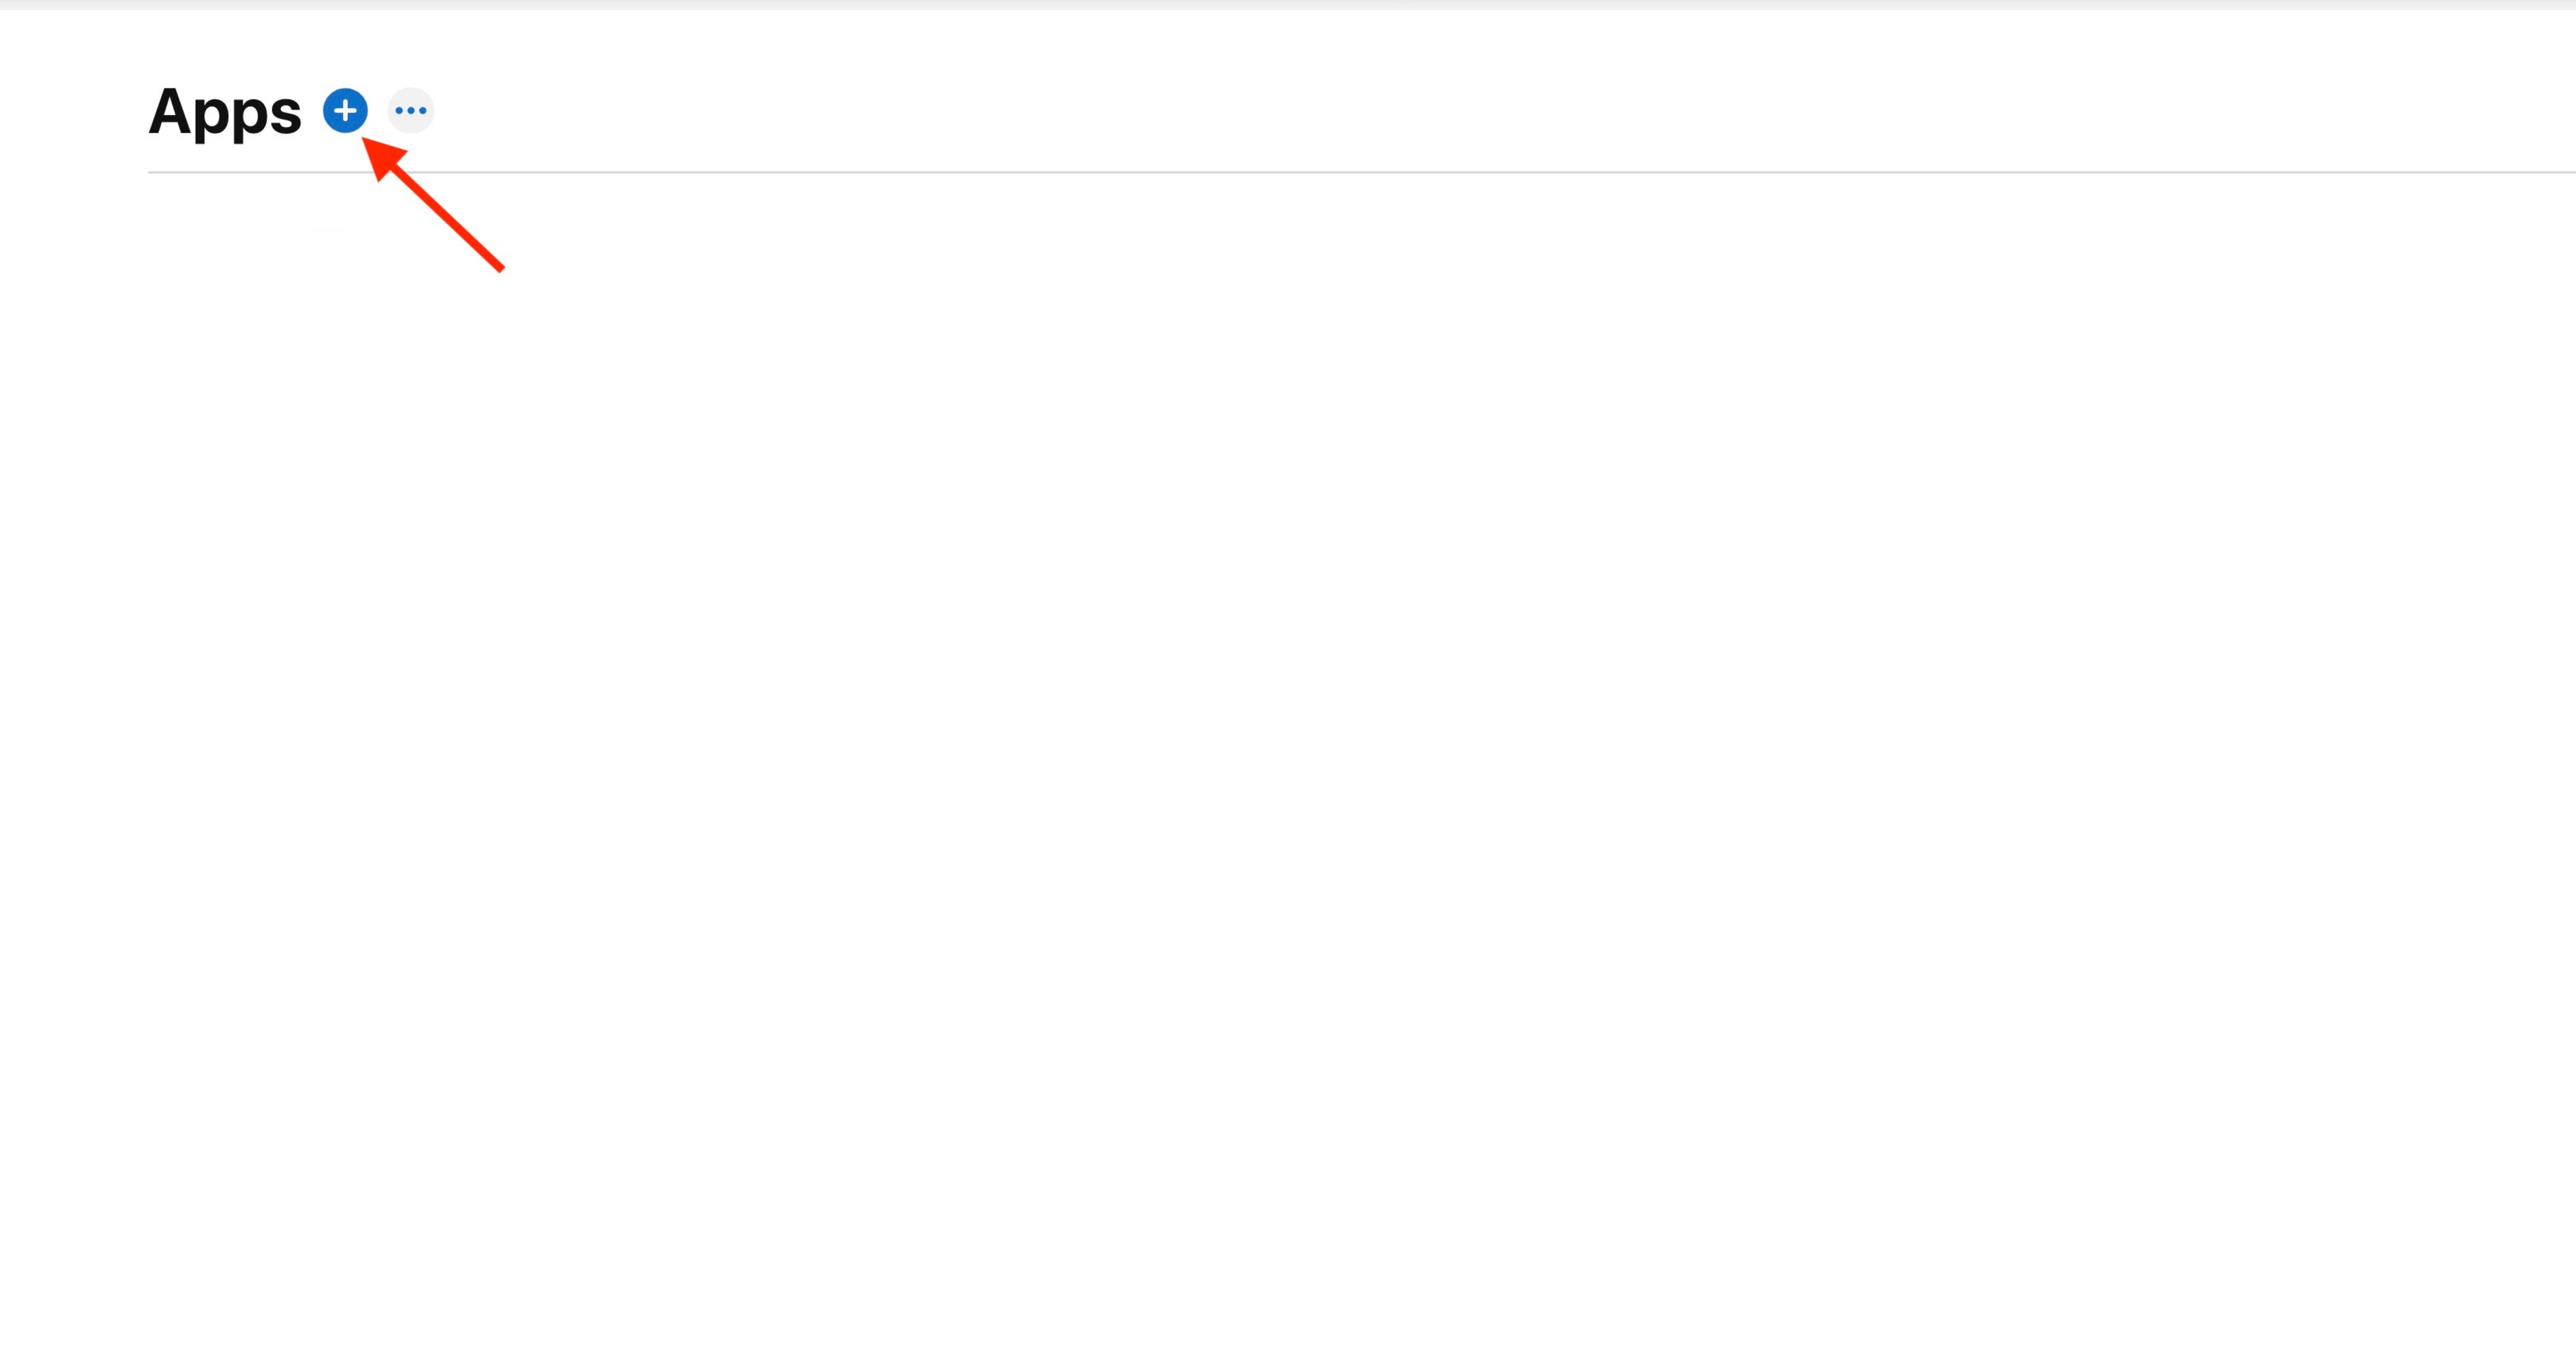
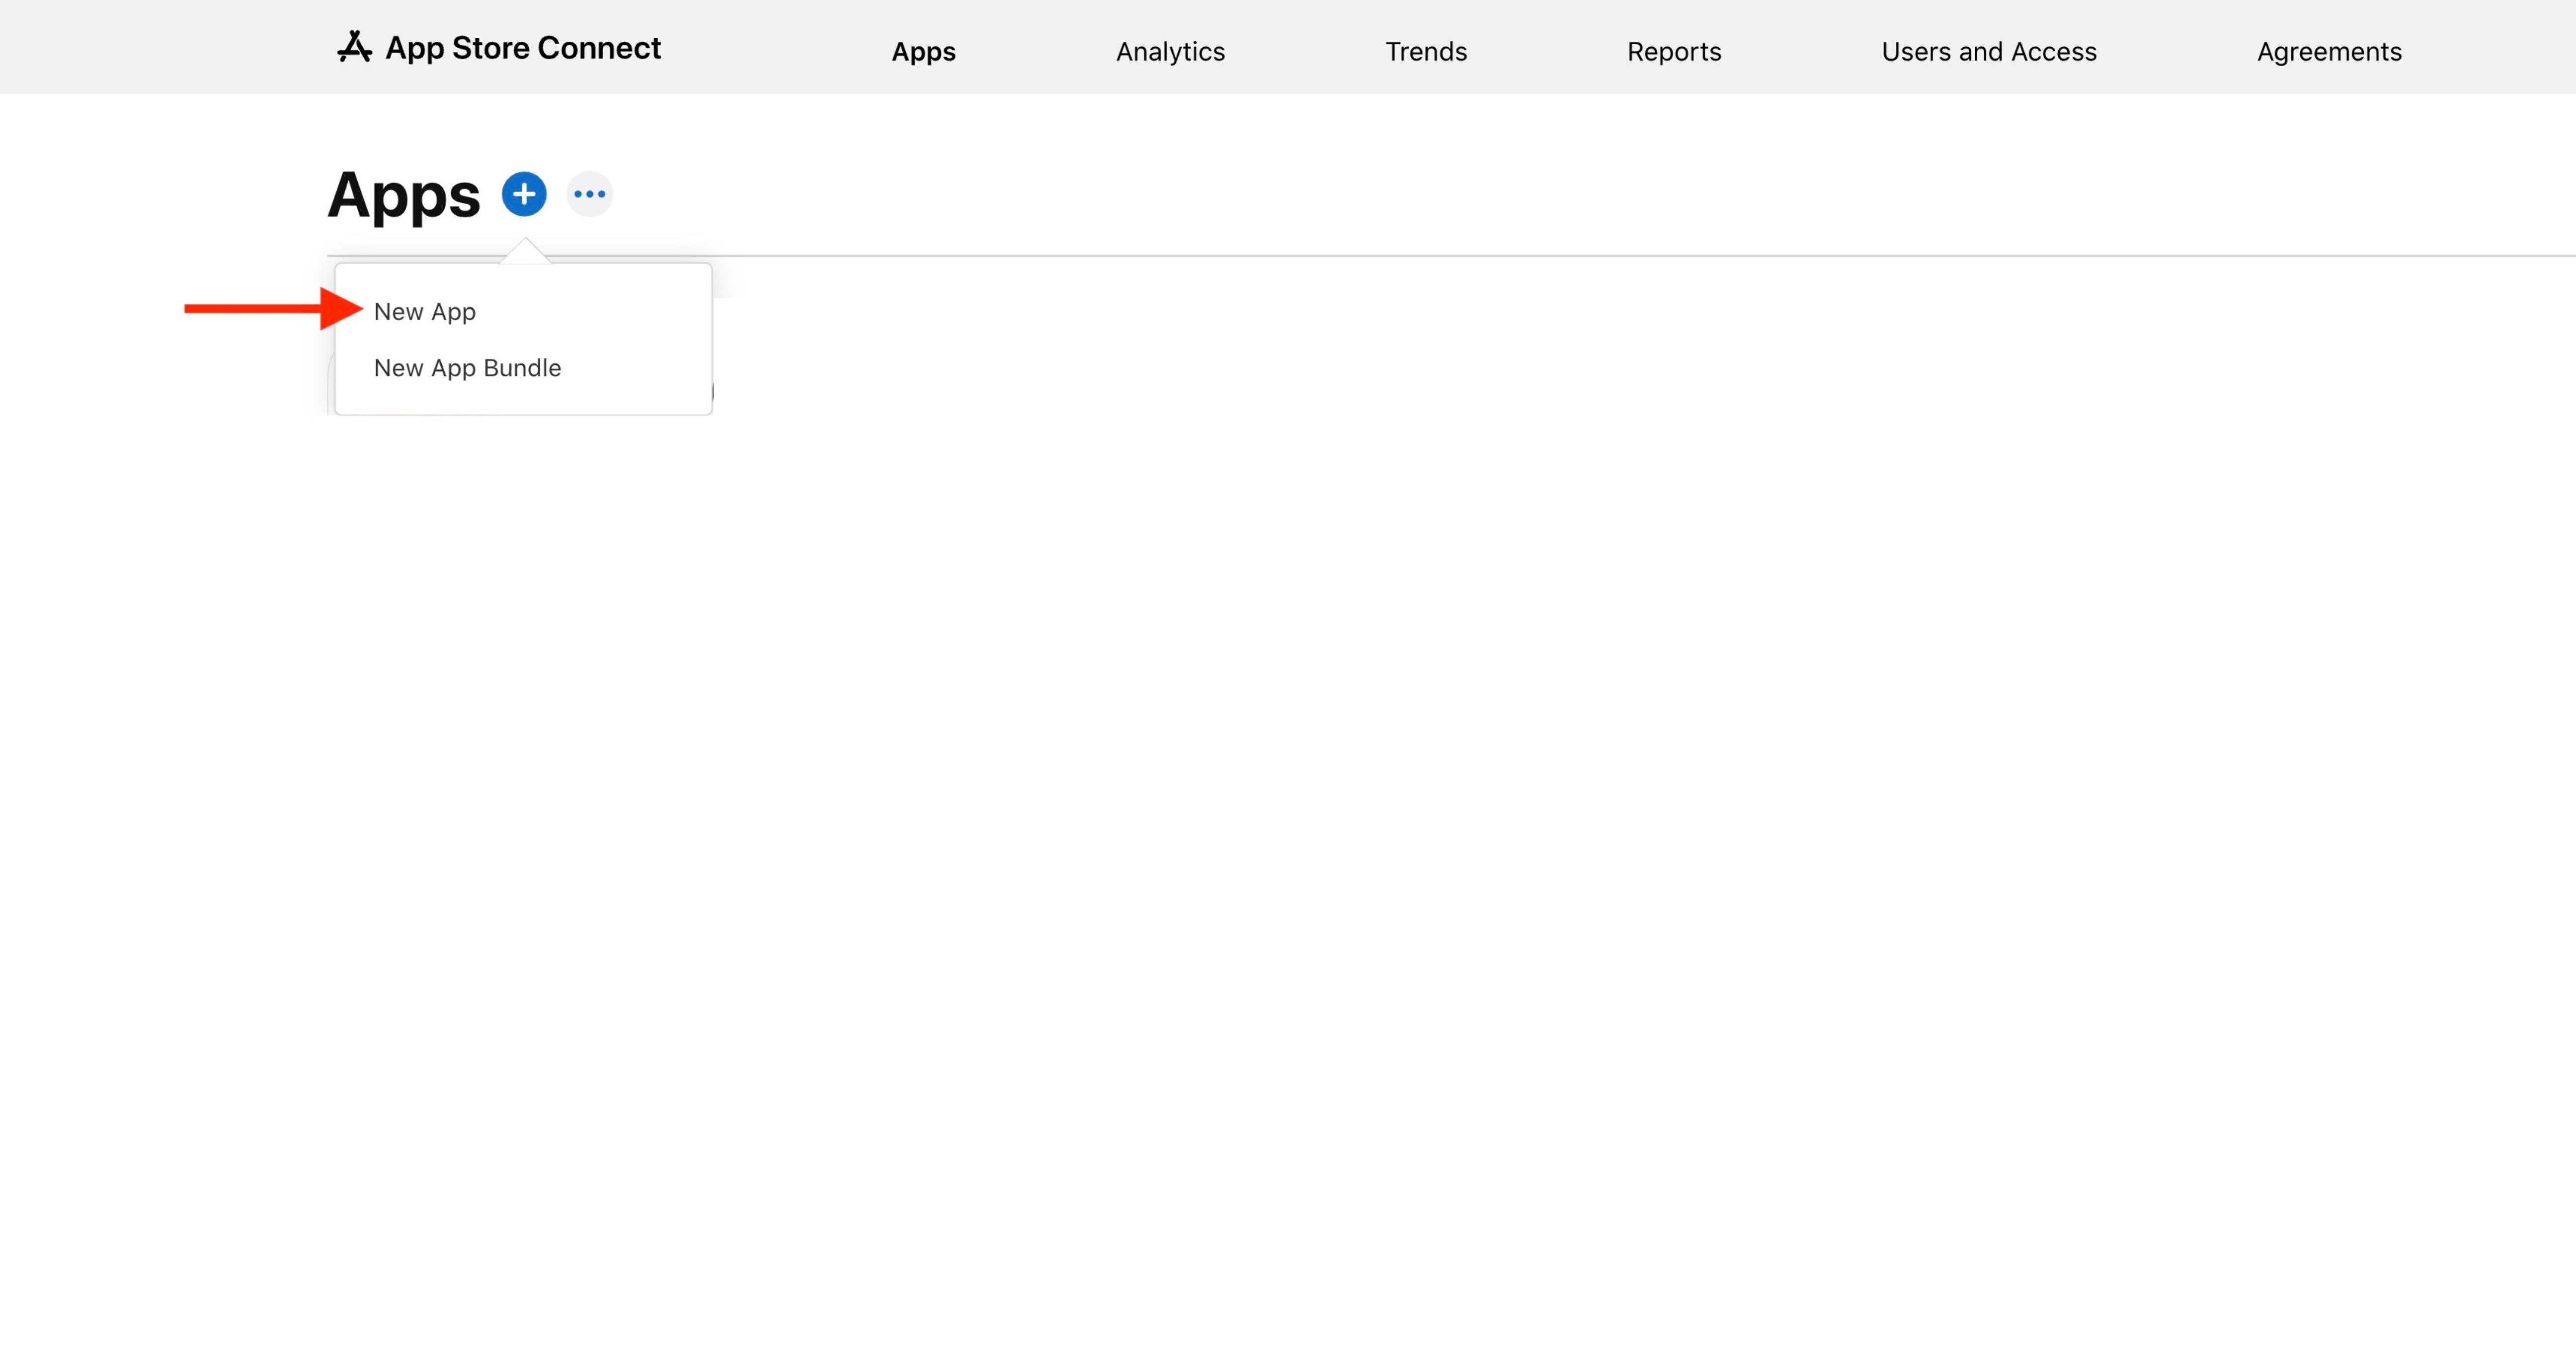
- Click on the + icon next to Apps.
- Select “New App” from the options.
- Select the iOS platform, provide the required details, including App Name, Language, Bundle ID (as on certificates), SKU (e.g., SKU1324APPNAME), set user access, and then click on Create.

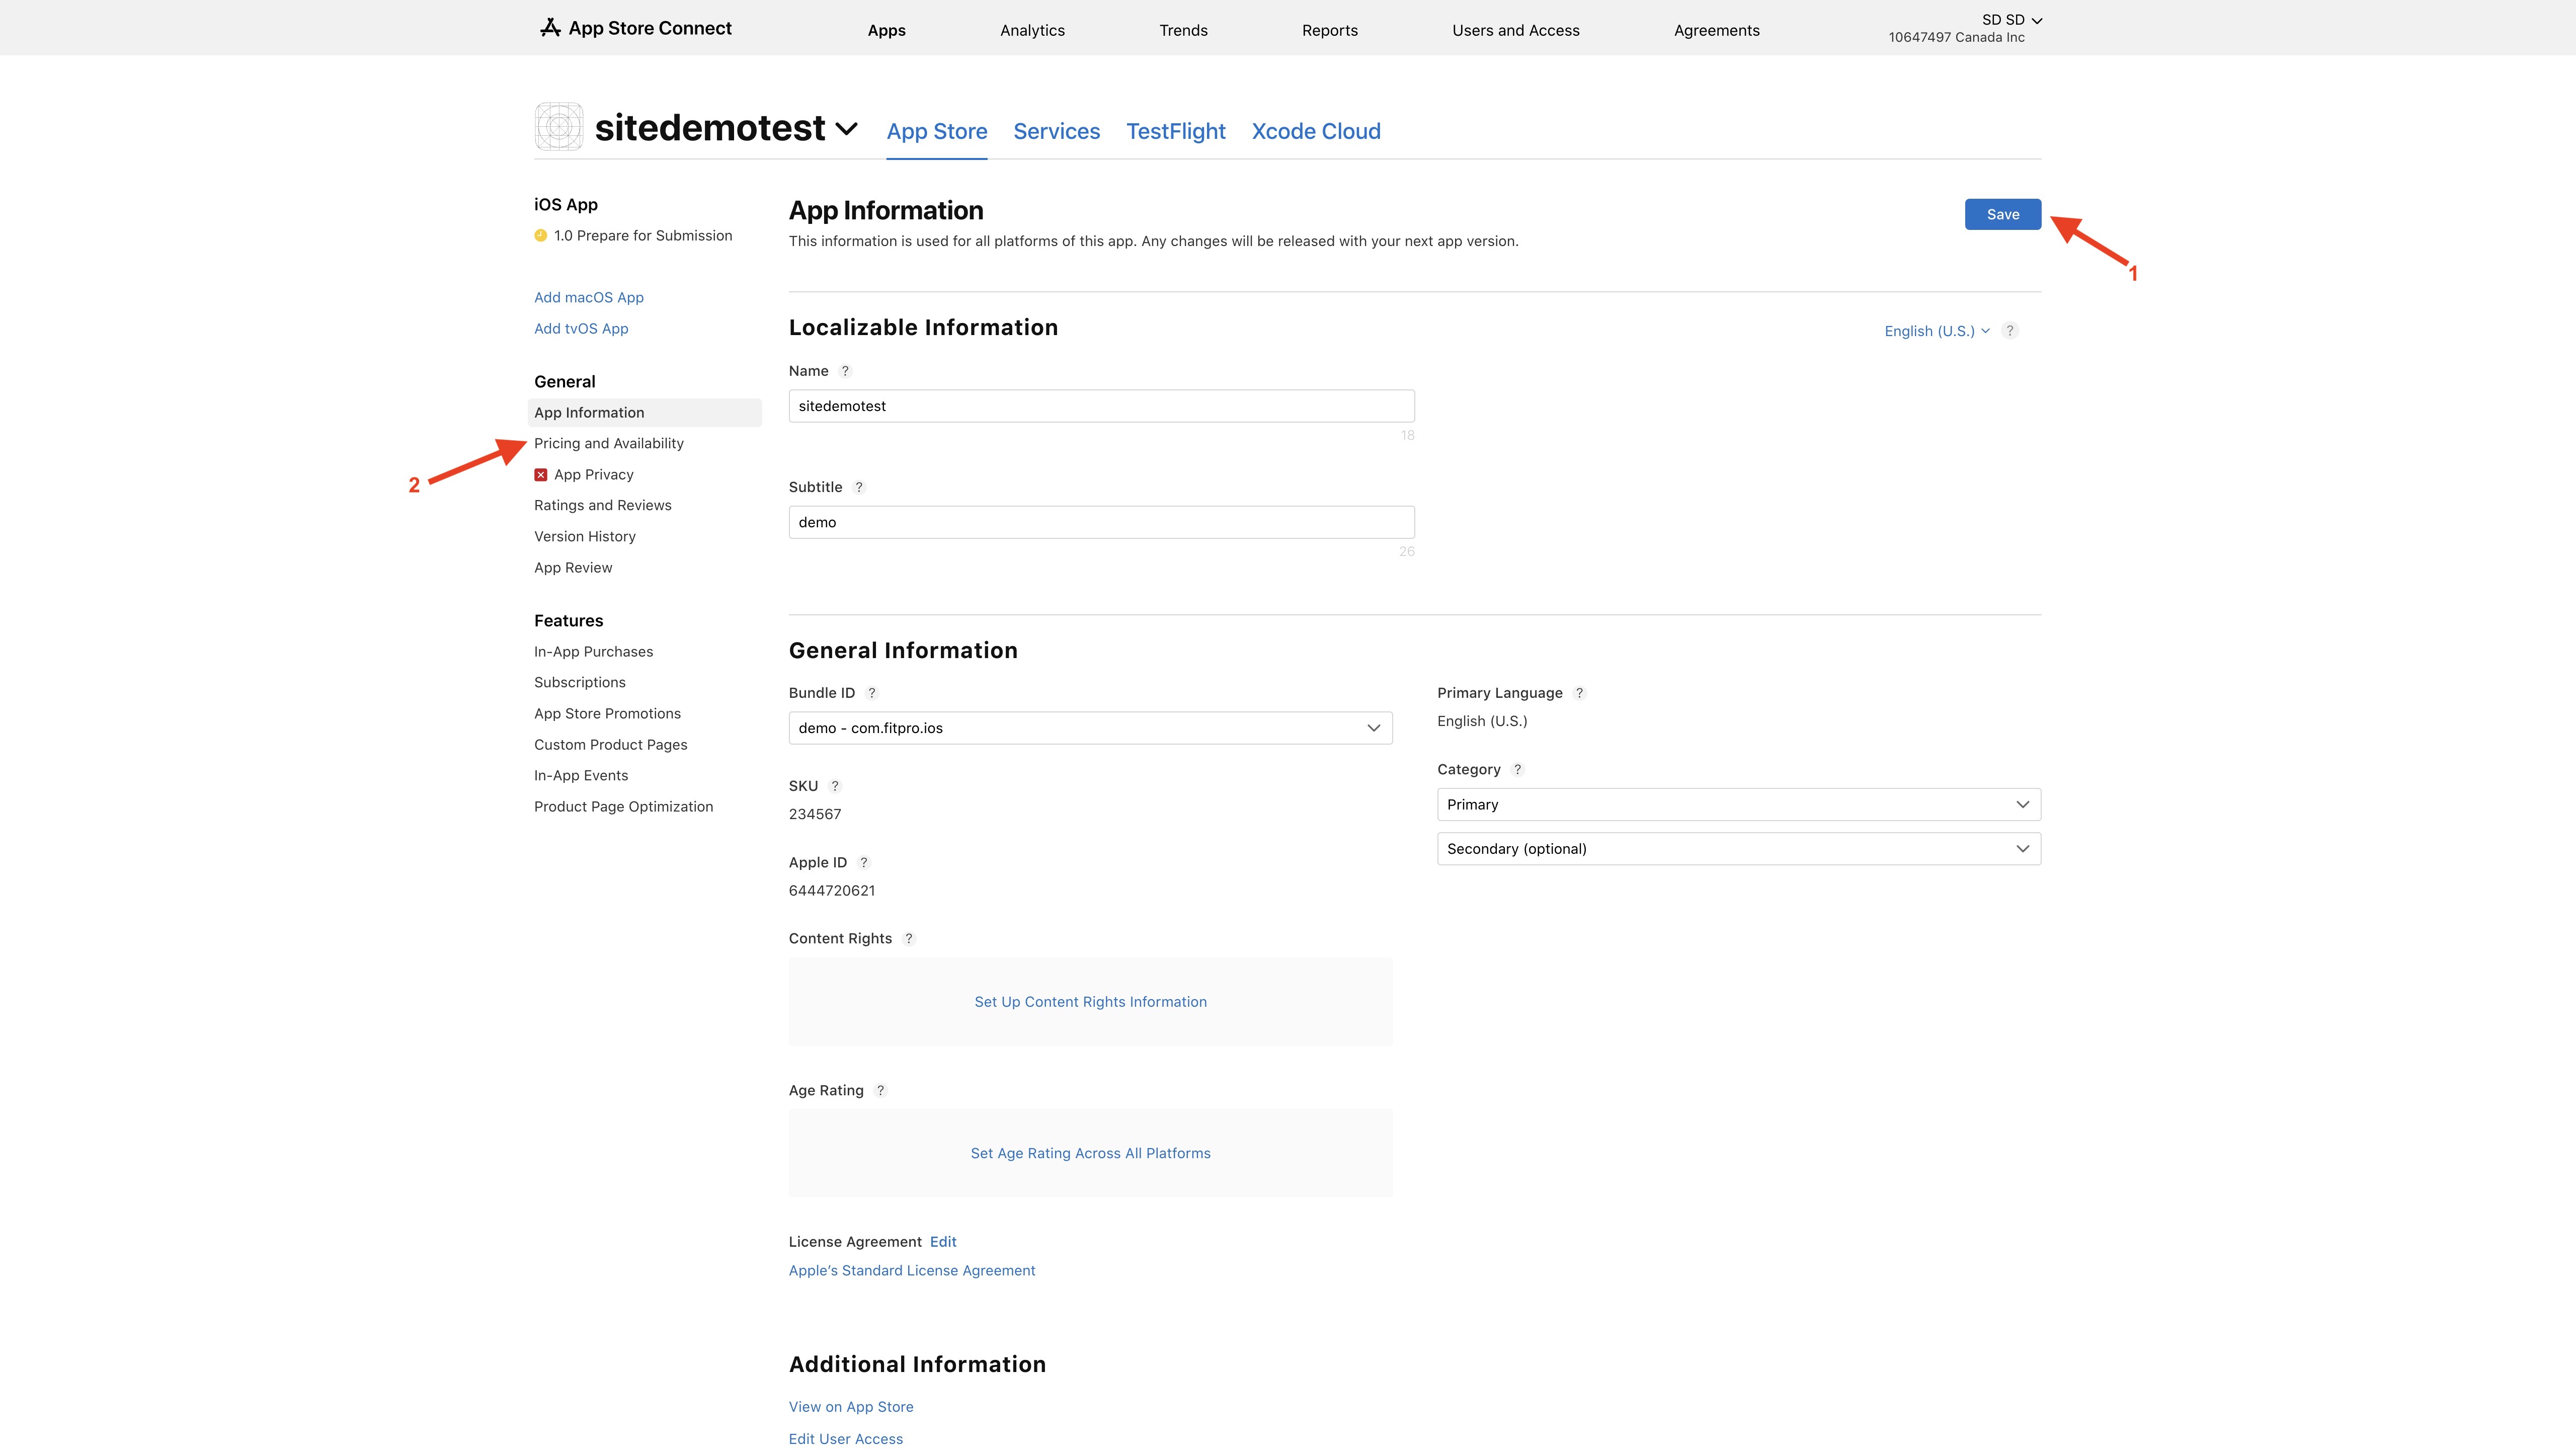
- In the side menu, under General, click on App Information.

- Under Localizable Information, enter the subtitle. Under General Information, select the Category, then set up Content rights and age rating.

- Once you’ve provided the required information, click on Save, then select Pricing and Availability in the side menu.
- Under Price Schedule, choose a suitable pricing tier (as per iTunes guidelines).
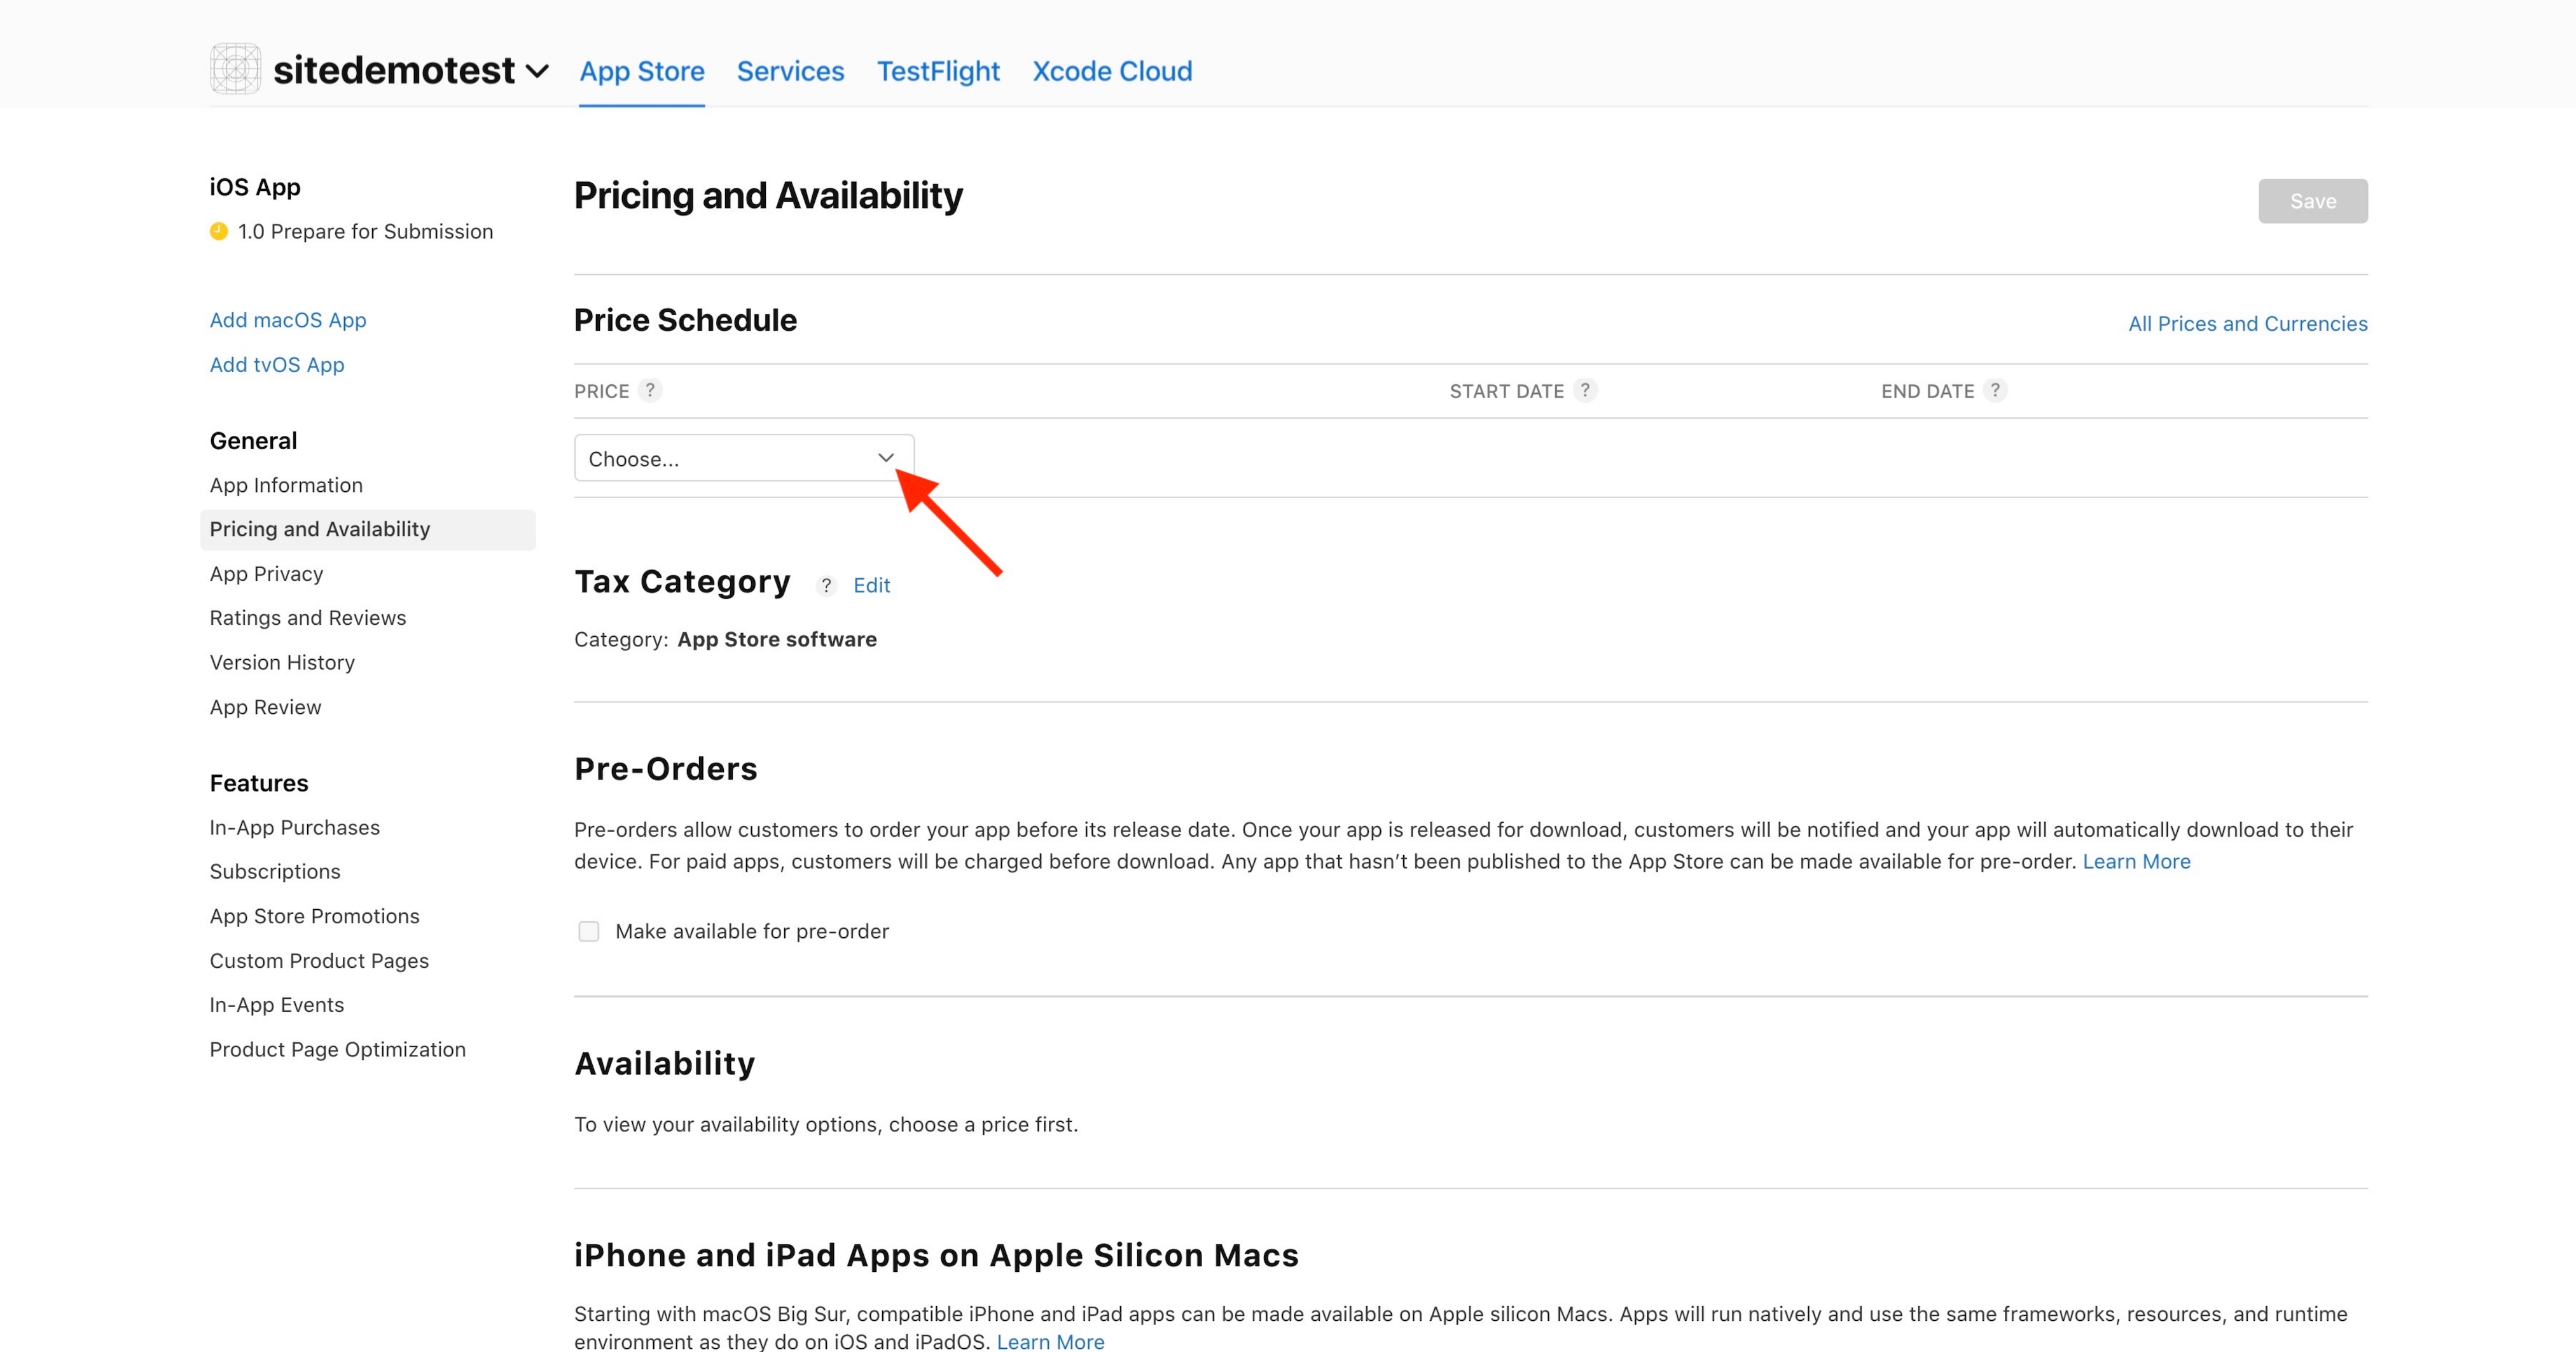
- Once done, click on Save, then select 1.0 Prepare for Submission in the side menu.

- Upload screenshots, and provide the required details, including Promotional Text, Description, Keywords, Support URL, Marketing URL, Version, Copyright, and Routing App Coverage File (optional).
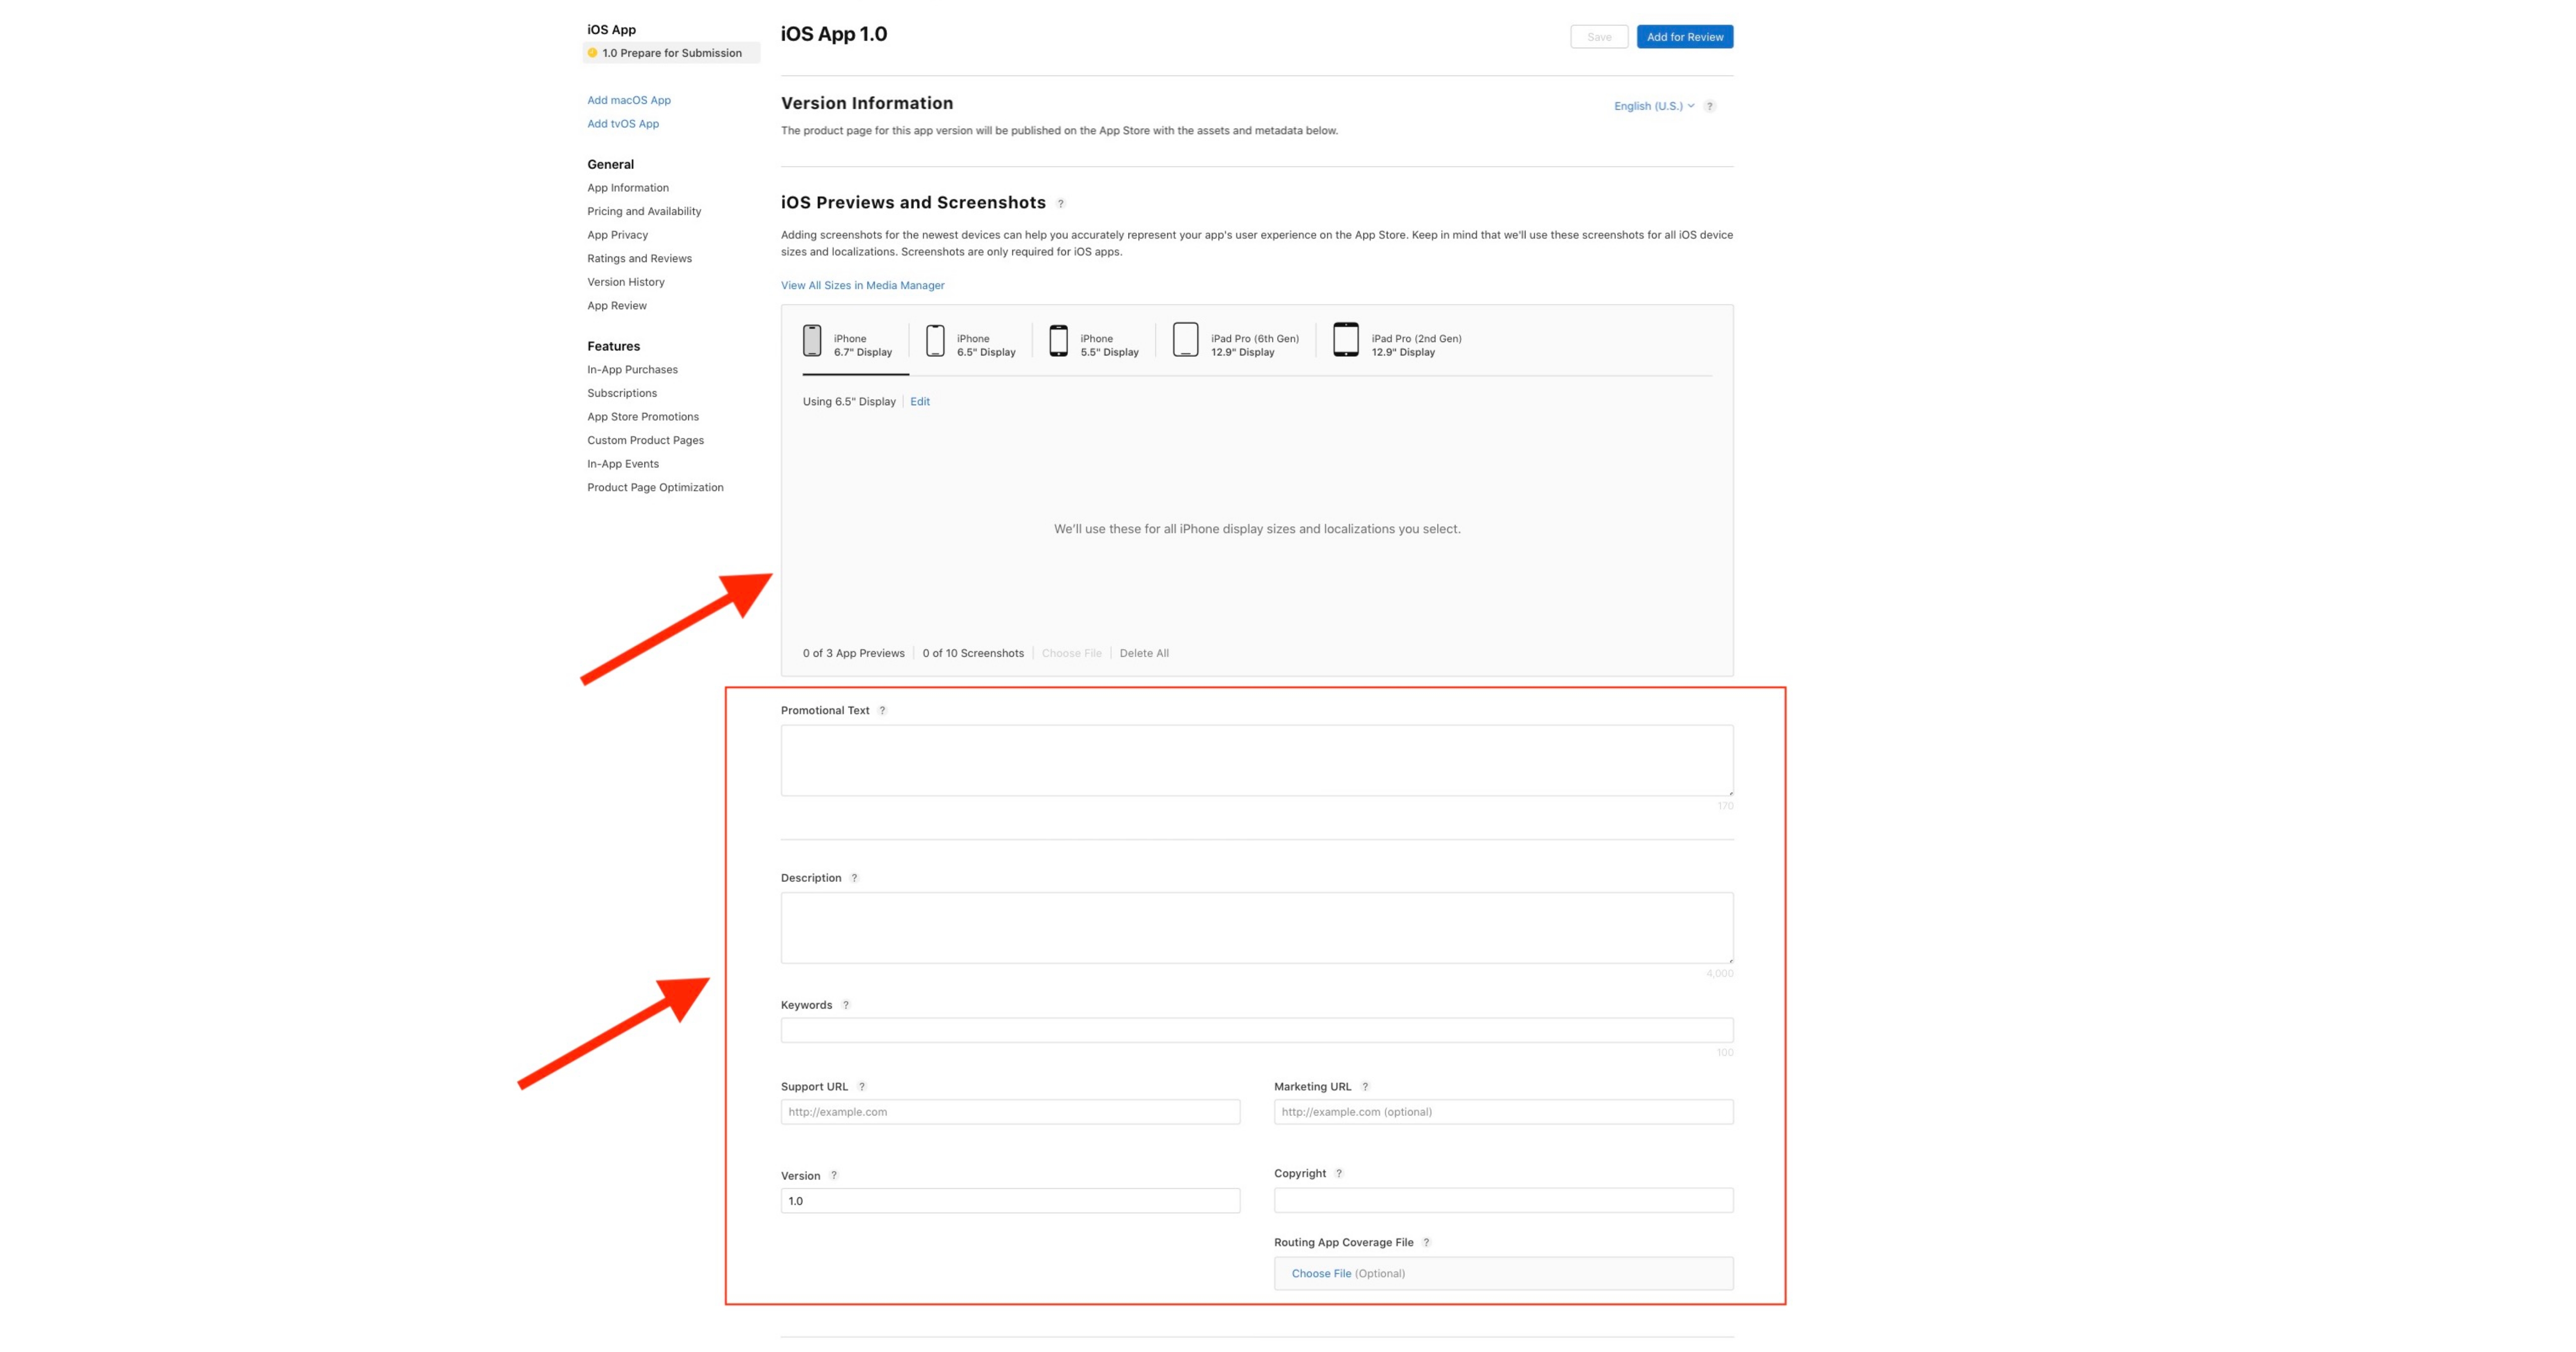
- Under App Review Information, provide the necessary details, including Sign-in information, Contact information, Notes (if applicable), and Attachment (optional). Then, under Version-Release, select the Automatically Release this version option.

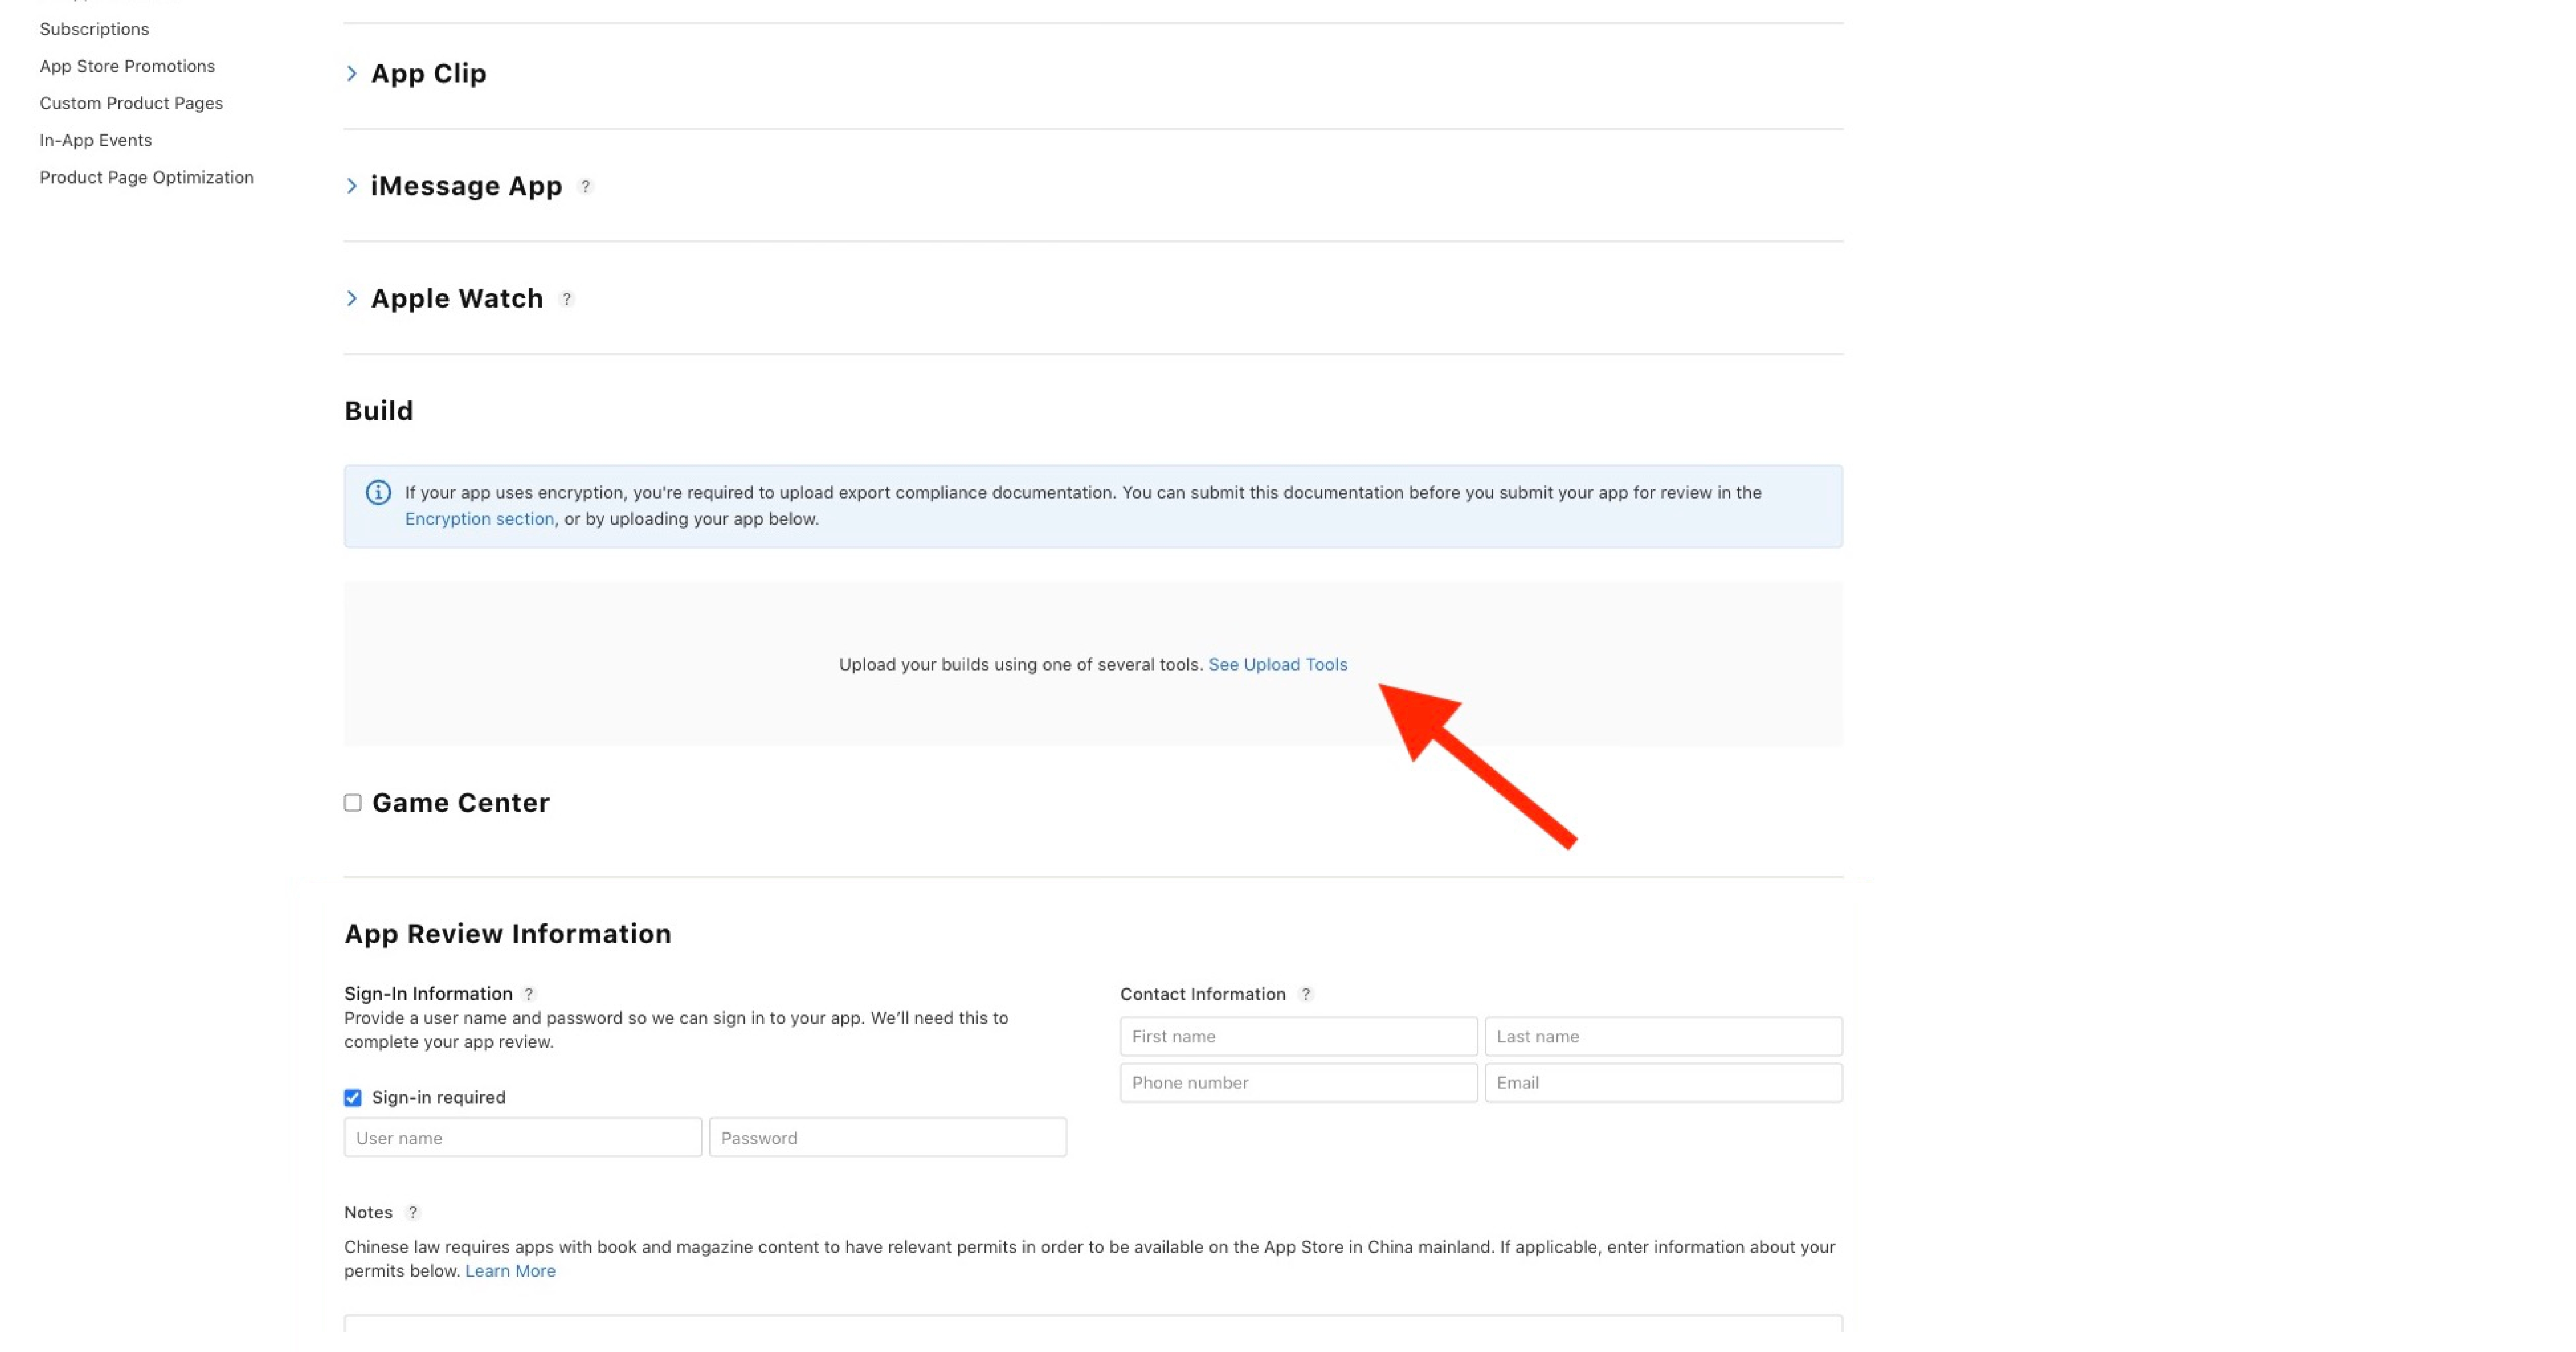
Step 3. Upload your app from Transporter App
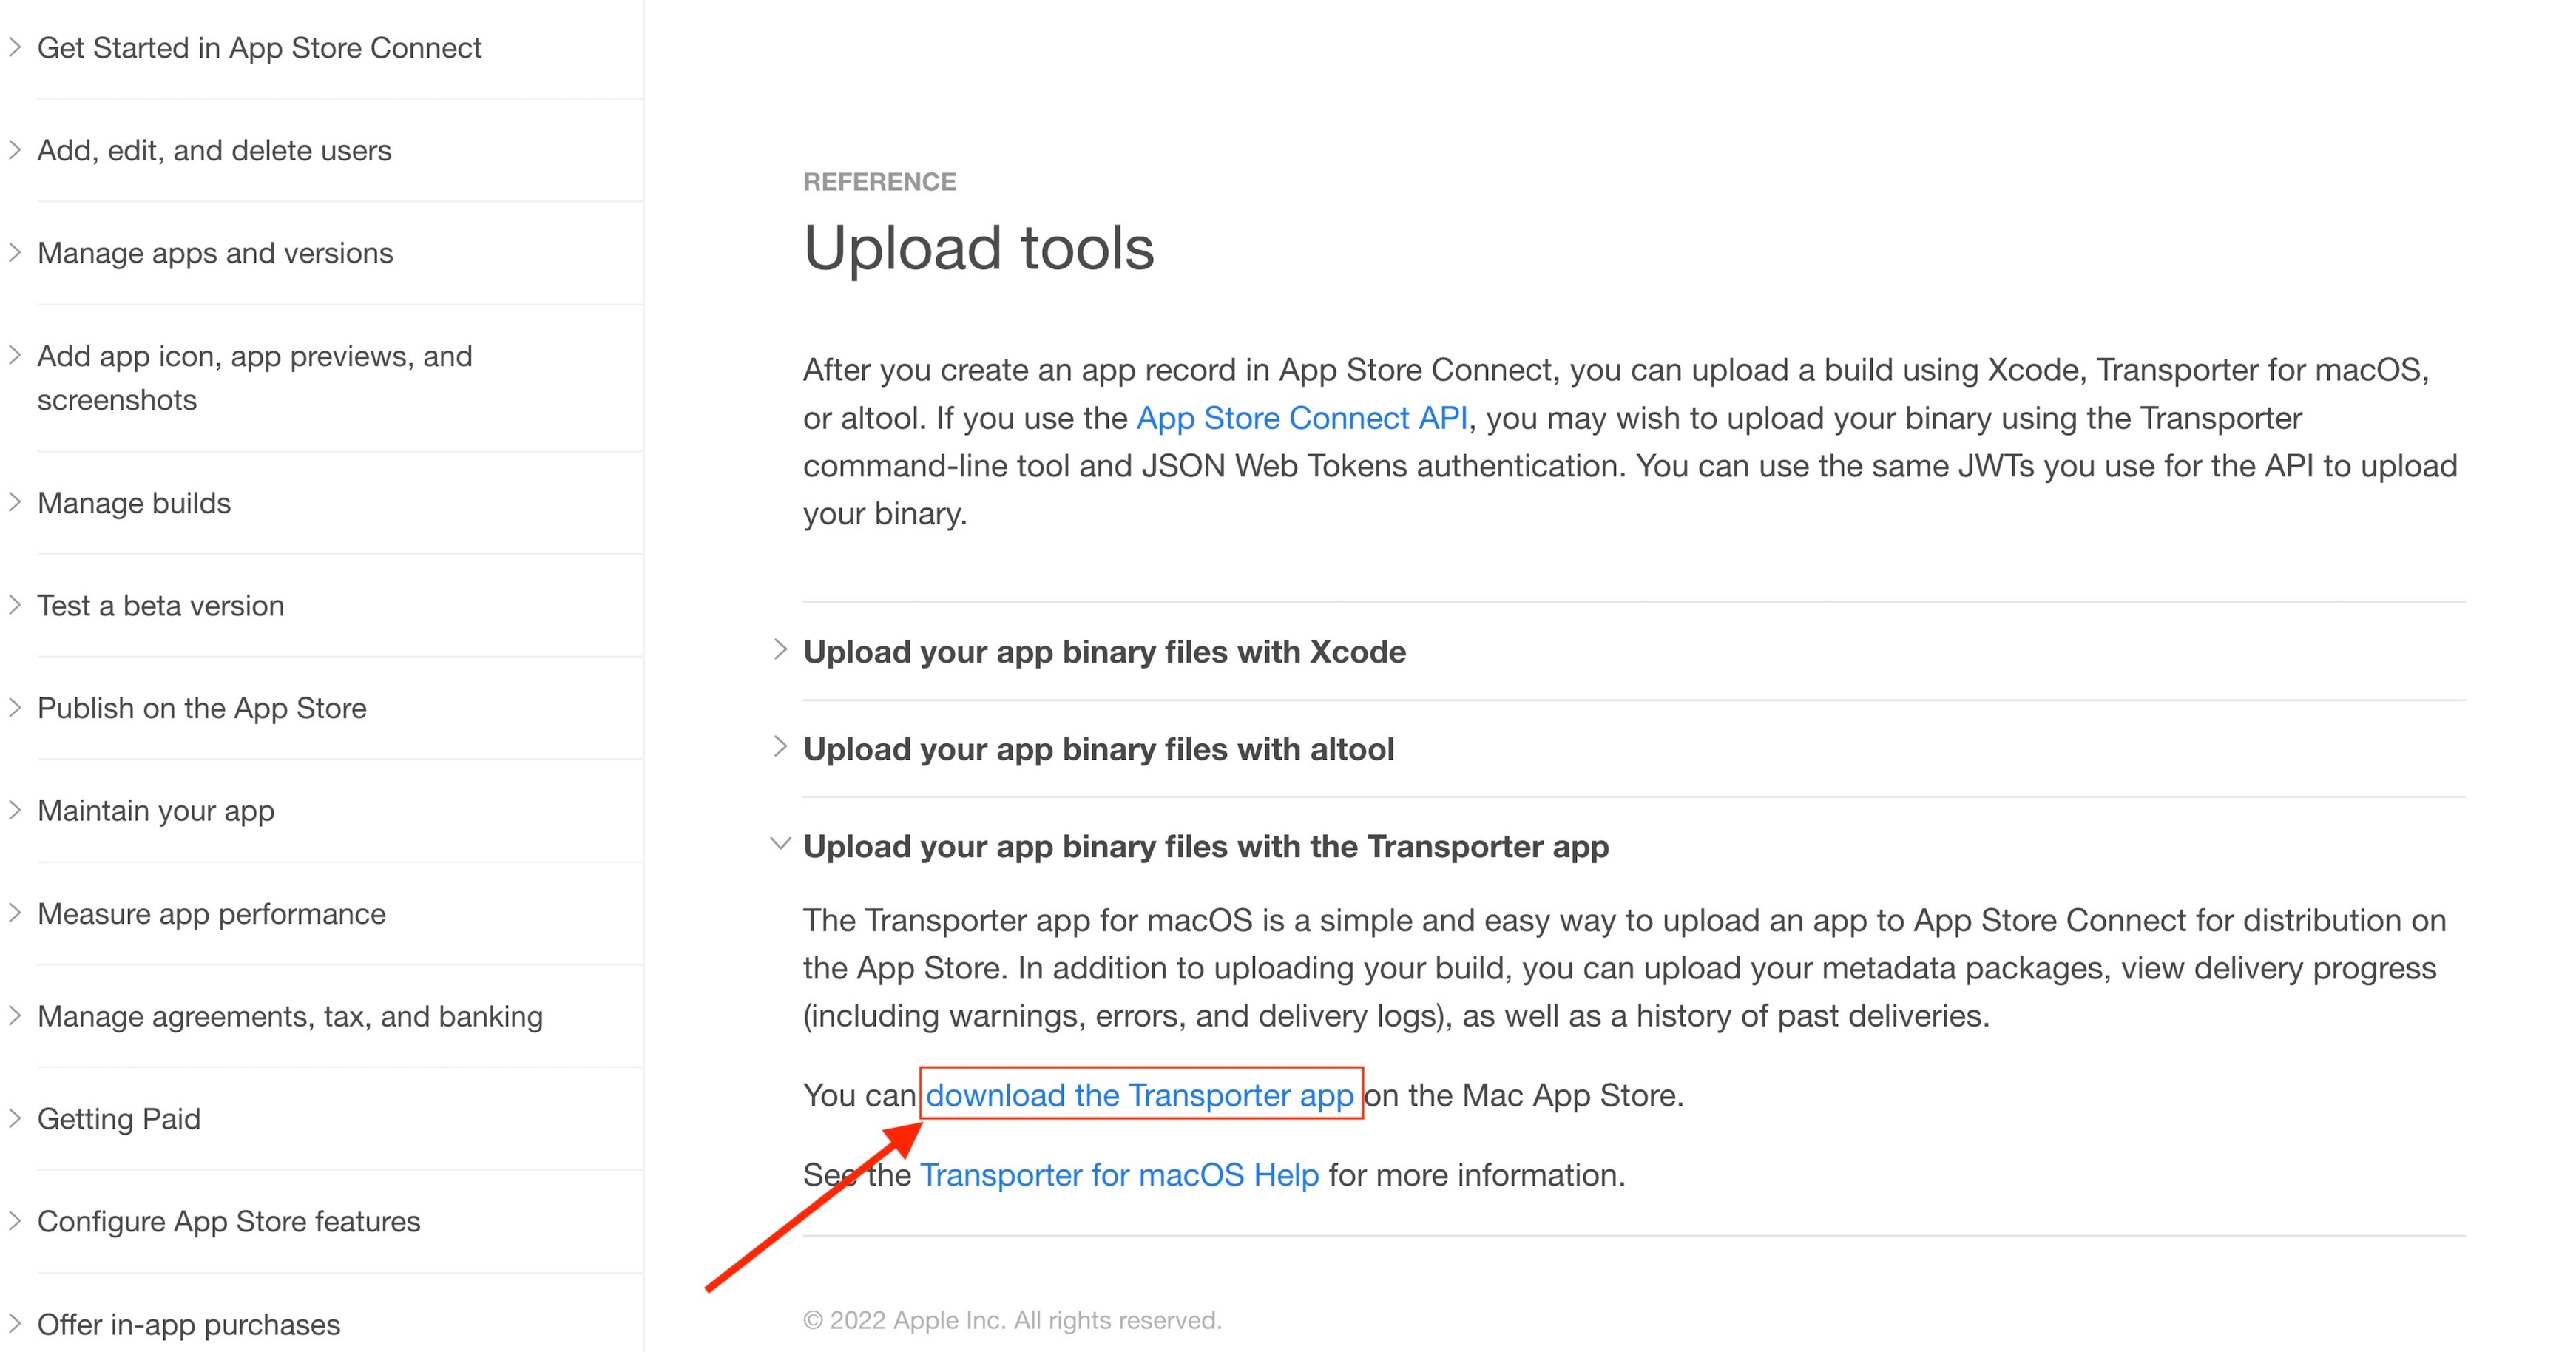
- On your Mac computer, open the Transporter App, if you don’t have Transporter App , You can download it from Build, under Prepare for Submission section and click on See Upload Tools
- Click on "Upload your app binary files with the Transporter app".

- Click on download the Tranporter app
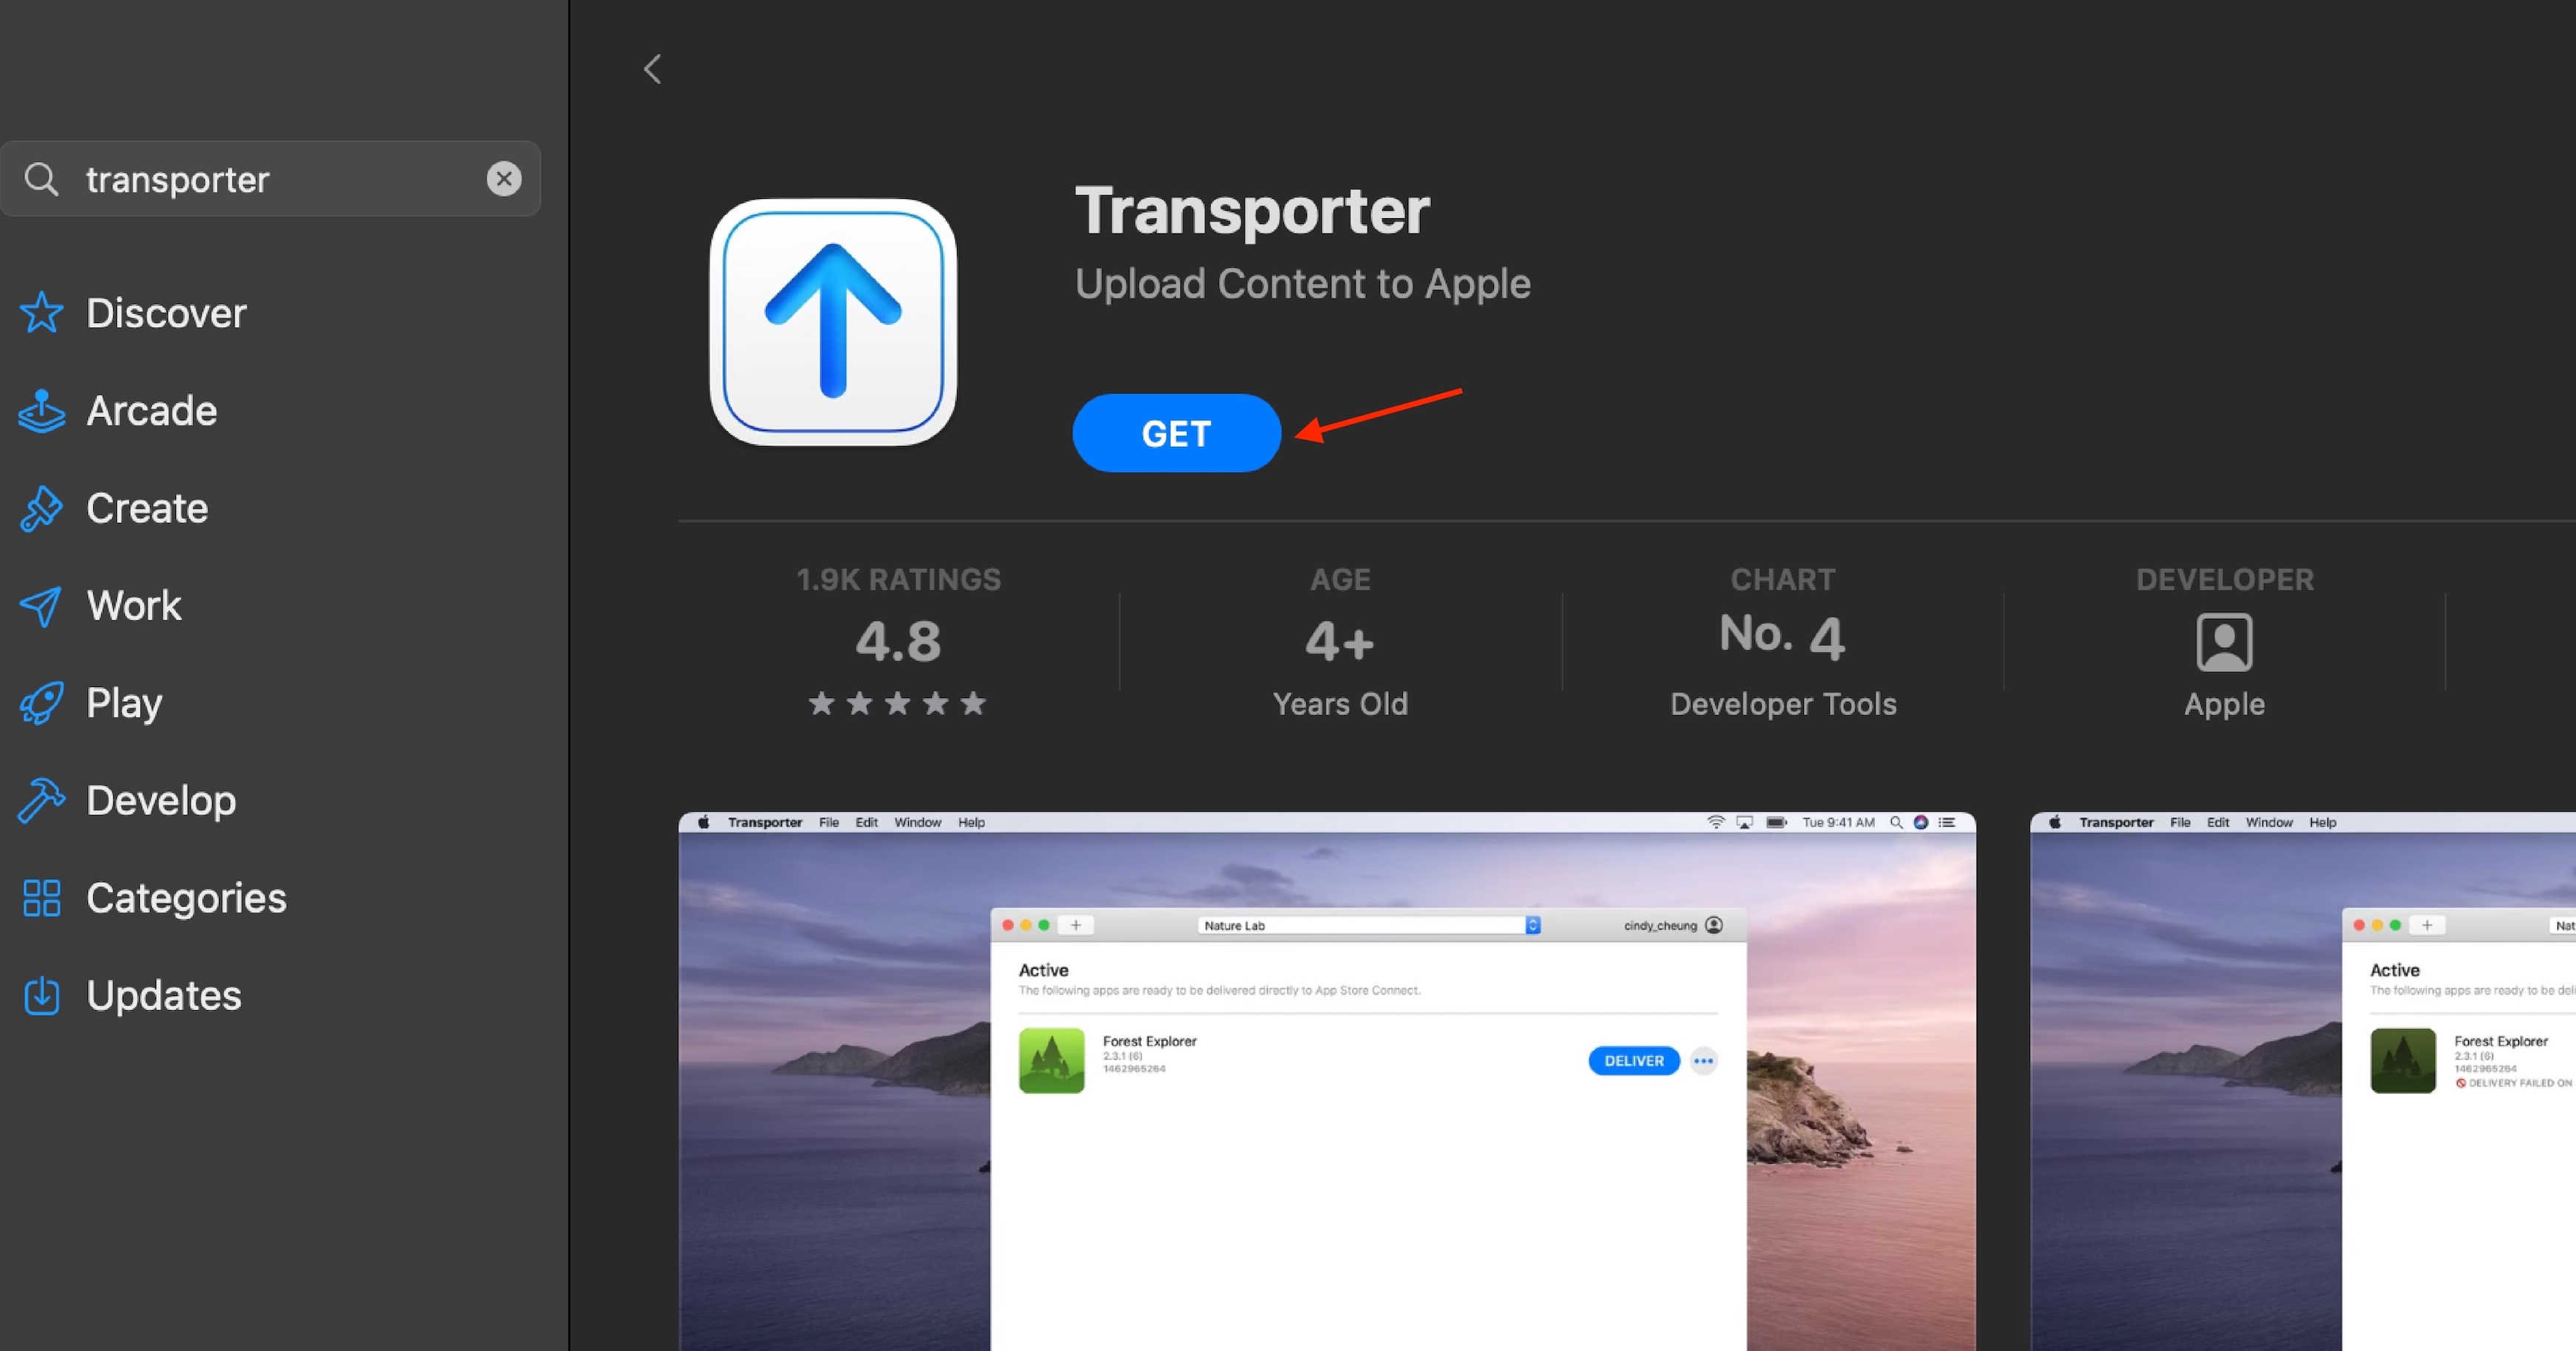
- Click on View in Mac App Store

- Click on Get to download Transporter app.
- Click On Install
Note: Read and agree to the Software License Agreement, and then sign in to the app.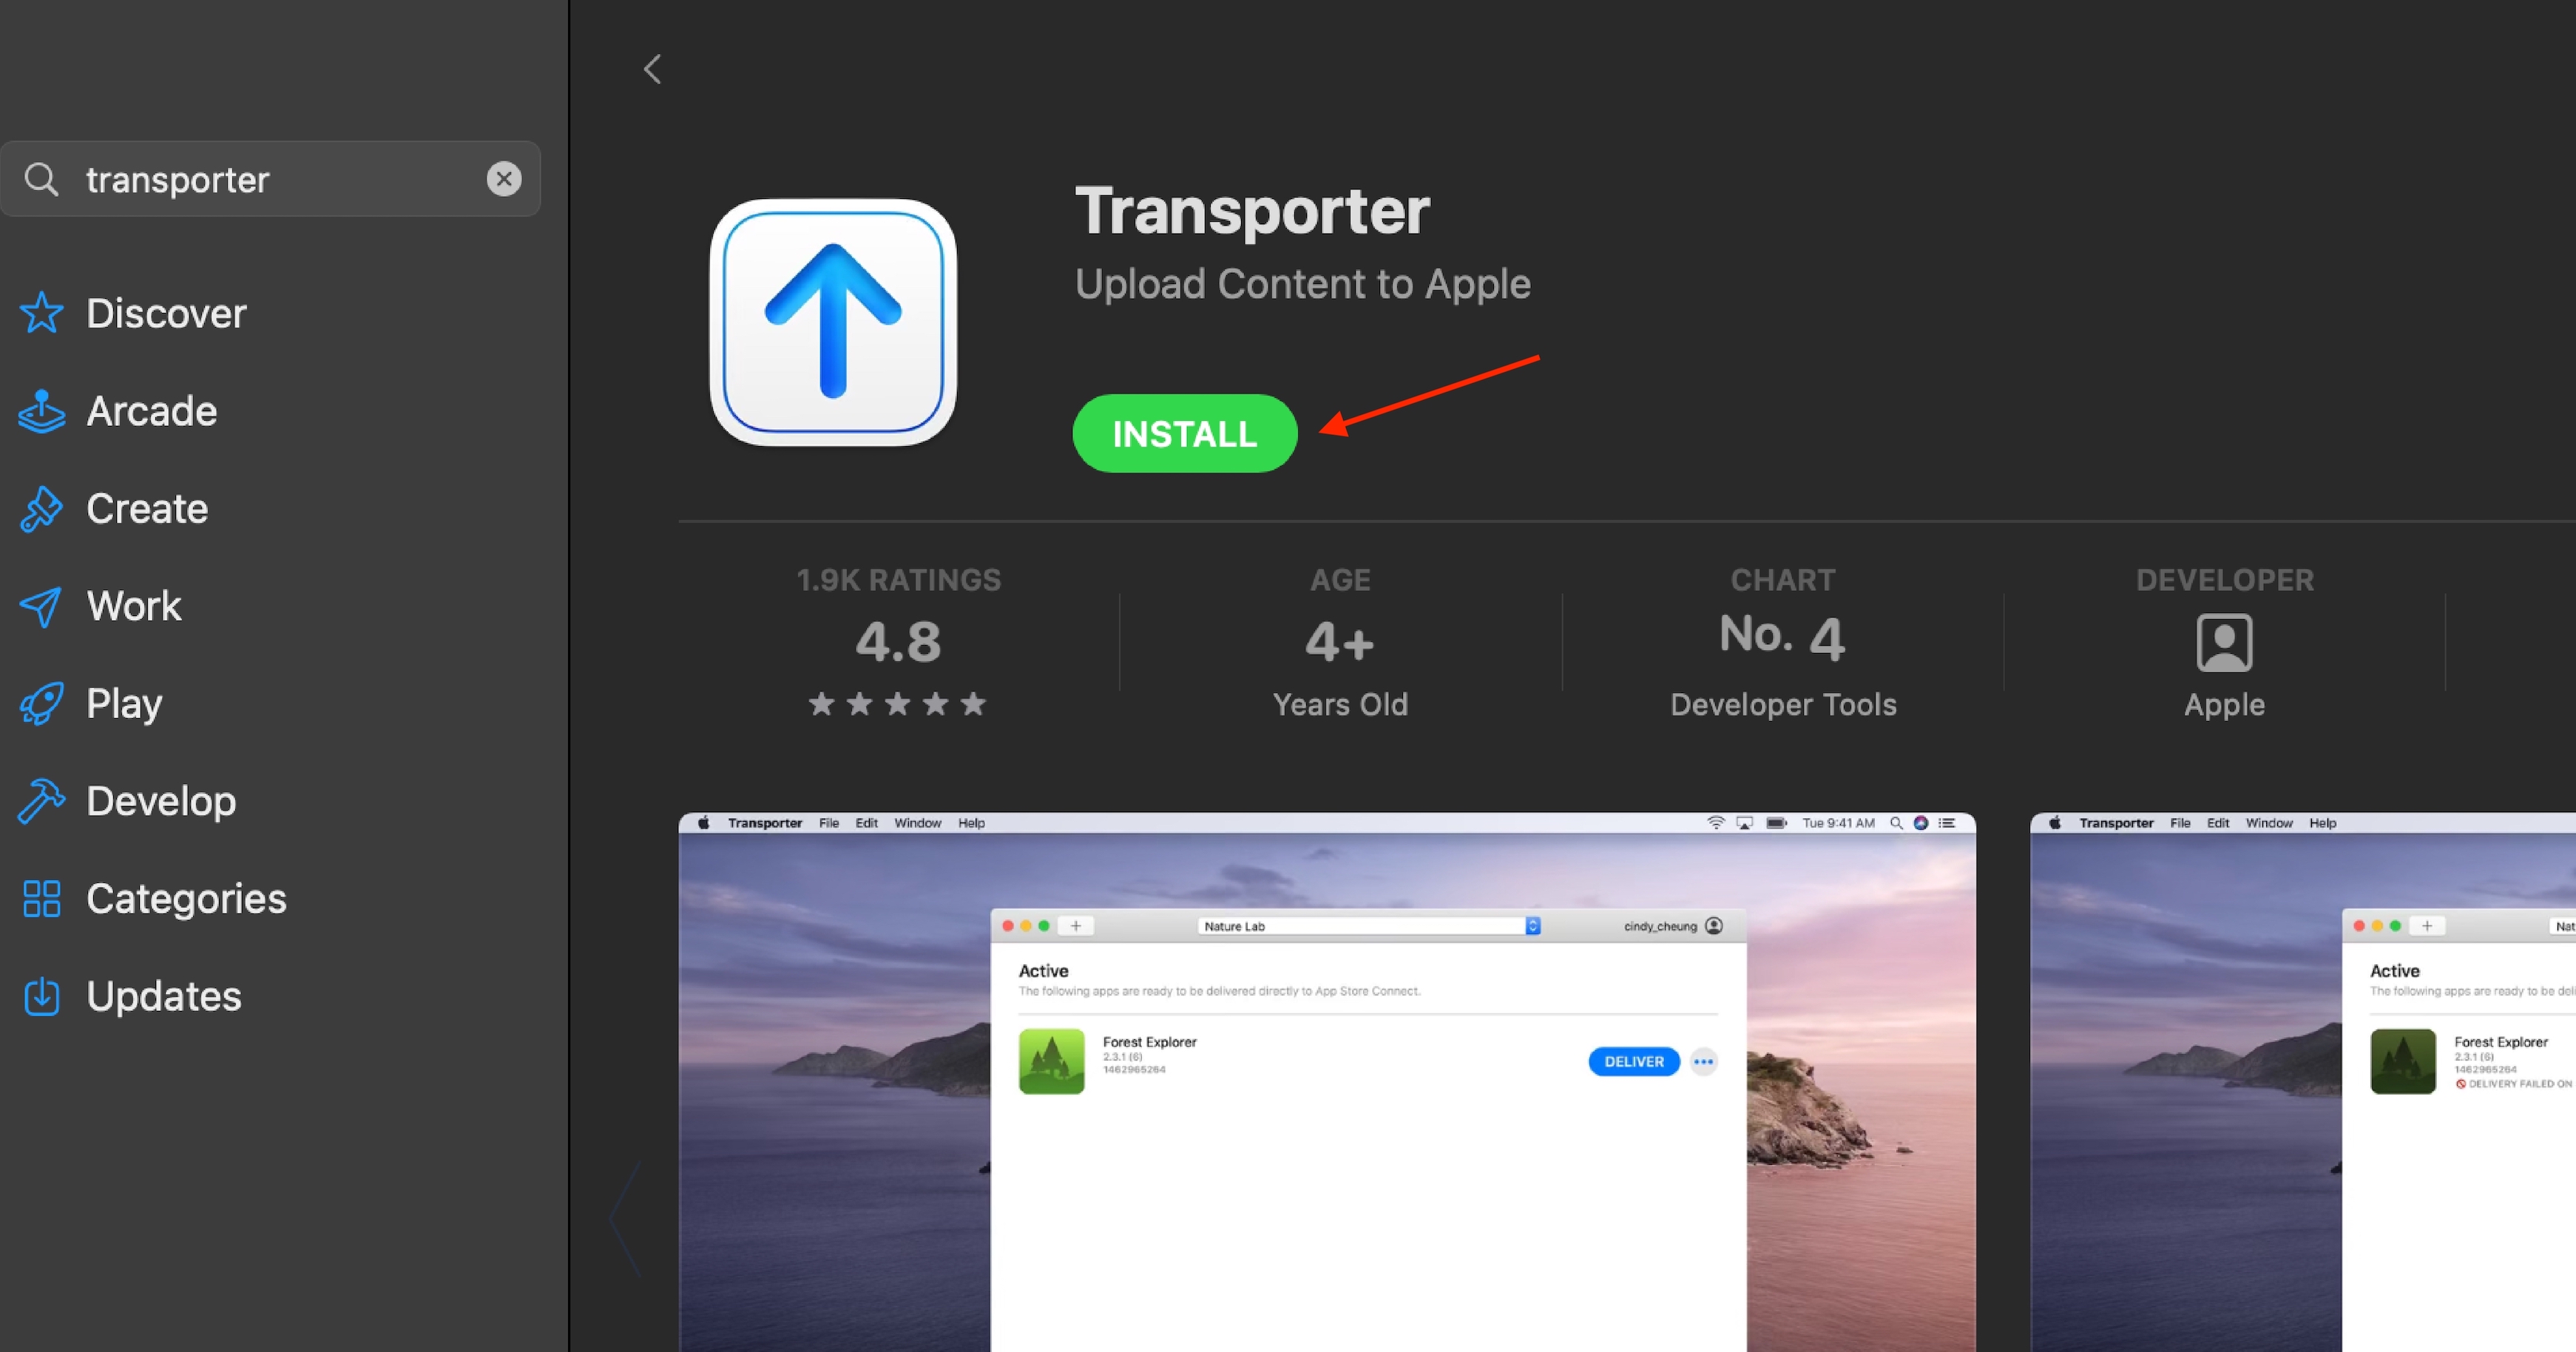
- Click on Open

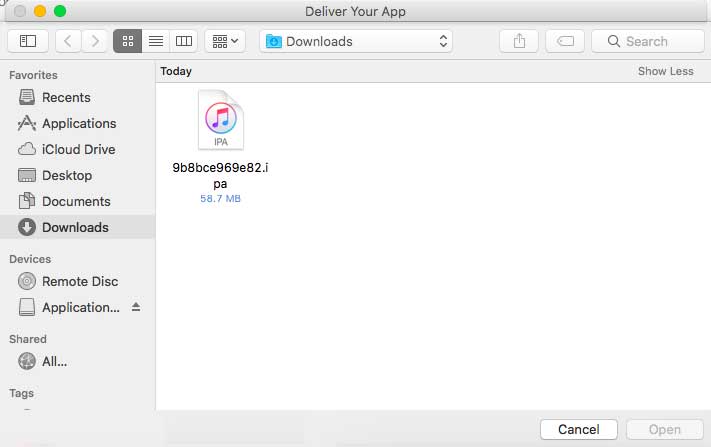
- Click on the '+' icon.
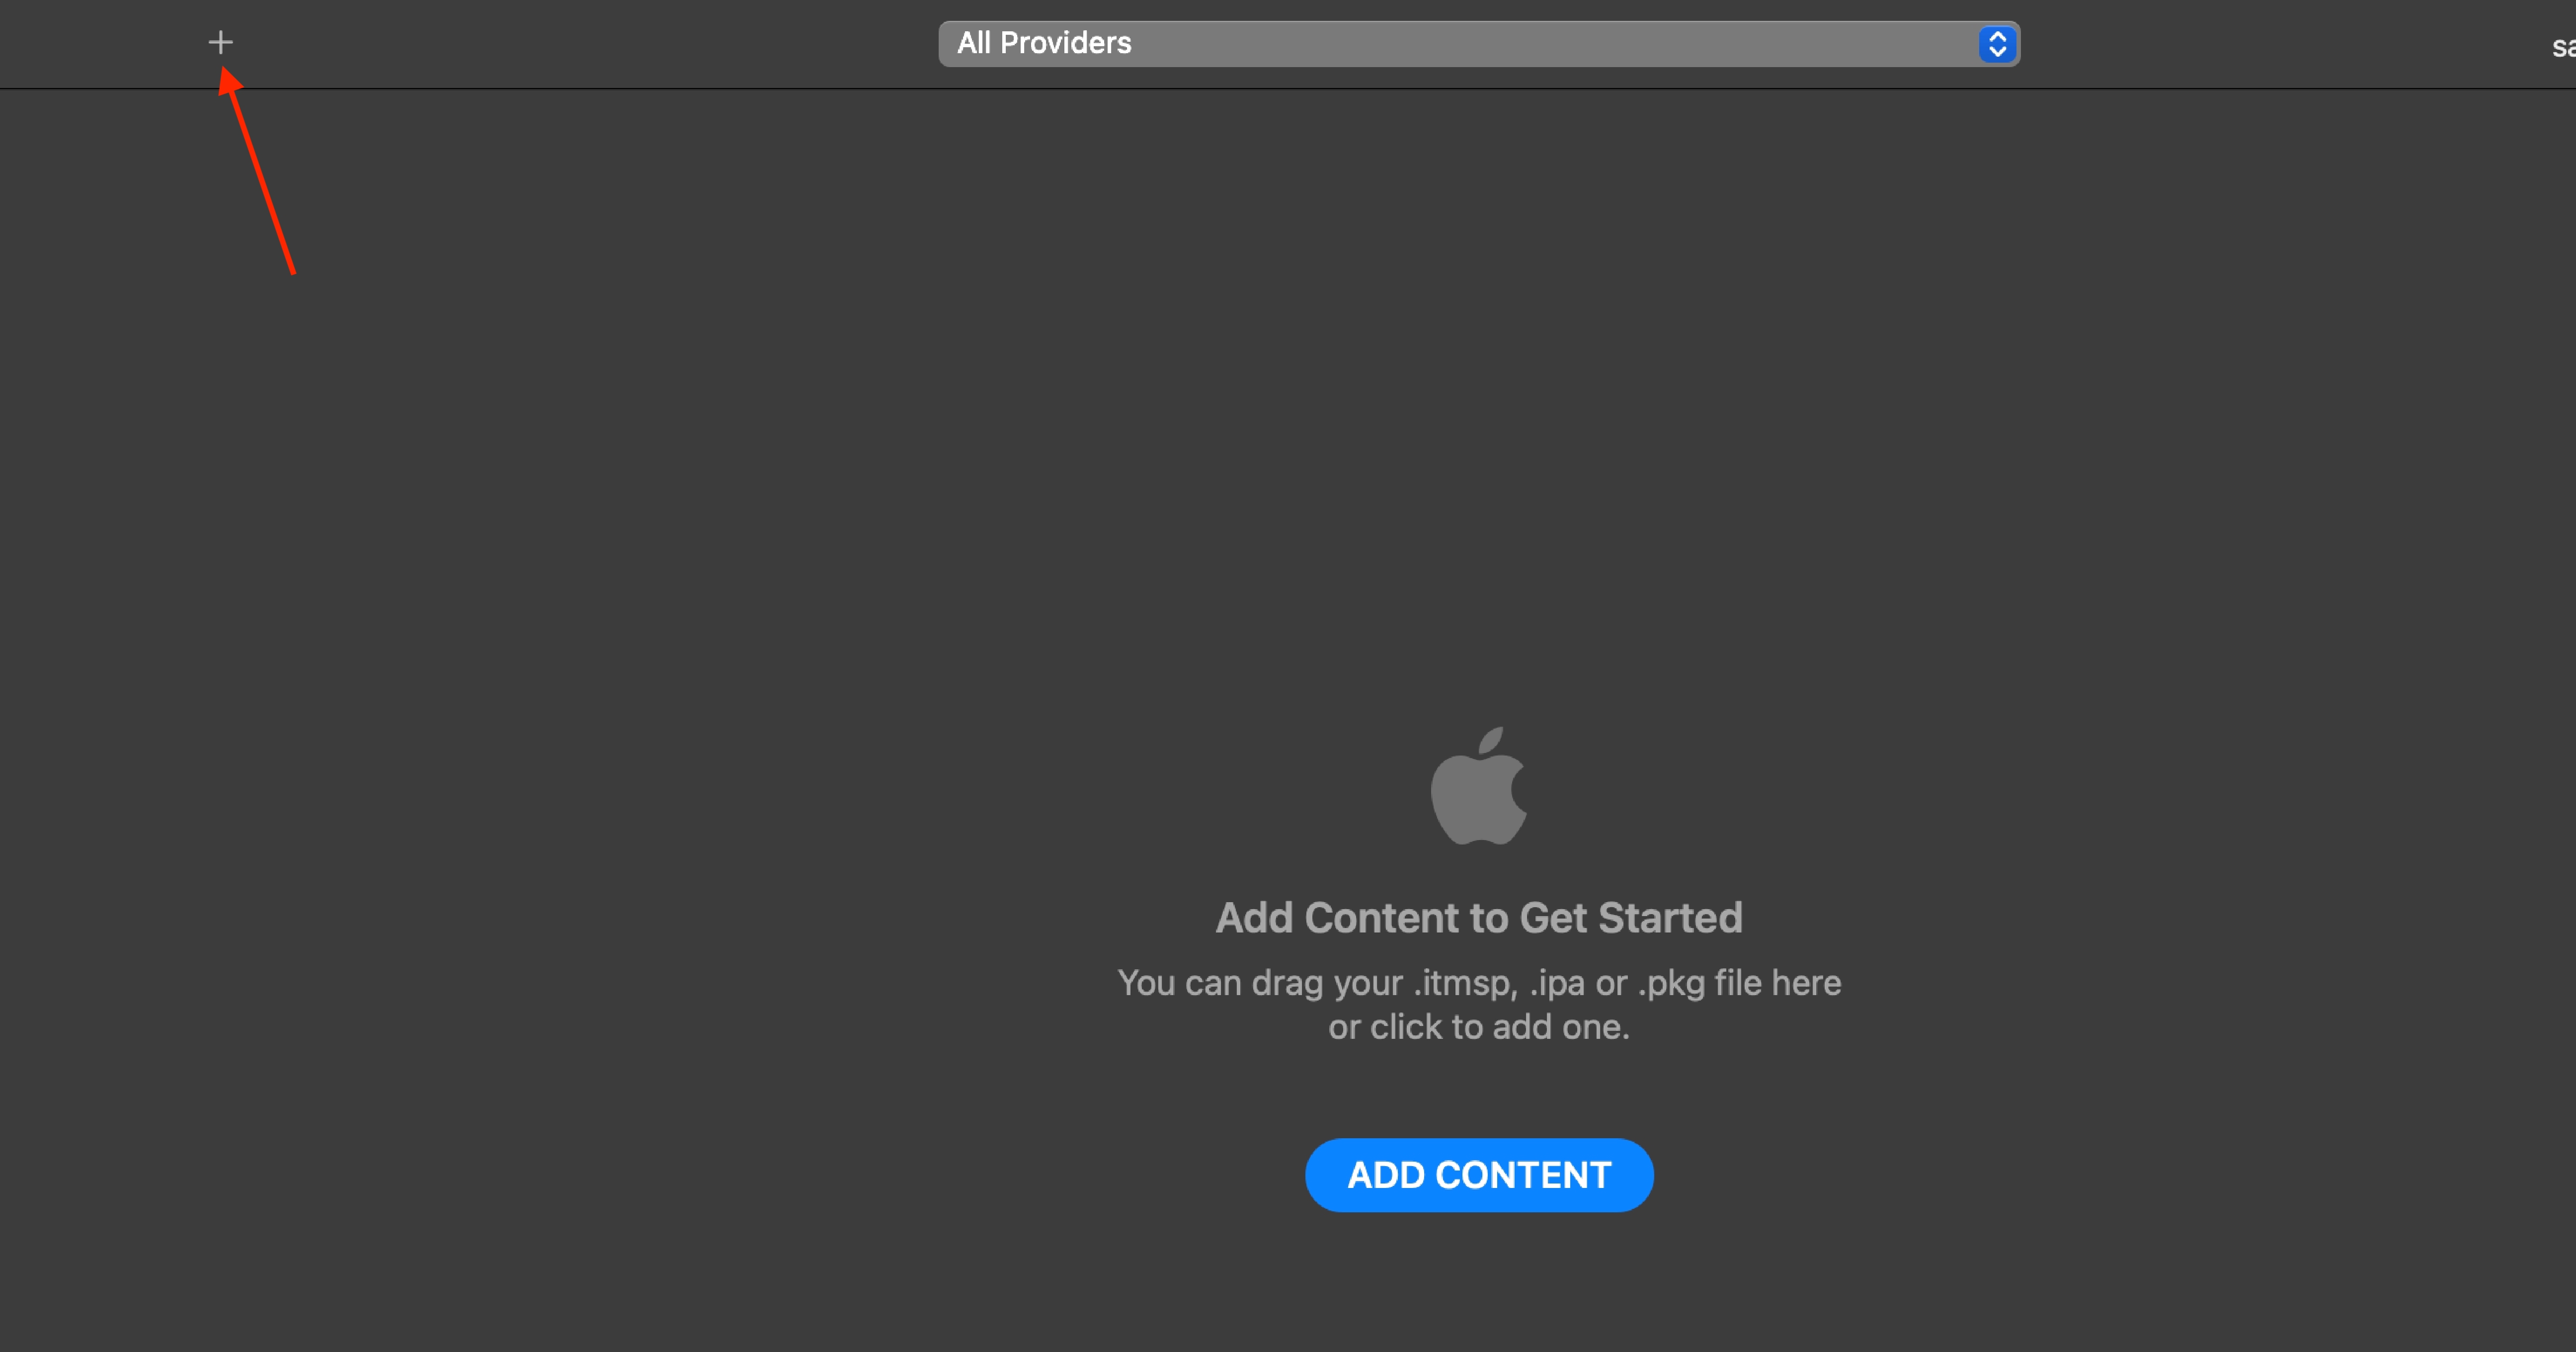
- Select the app you would like to Submit and click Open.
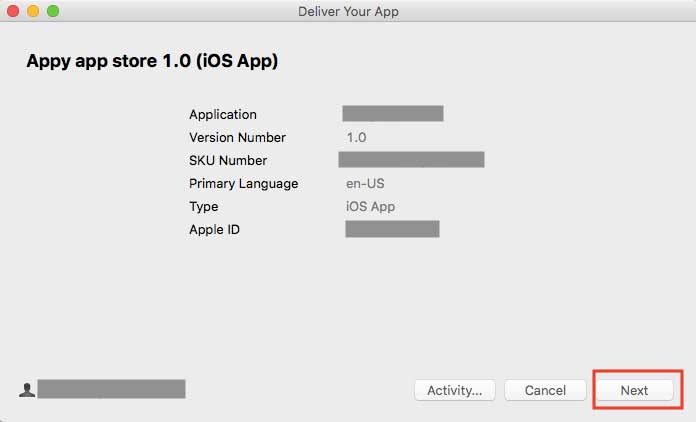
- Click on Next.
- Wait for the application loader to upload your file. Once your file is uploaded, you will see a green check (this implies that your app has been submitted to Apple).
Note: You only need to click Send if you receive an error message and want to re-add your application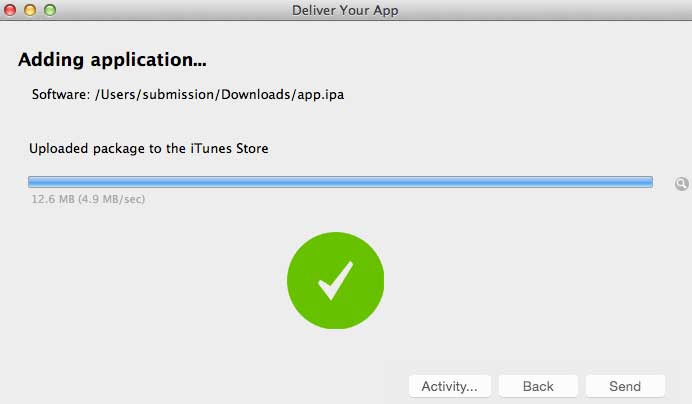
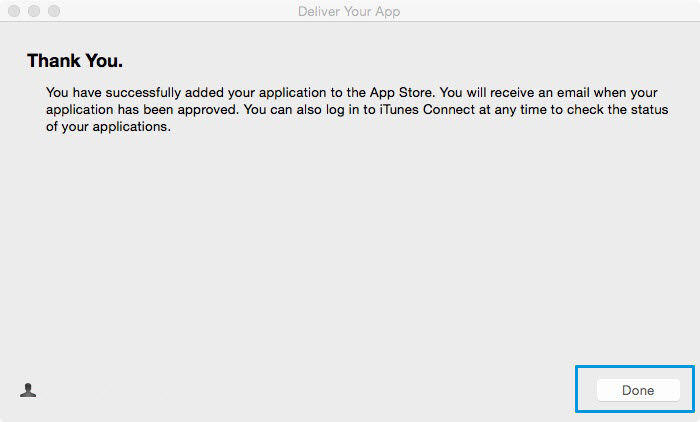
- You have successfully added your application to the App Store, click on Done.
Step 4. Send your app for review
- Login to App Store Connect
- On your App Store Connect dashboard, click My Apps
- Select your app from My Apps
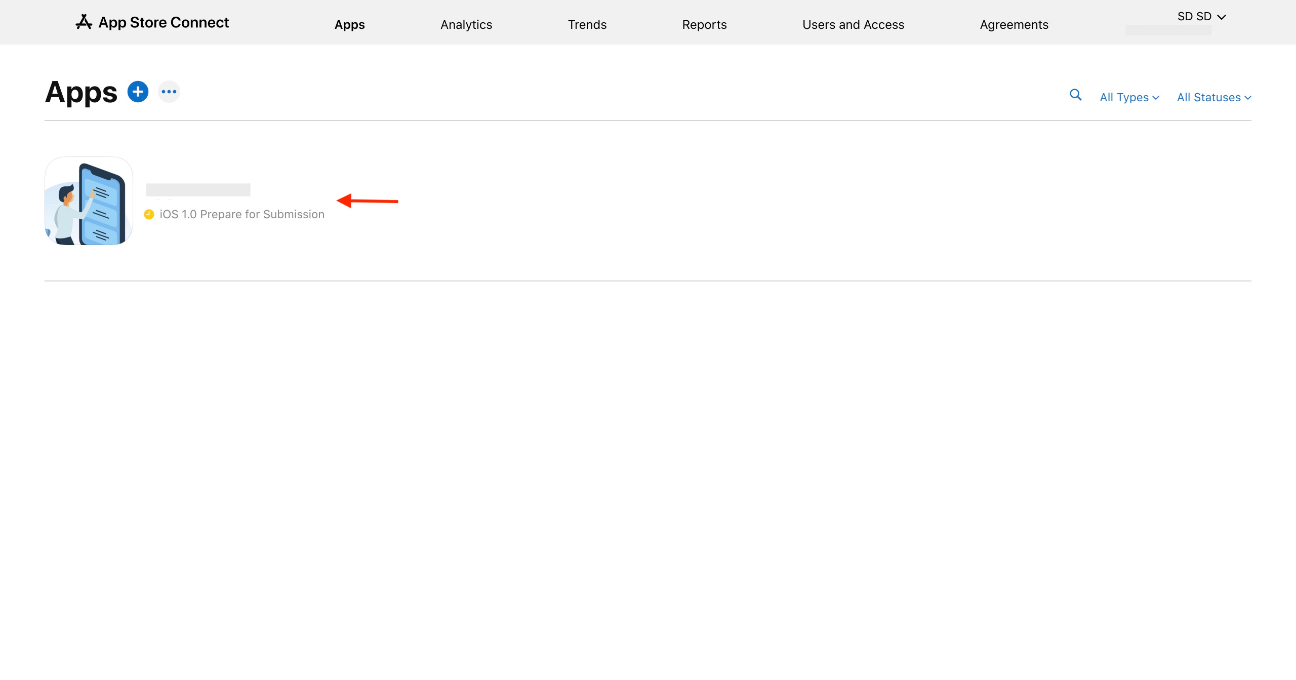
- Select the app version with the status “Prepare for Submission” in the sidebar and then, click the + icon next to Build

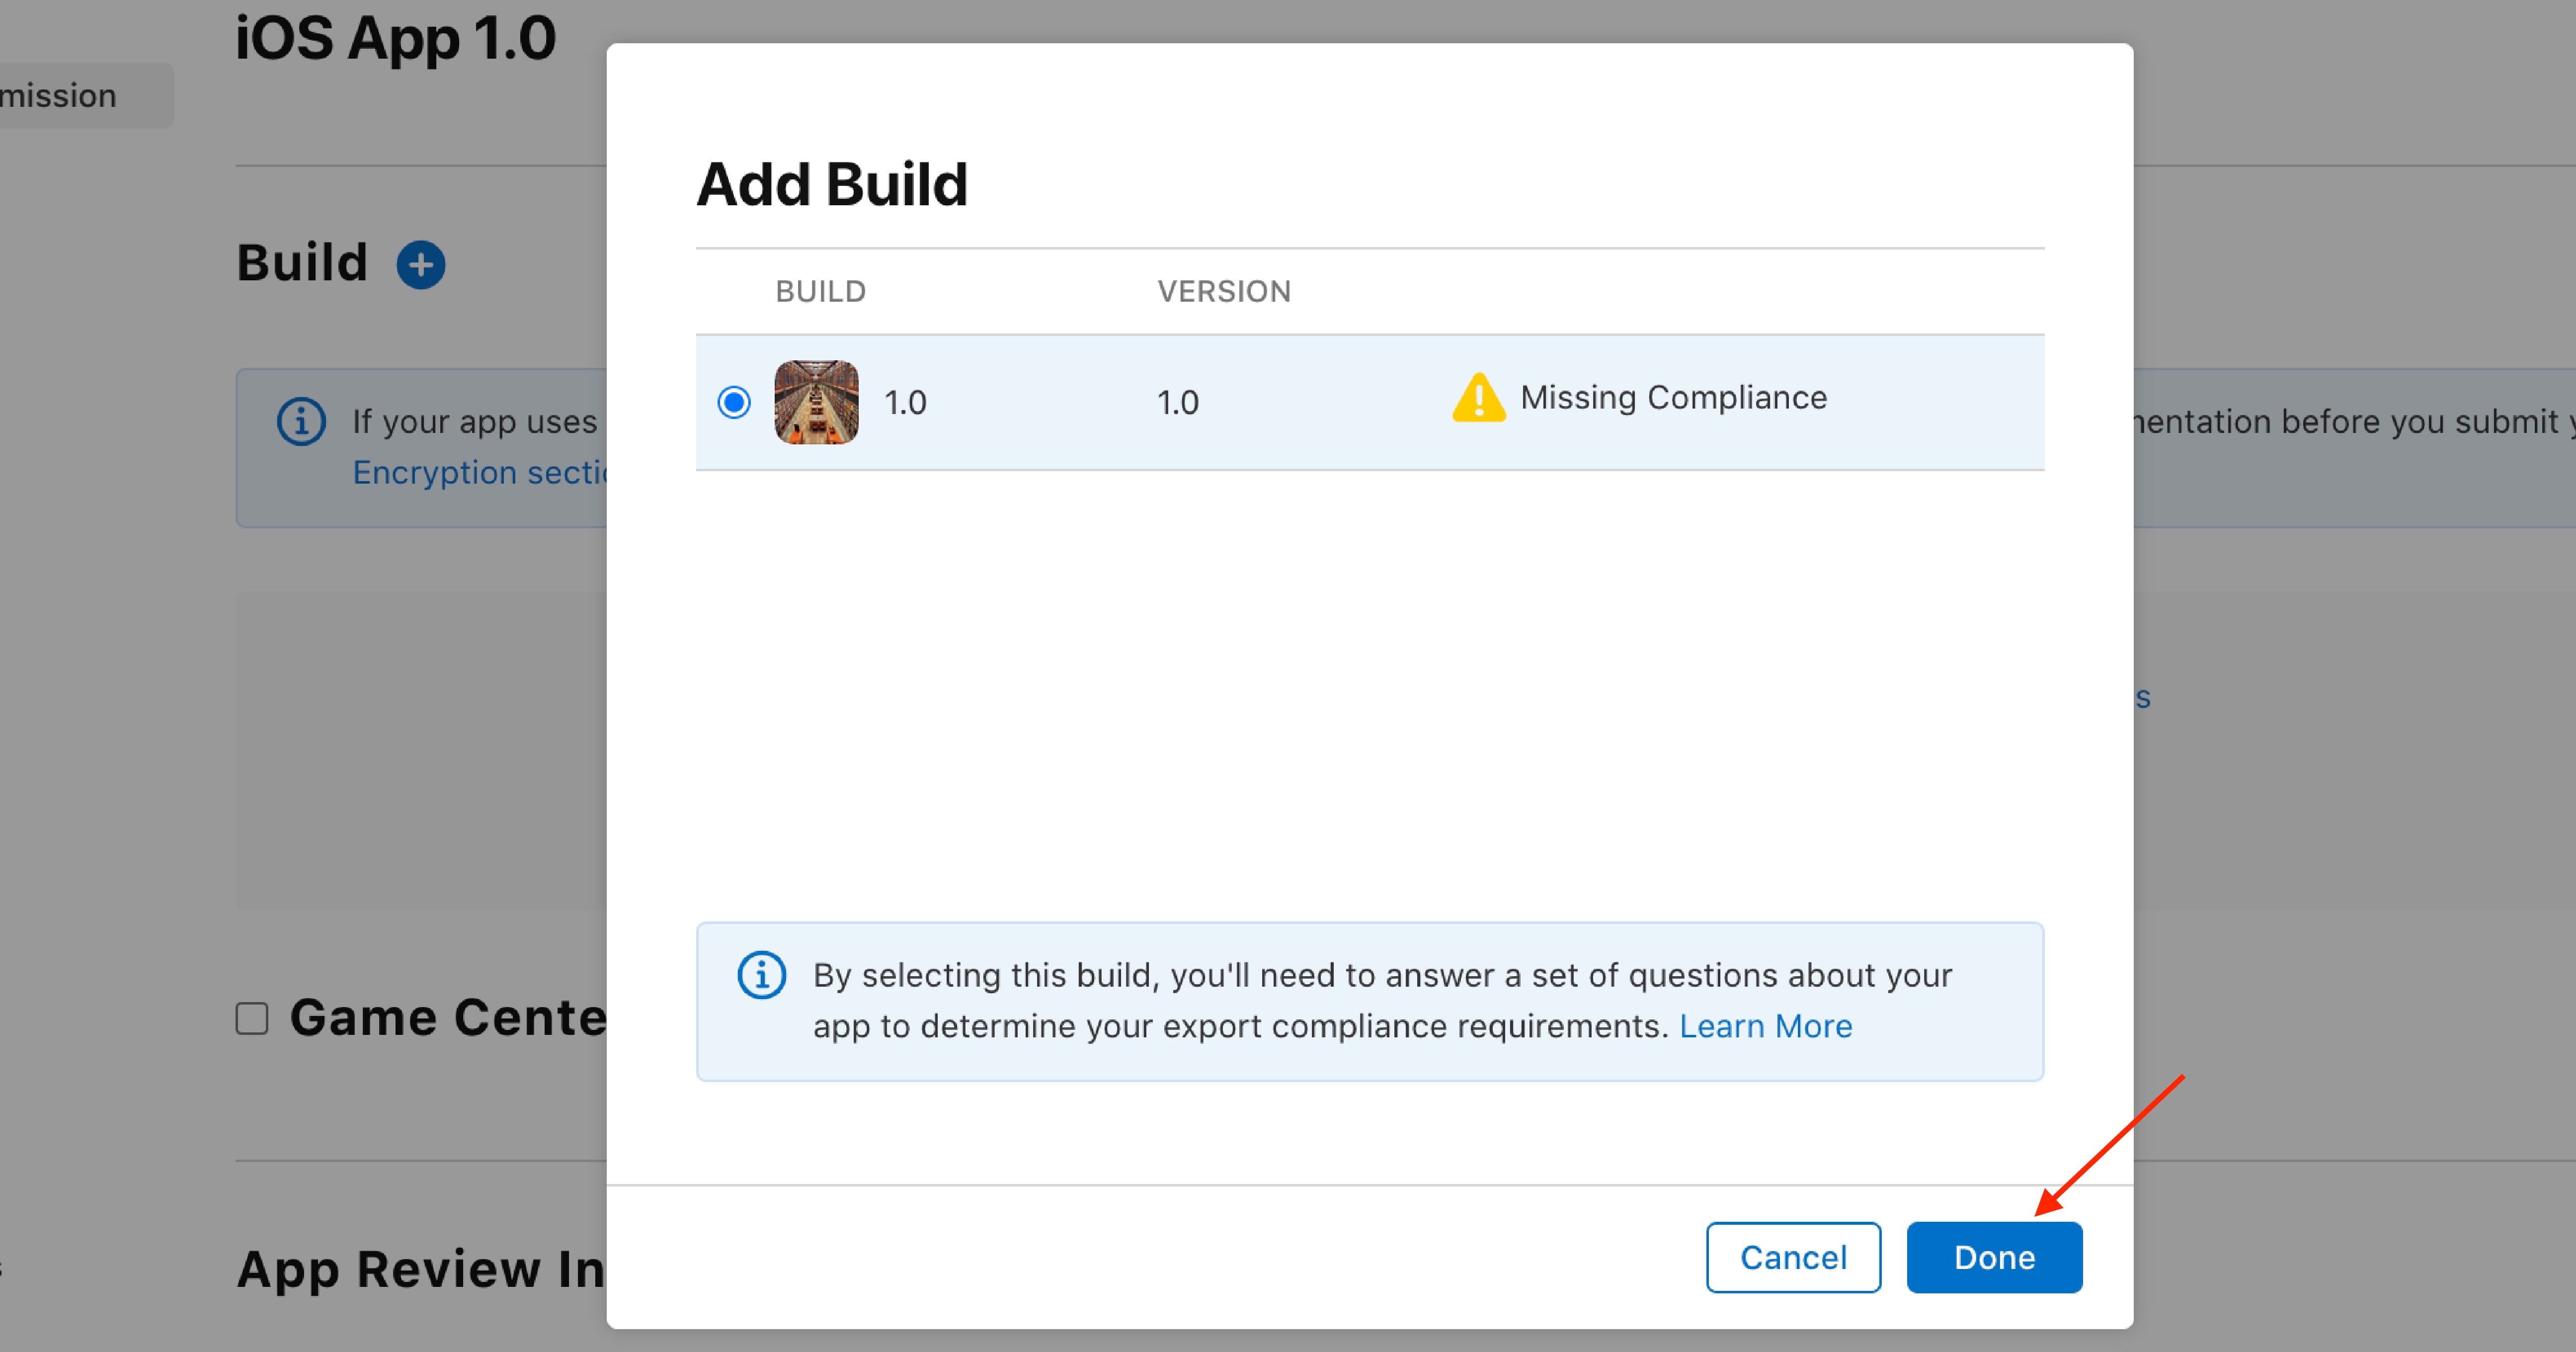
- In the Add Build dialog, select the latest build you want to submit.

- Once you have selected the build, click Done.
- Under Status, click Manage.

- In the Export Compliance Information dialog, select the None option and click Save.

- Click Save.

- Click the Add for Review button.

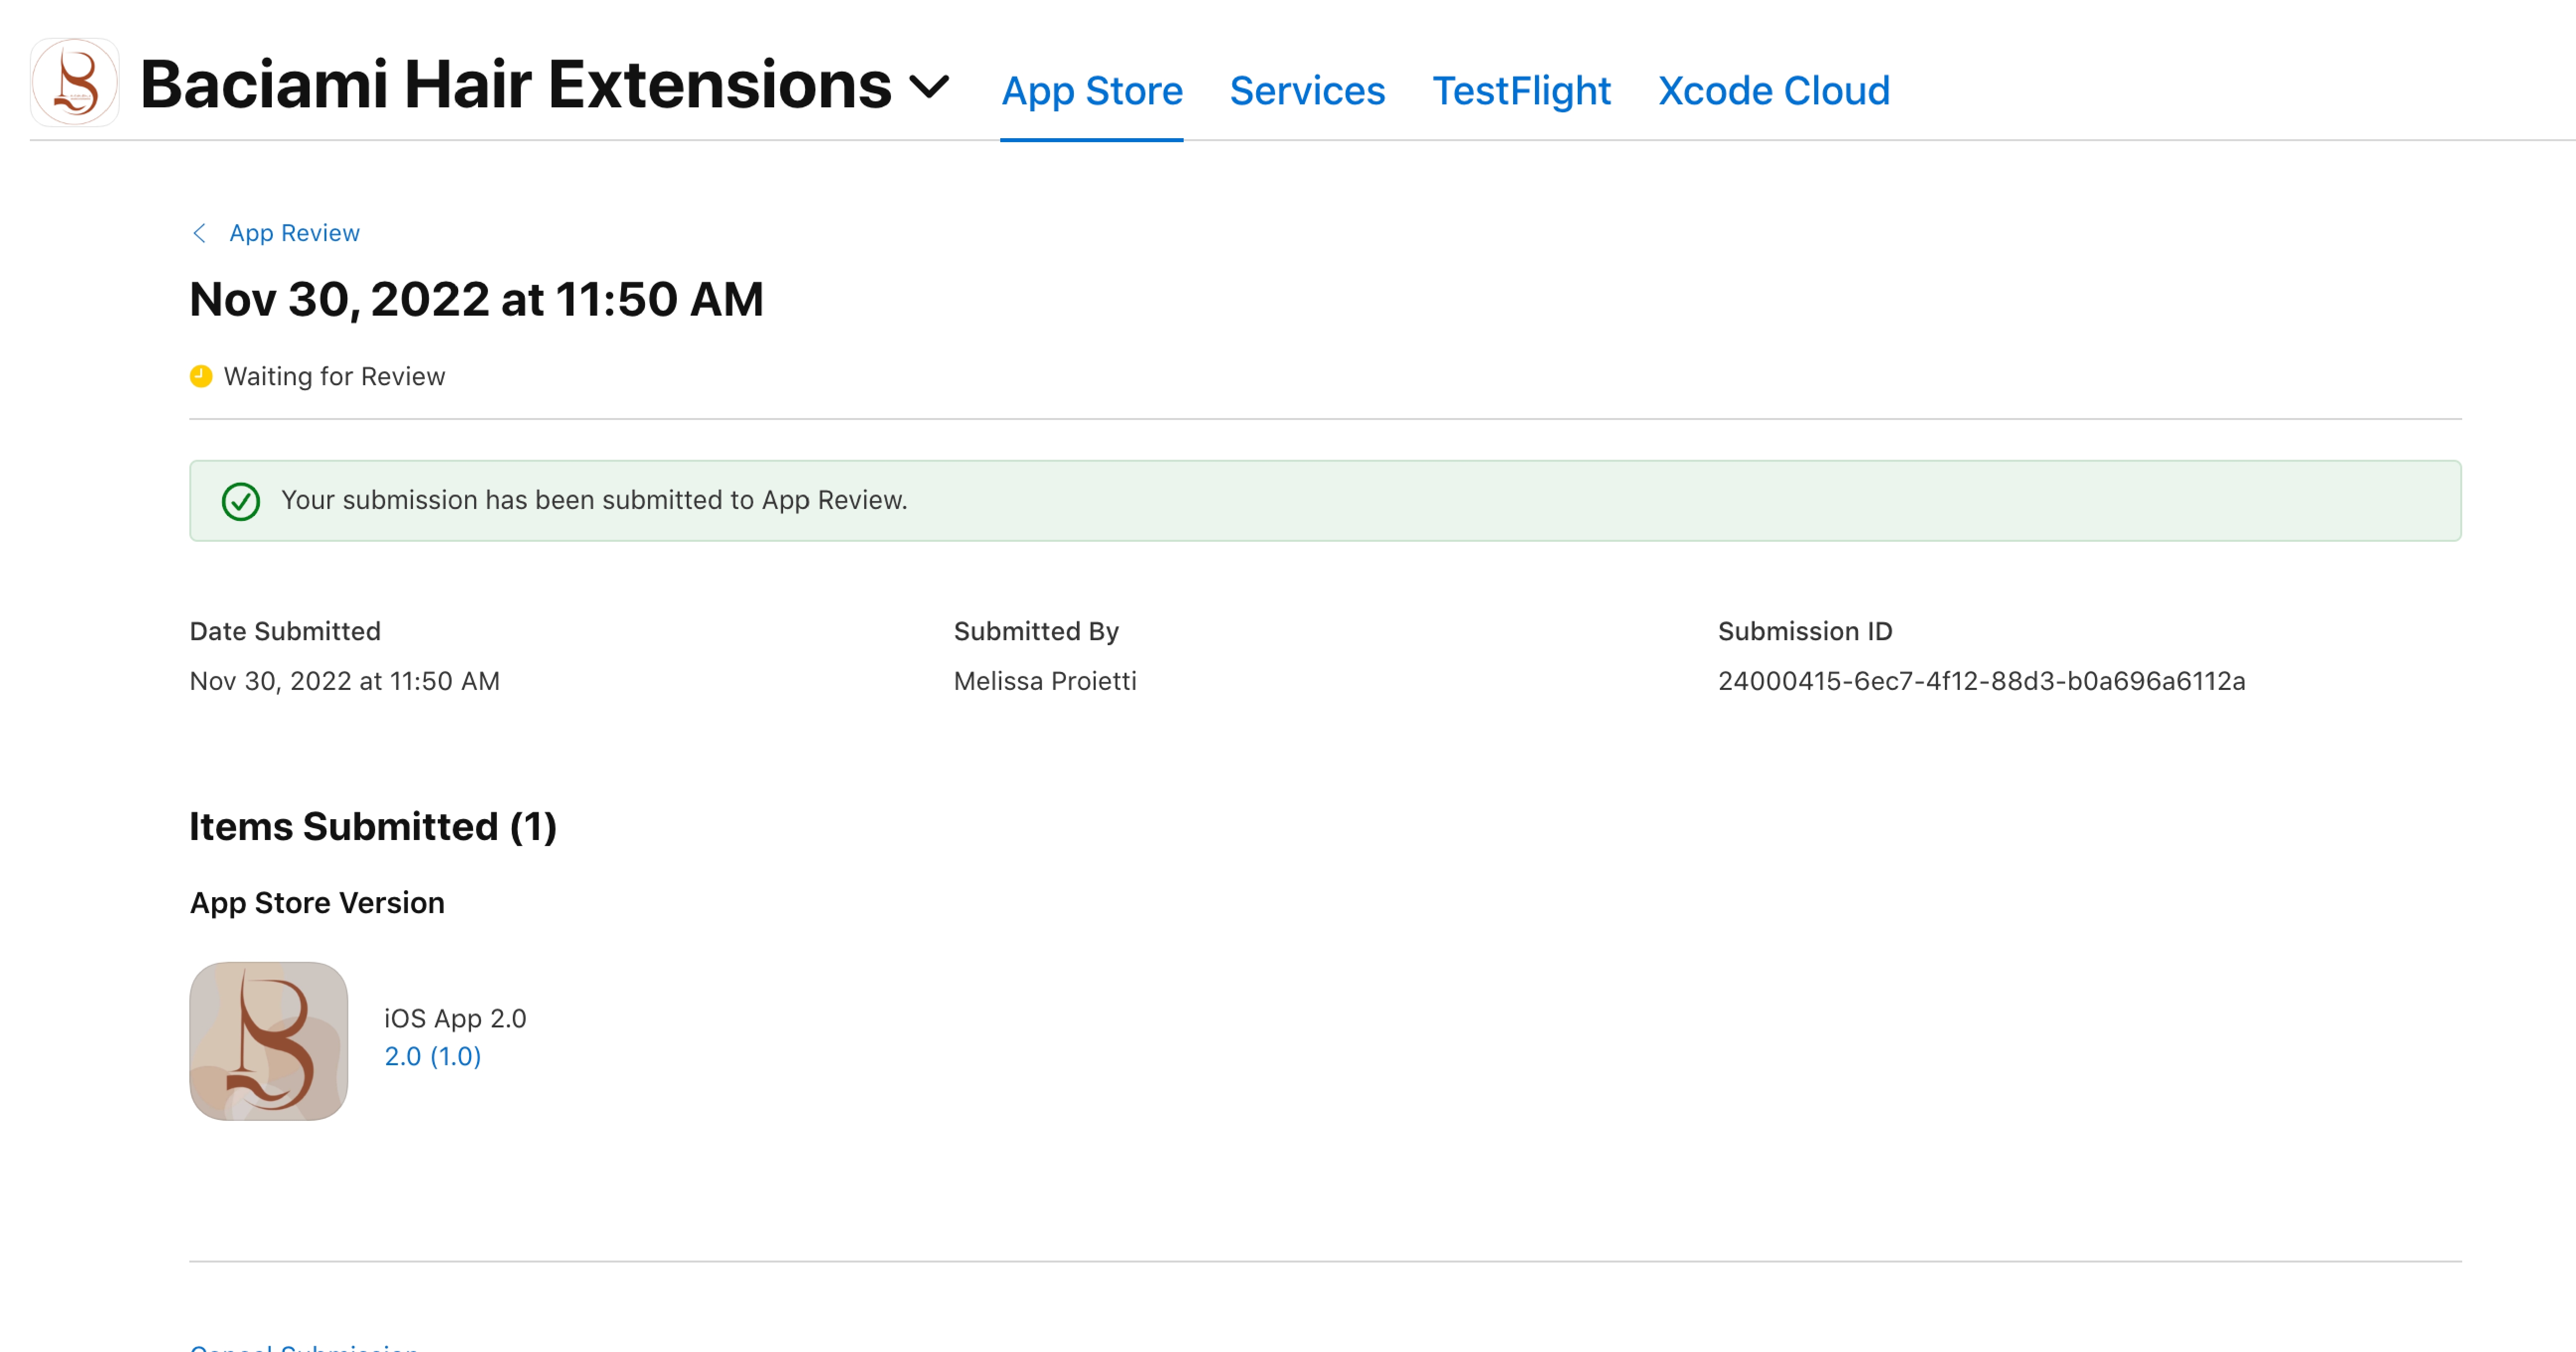
- Click the Submit to App Review button.
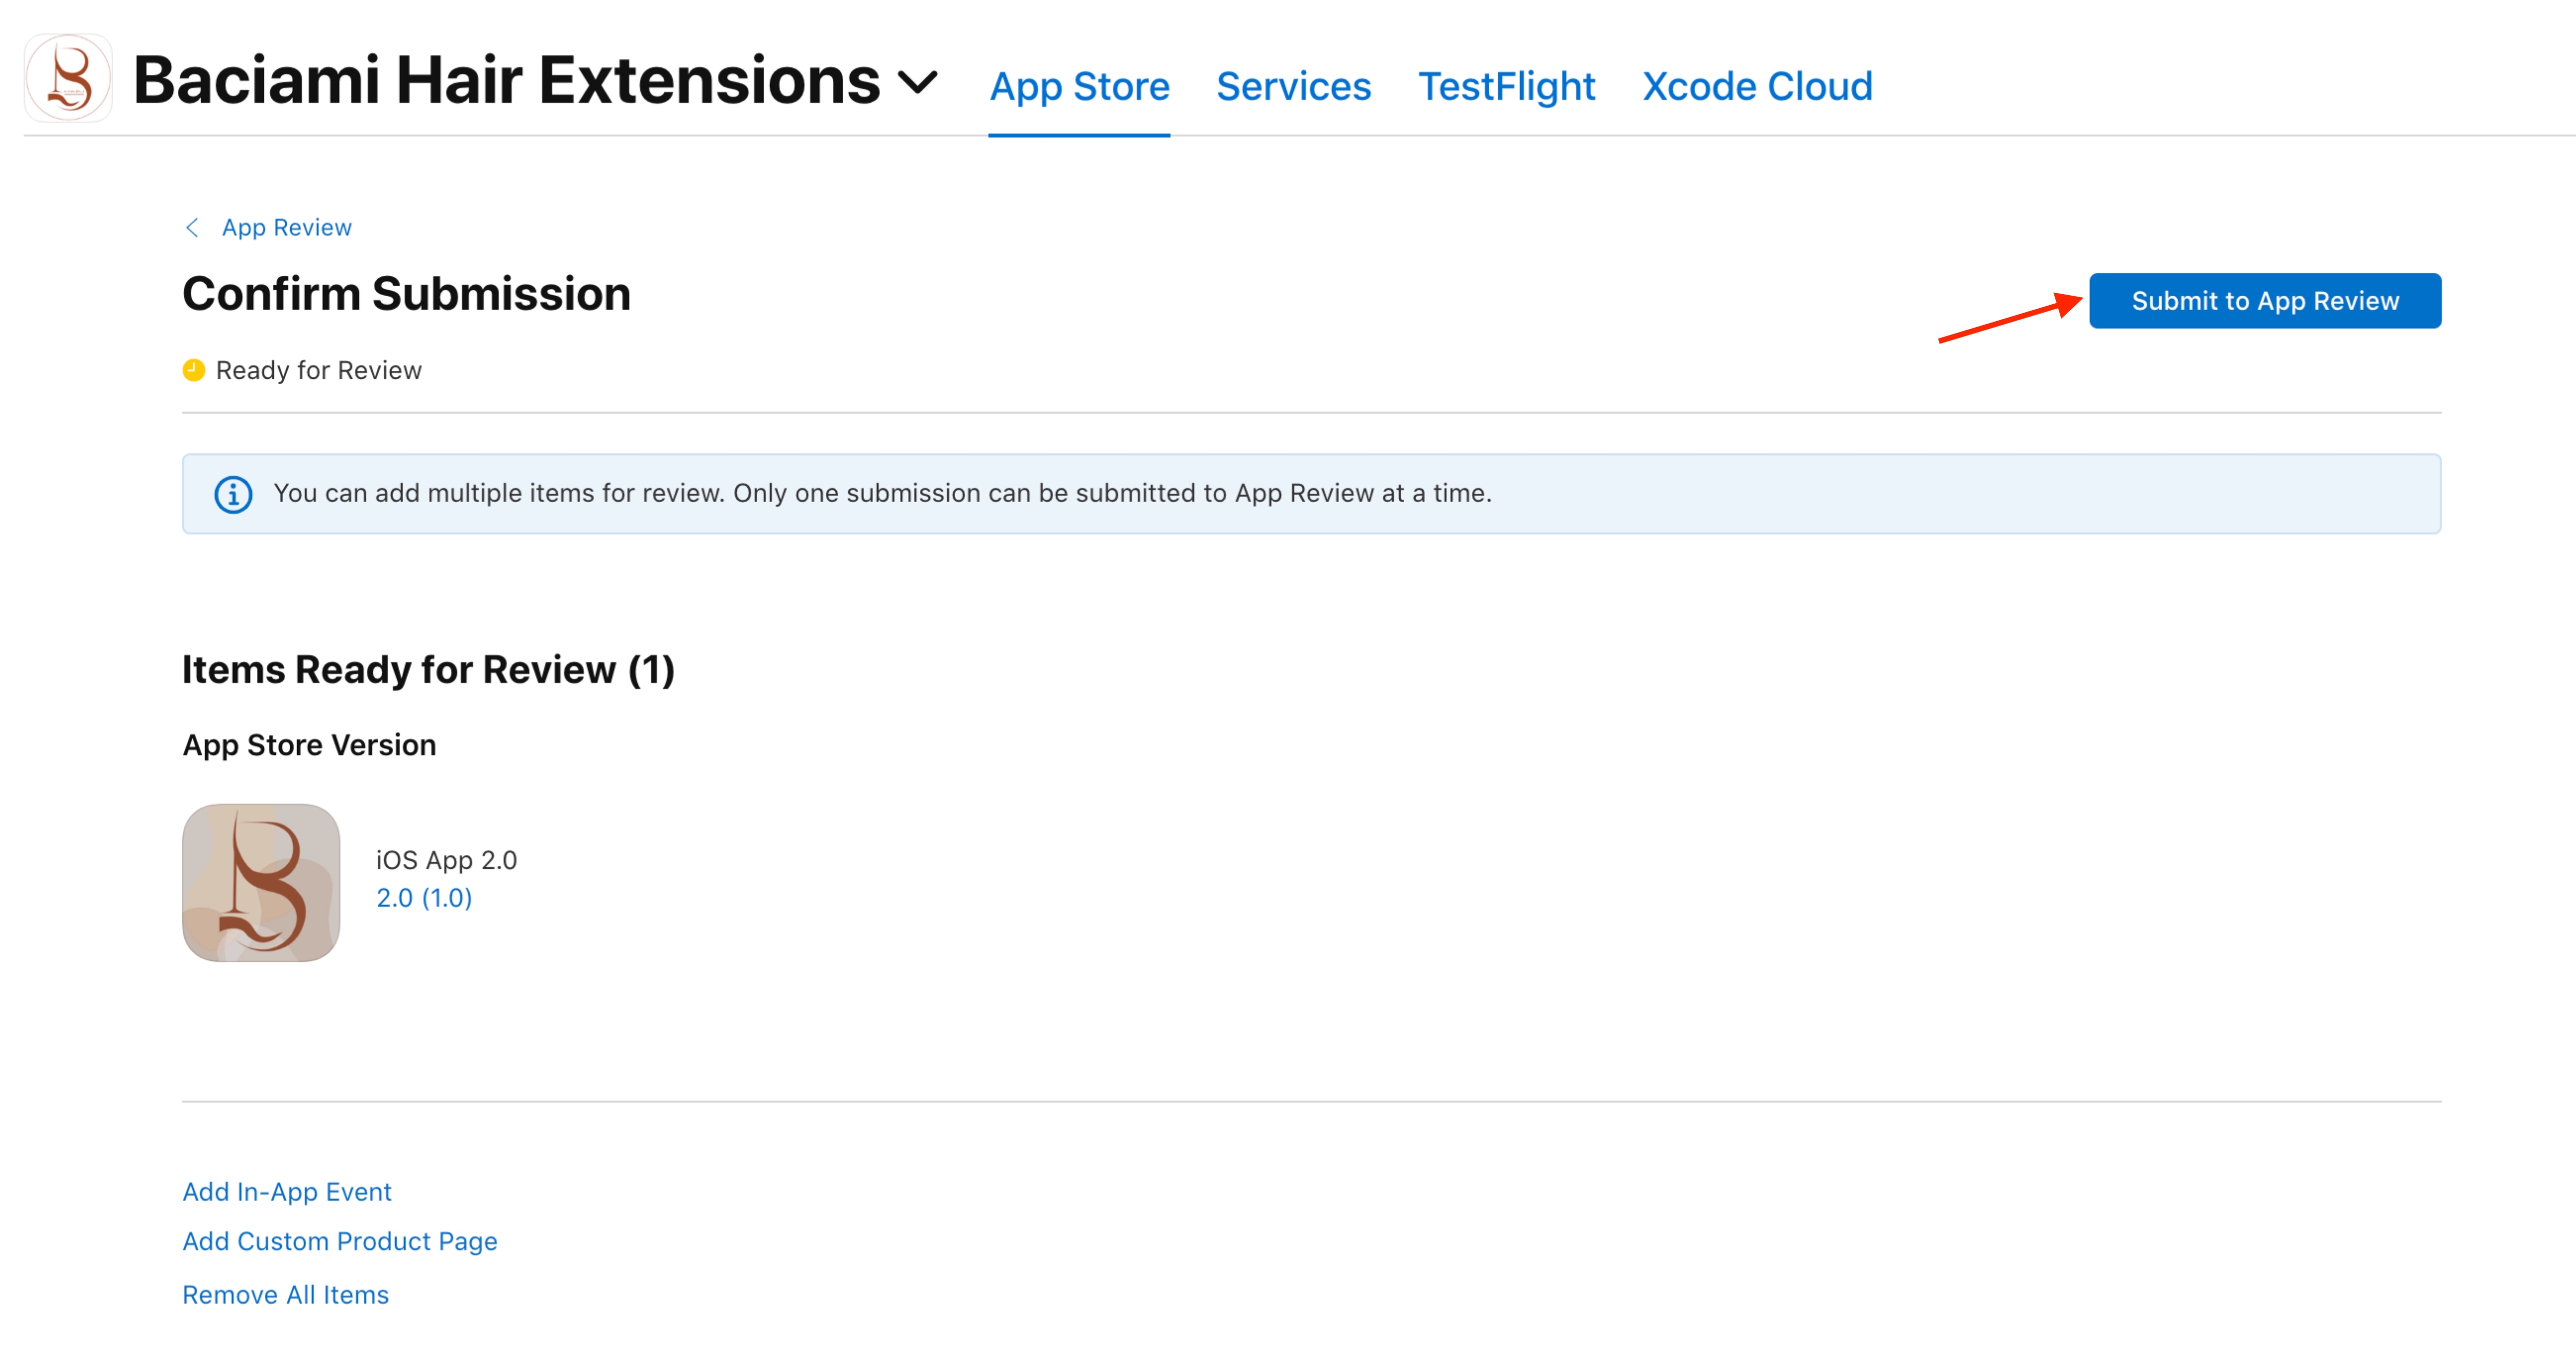
- Once done, your submission will be submitted for app review.
loading...
loading...
loading...
Related Articles
- Appy Pie: How to create an iOS Distribution Certificate?
- Appy Pie: How to create an iOS Provisioning Profile?
- Appy Pie Font Licensing: What You Need to Know
- Appy Pie: How to add Hyperlocal feature to your app?
- How to add and edit features in Appy Pie?
- Why is an Email Address Required on Appy Pie?
- Appy Pie: How to add the Donate feature to your app ?
- Appy Pie: How to add the Audio feature to your app ?
- Appy Pie: How to get Live Publishable Key, Live Secret Key and client ID from Stripe for Taxi?
Still can’t find an answer?
Send us a ticket and we will get back to you.