Knowledge Base
How to set up Google Workspace in Appy Pie for your Domain purchased from Third-Party platforms?
Gaurav Tewari
40 min readPublished on Date | Last updated on Date
To set up your Google Workspace for a domain purchased from GoDaddy, follow these steps:
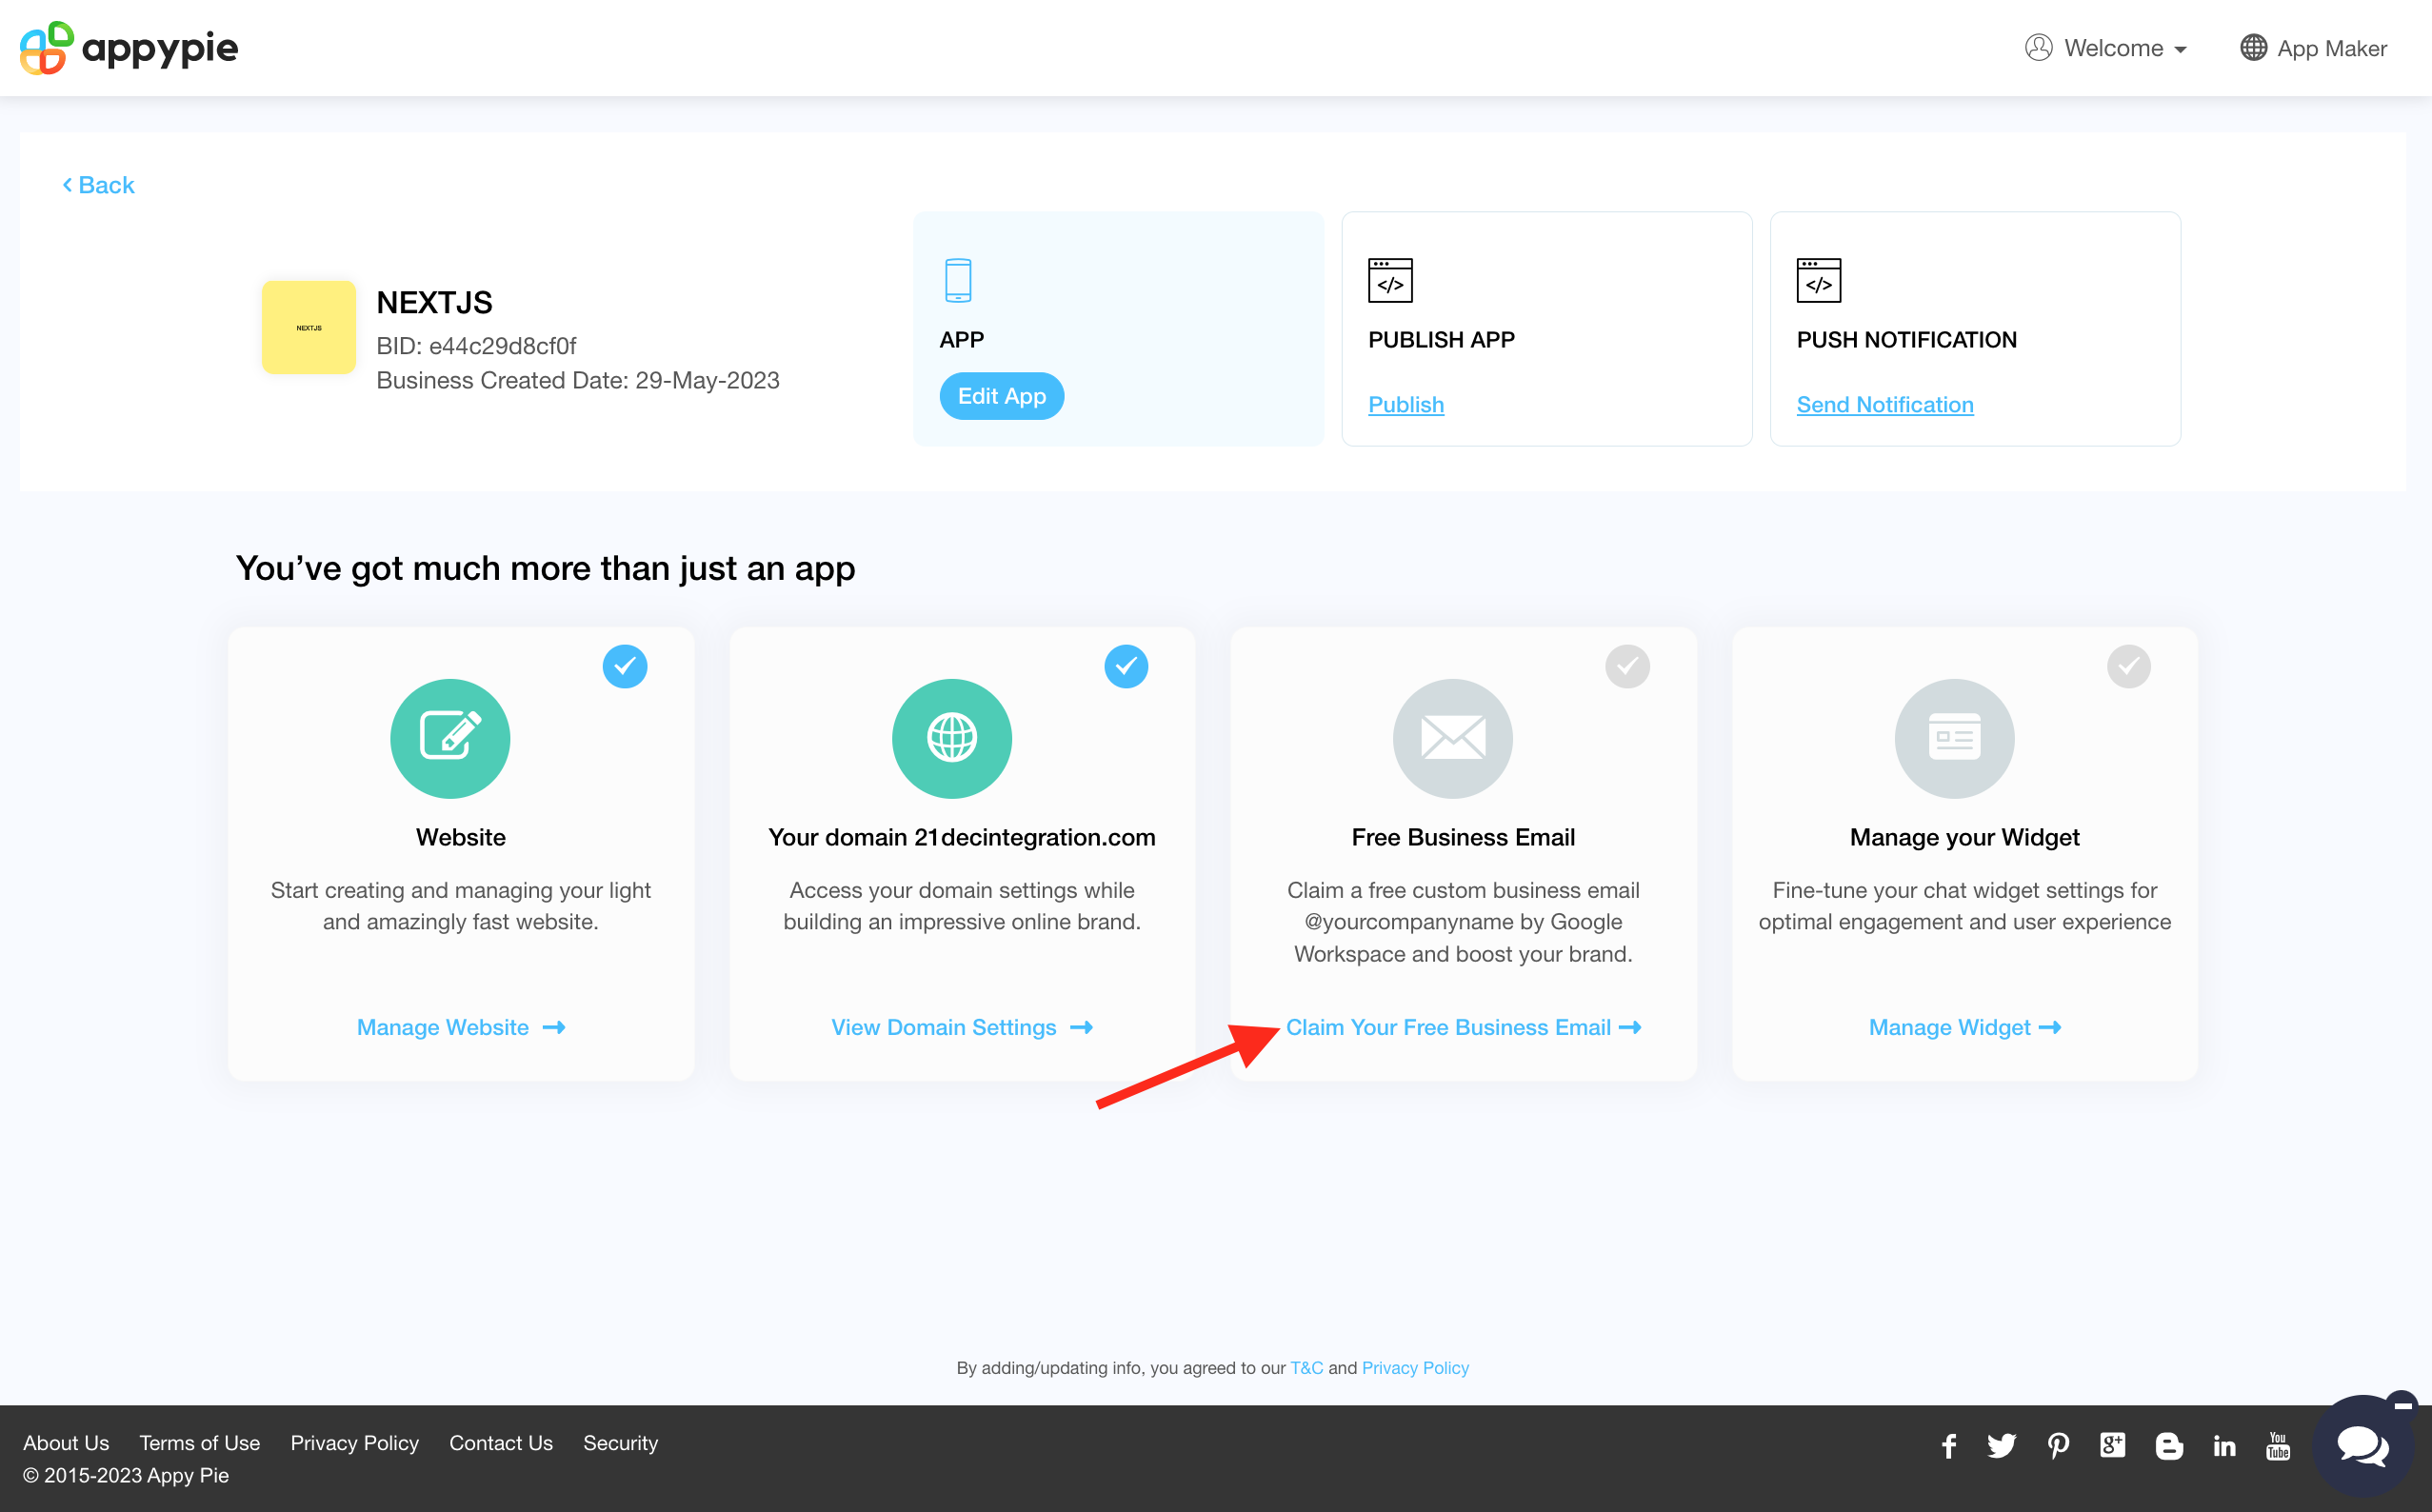
Log in to your Appy Pie account and go to your Business dashboard.
Locate the Business Email card, and click Claim Your Free Business Email.
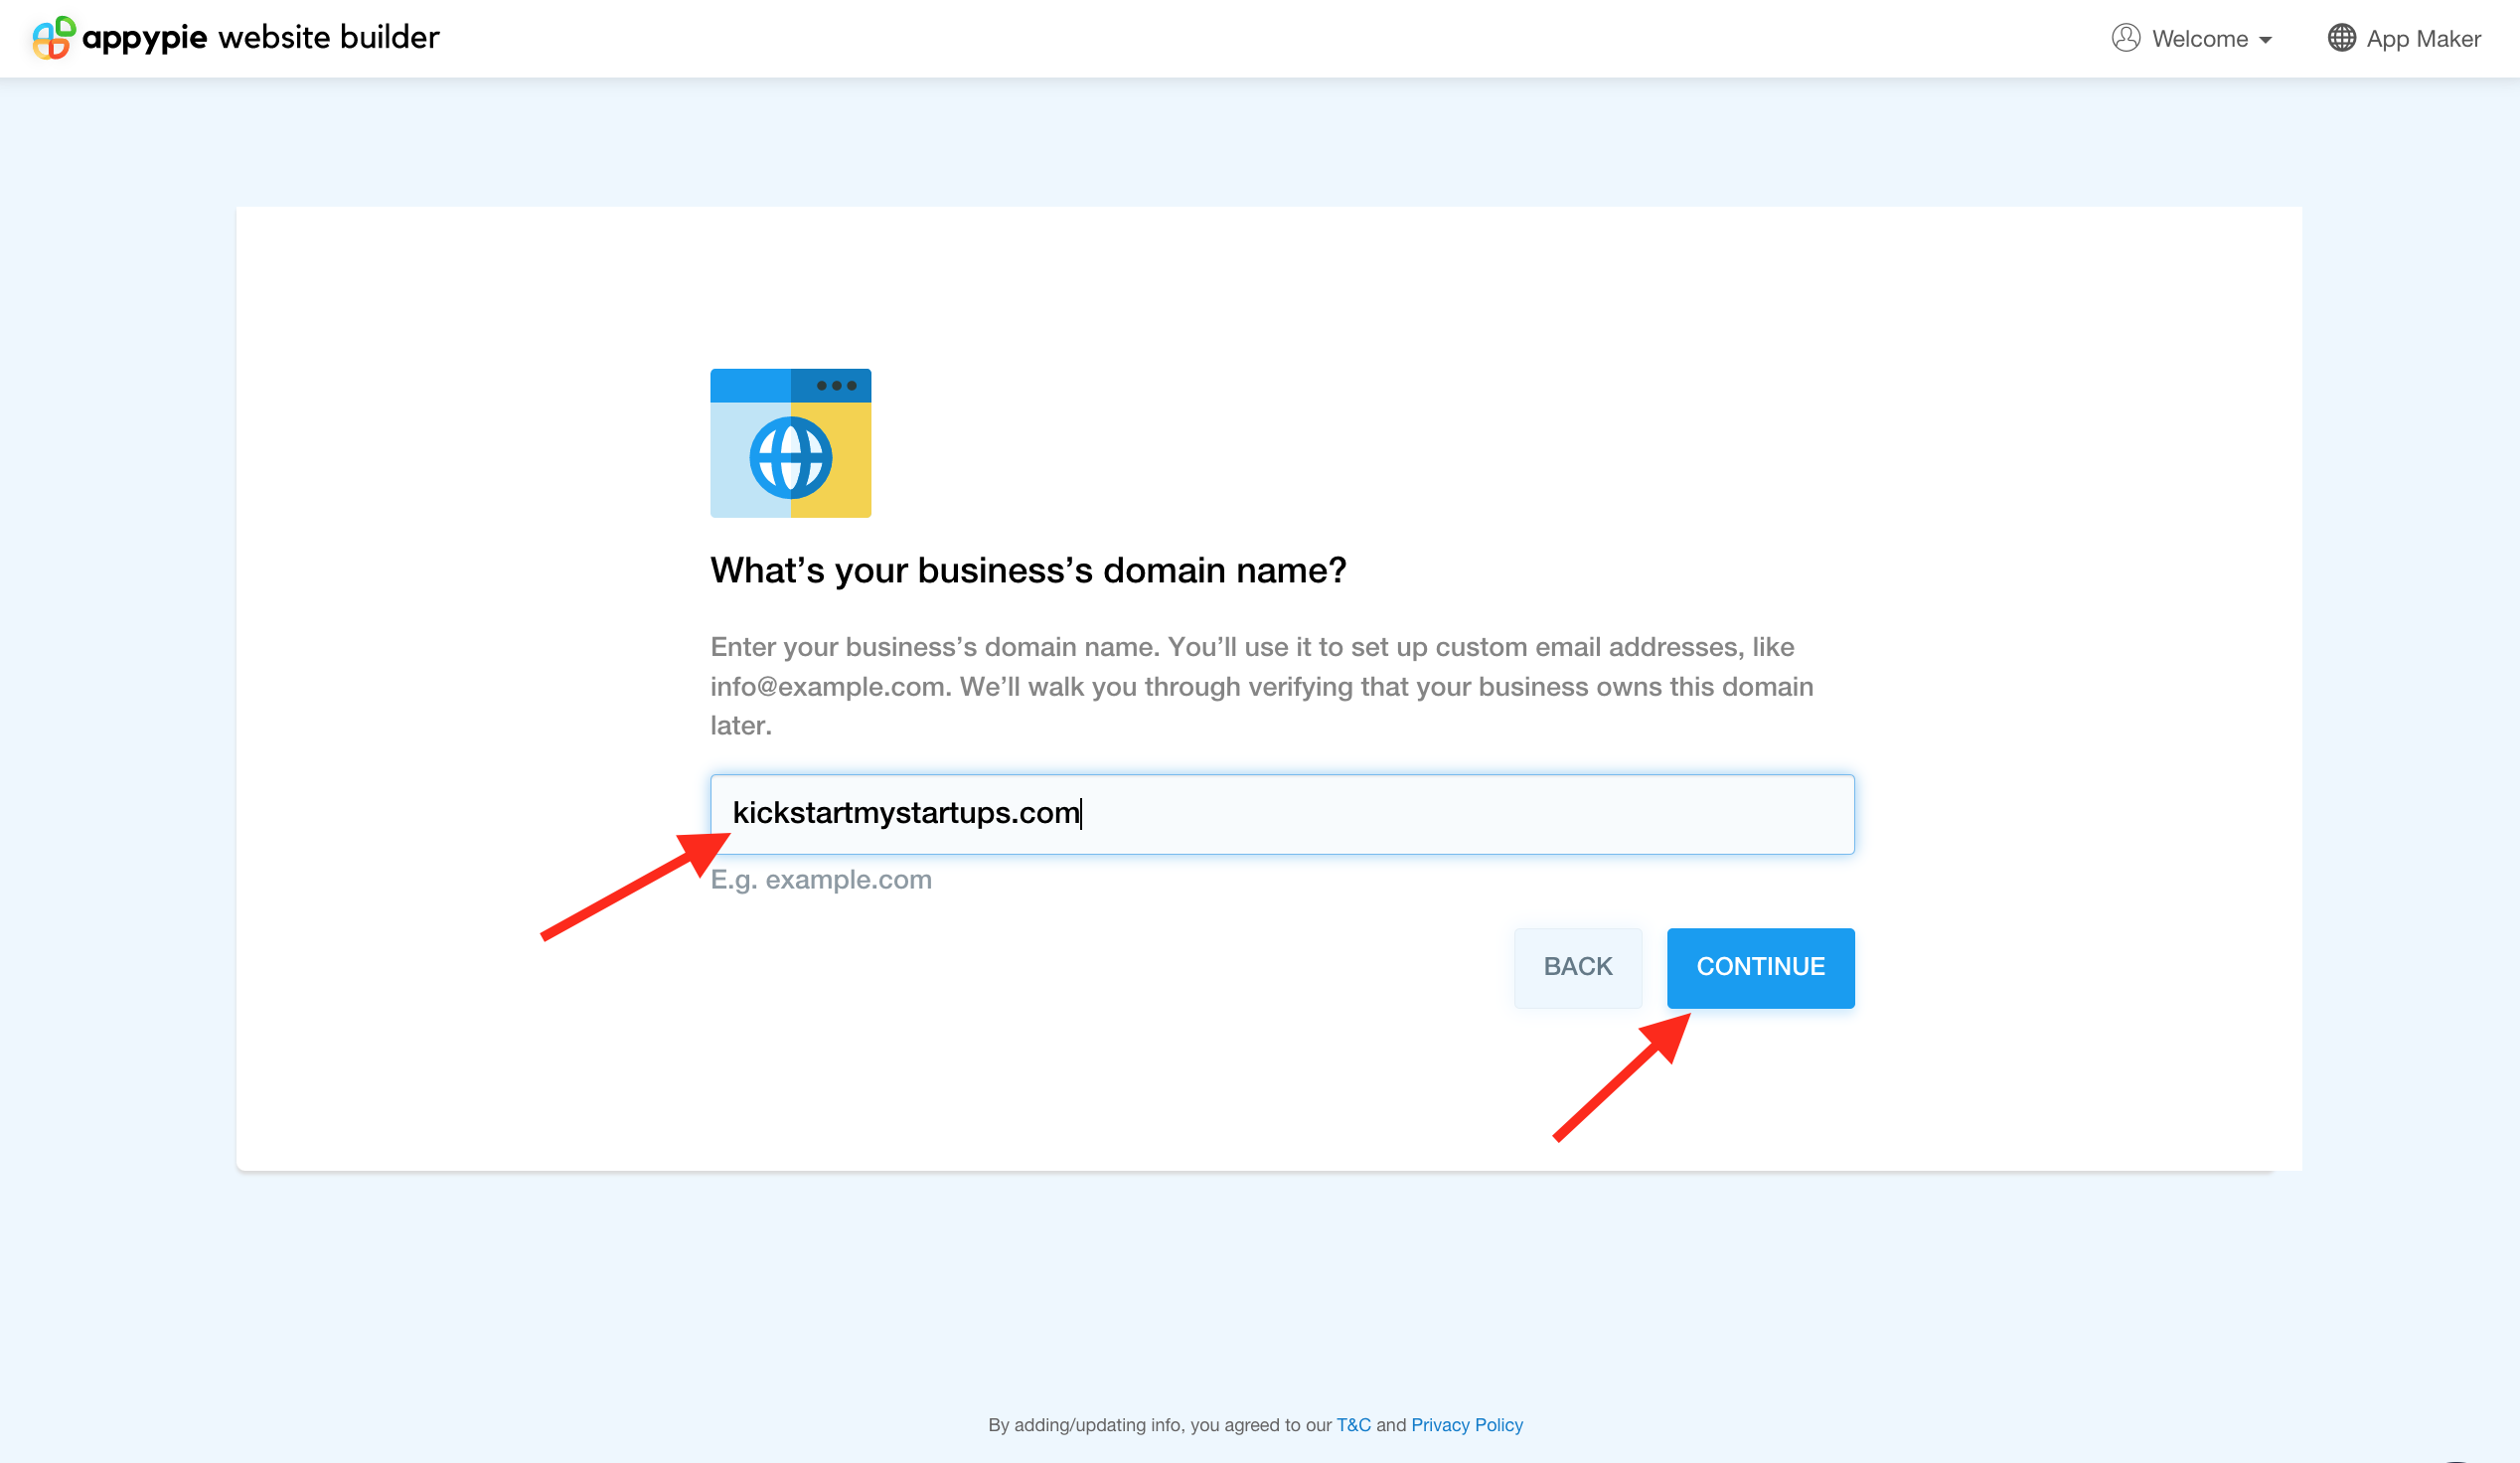
Click the USE A DOMAIN I OWN button.

Enter the domain, then click Continue.
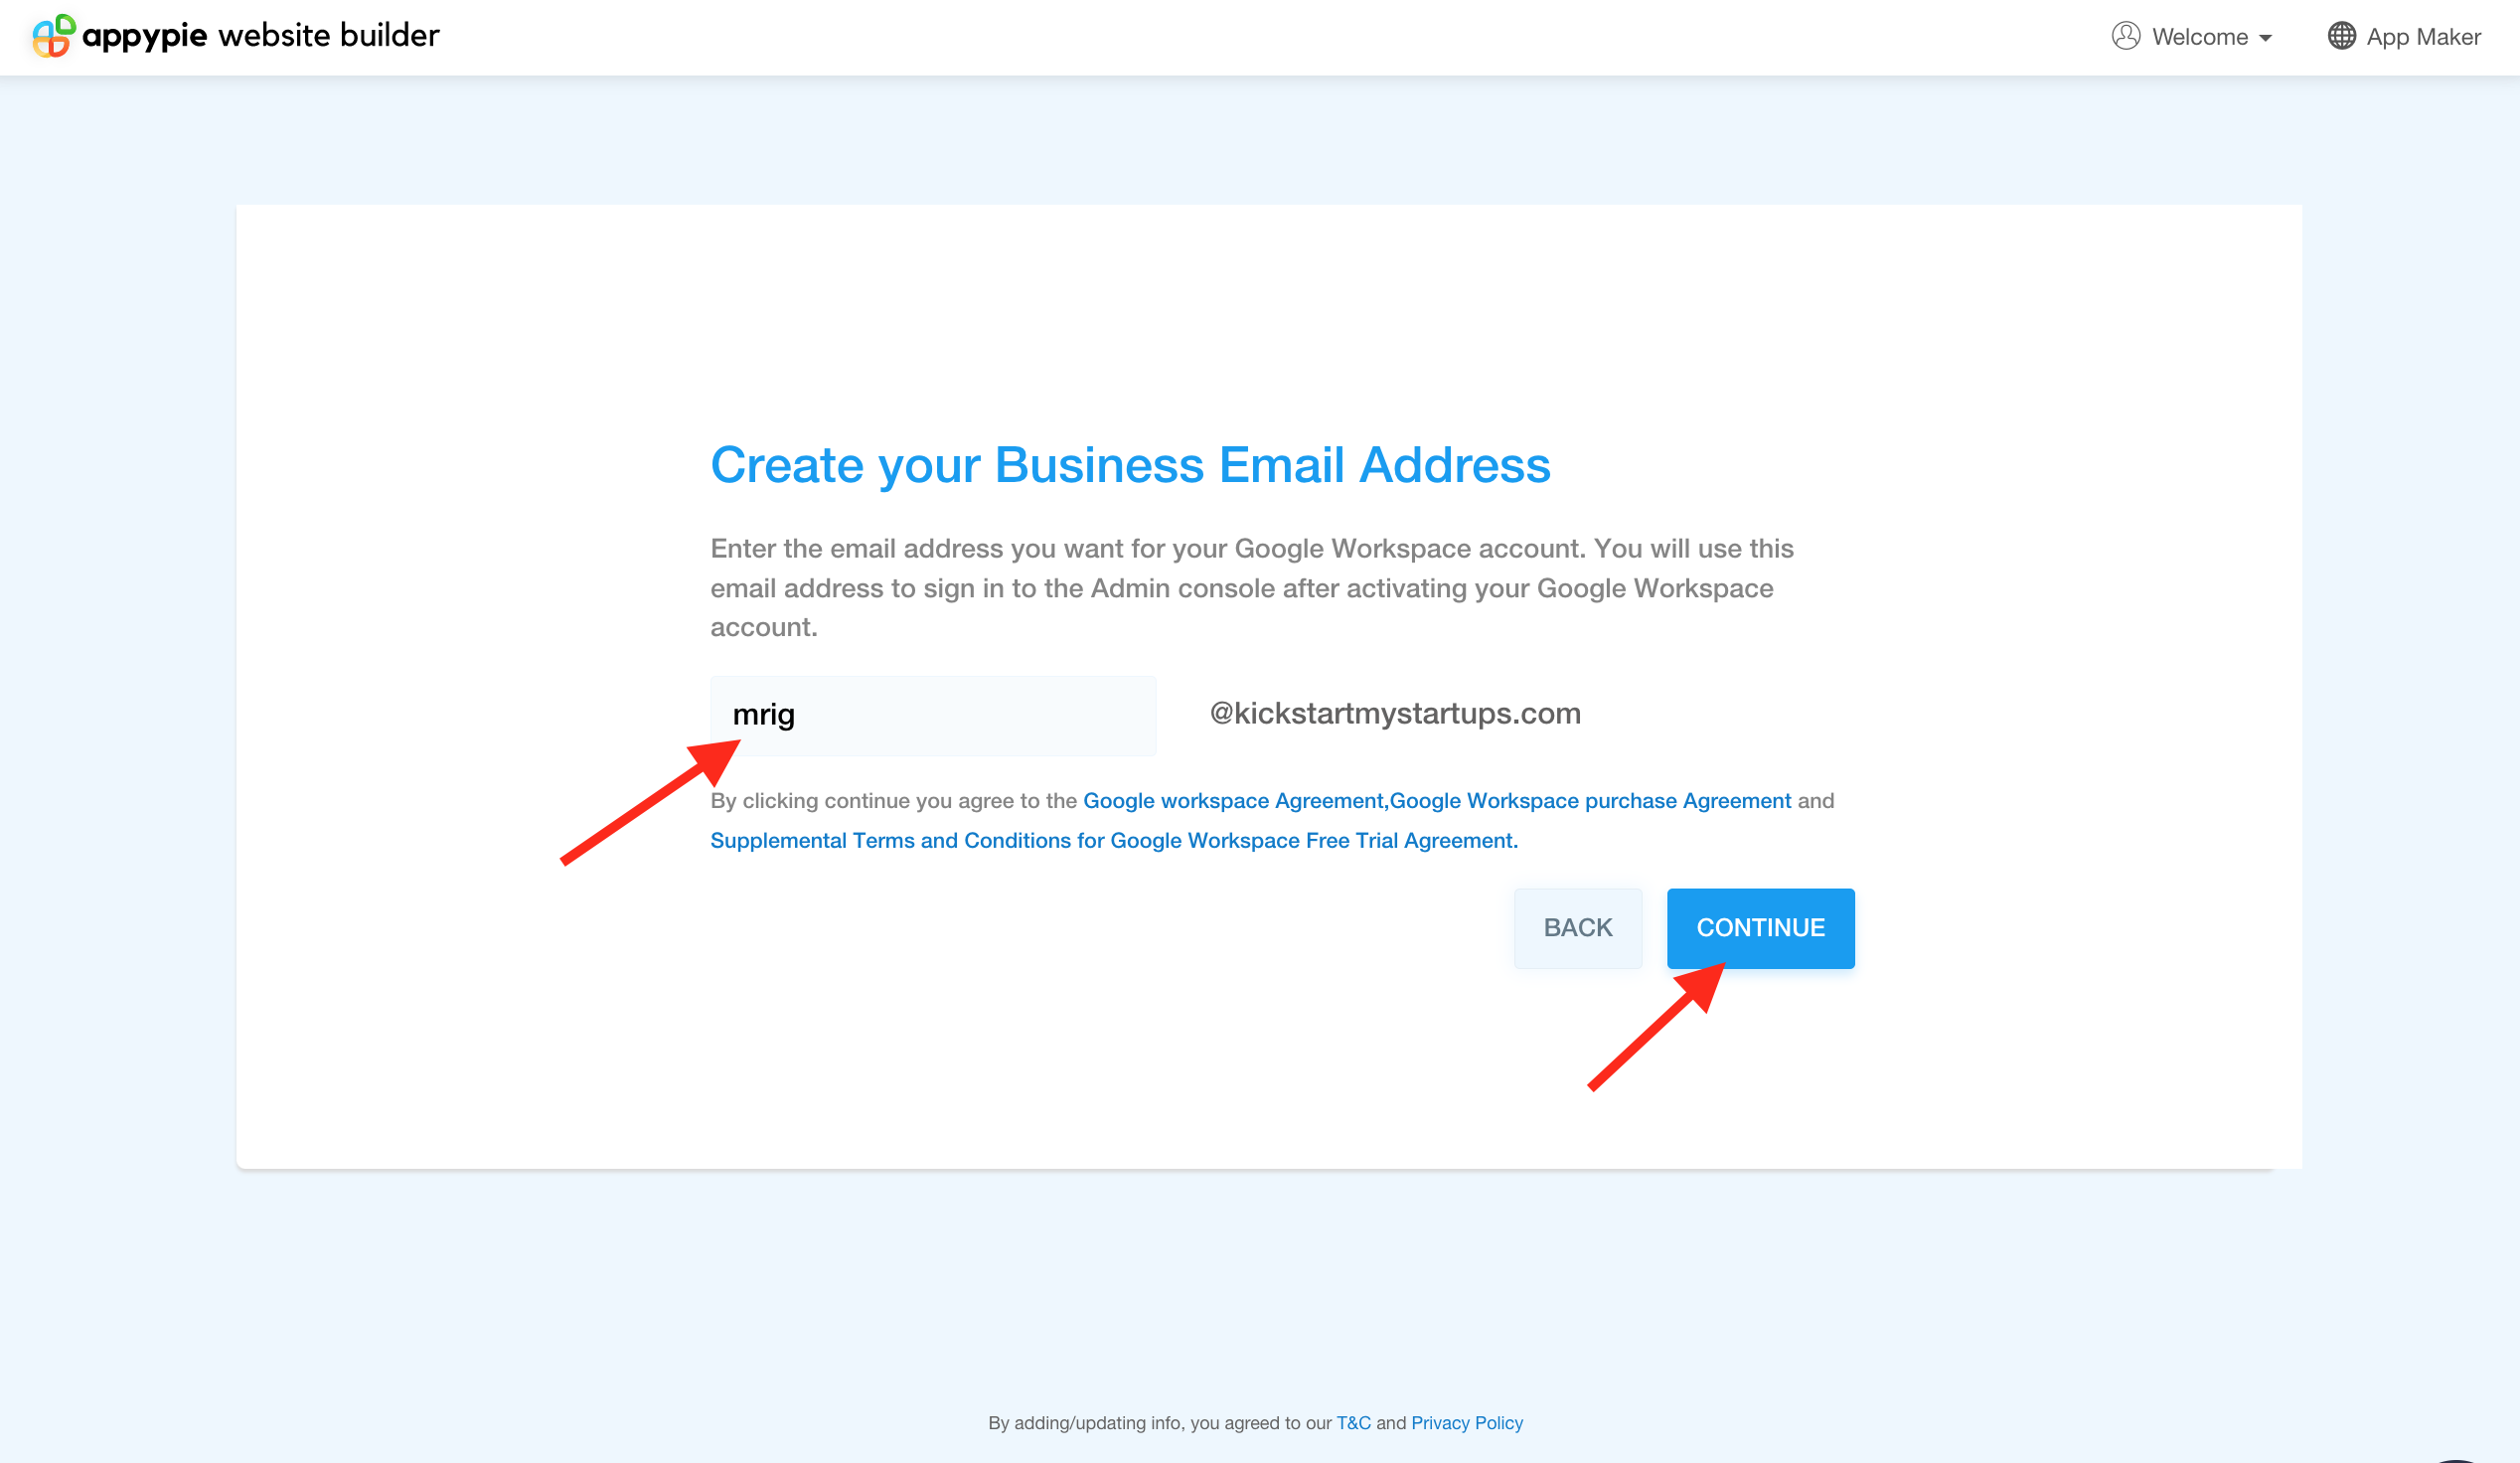
- Enter the username for your email address and click CONTINUE. Note: After activating the Google Workspace account, the entered email address will be used to sign in to the Admin console.
- Once completed, your Google Workspace will be set up. Proceed to activate your Google Workspace account.
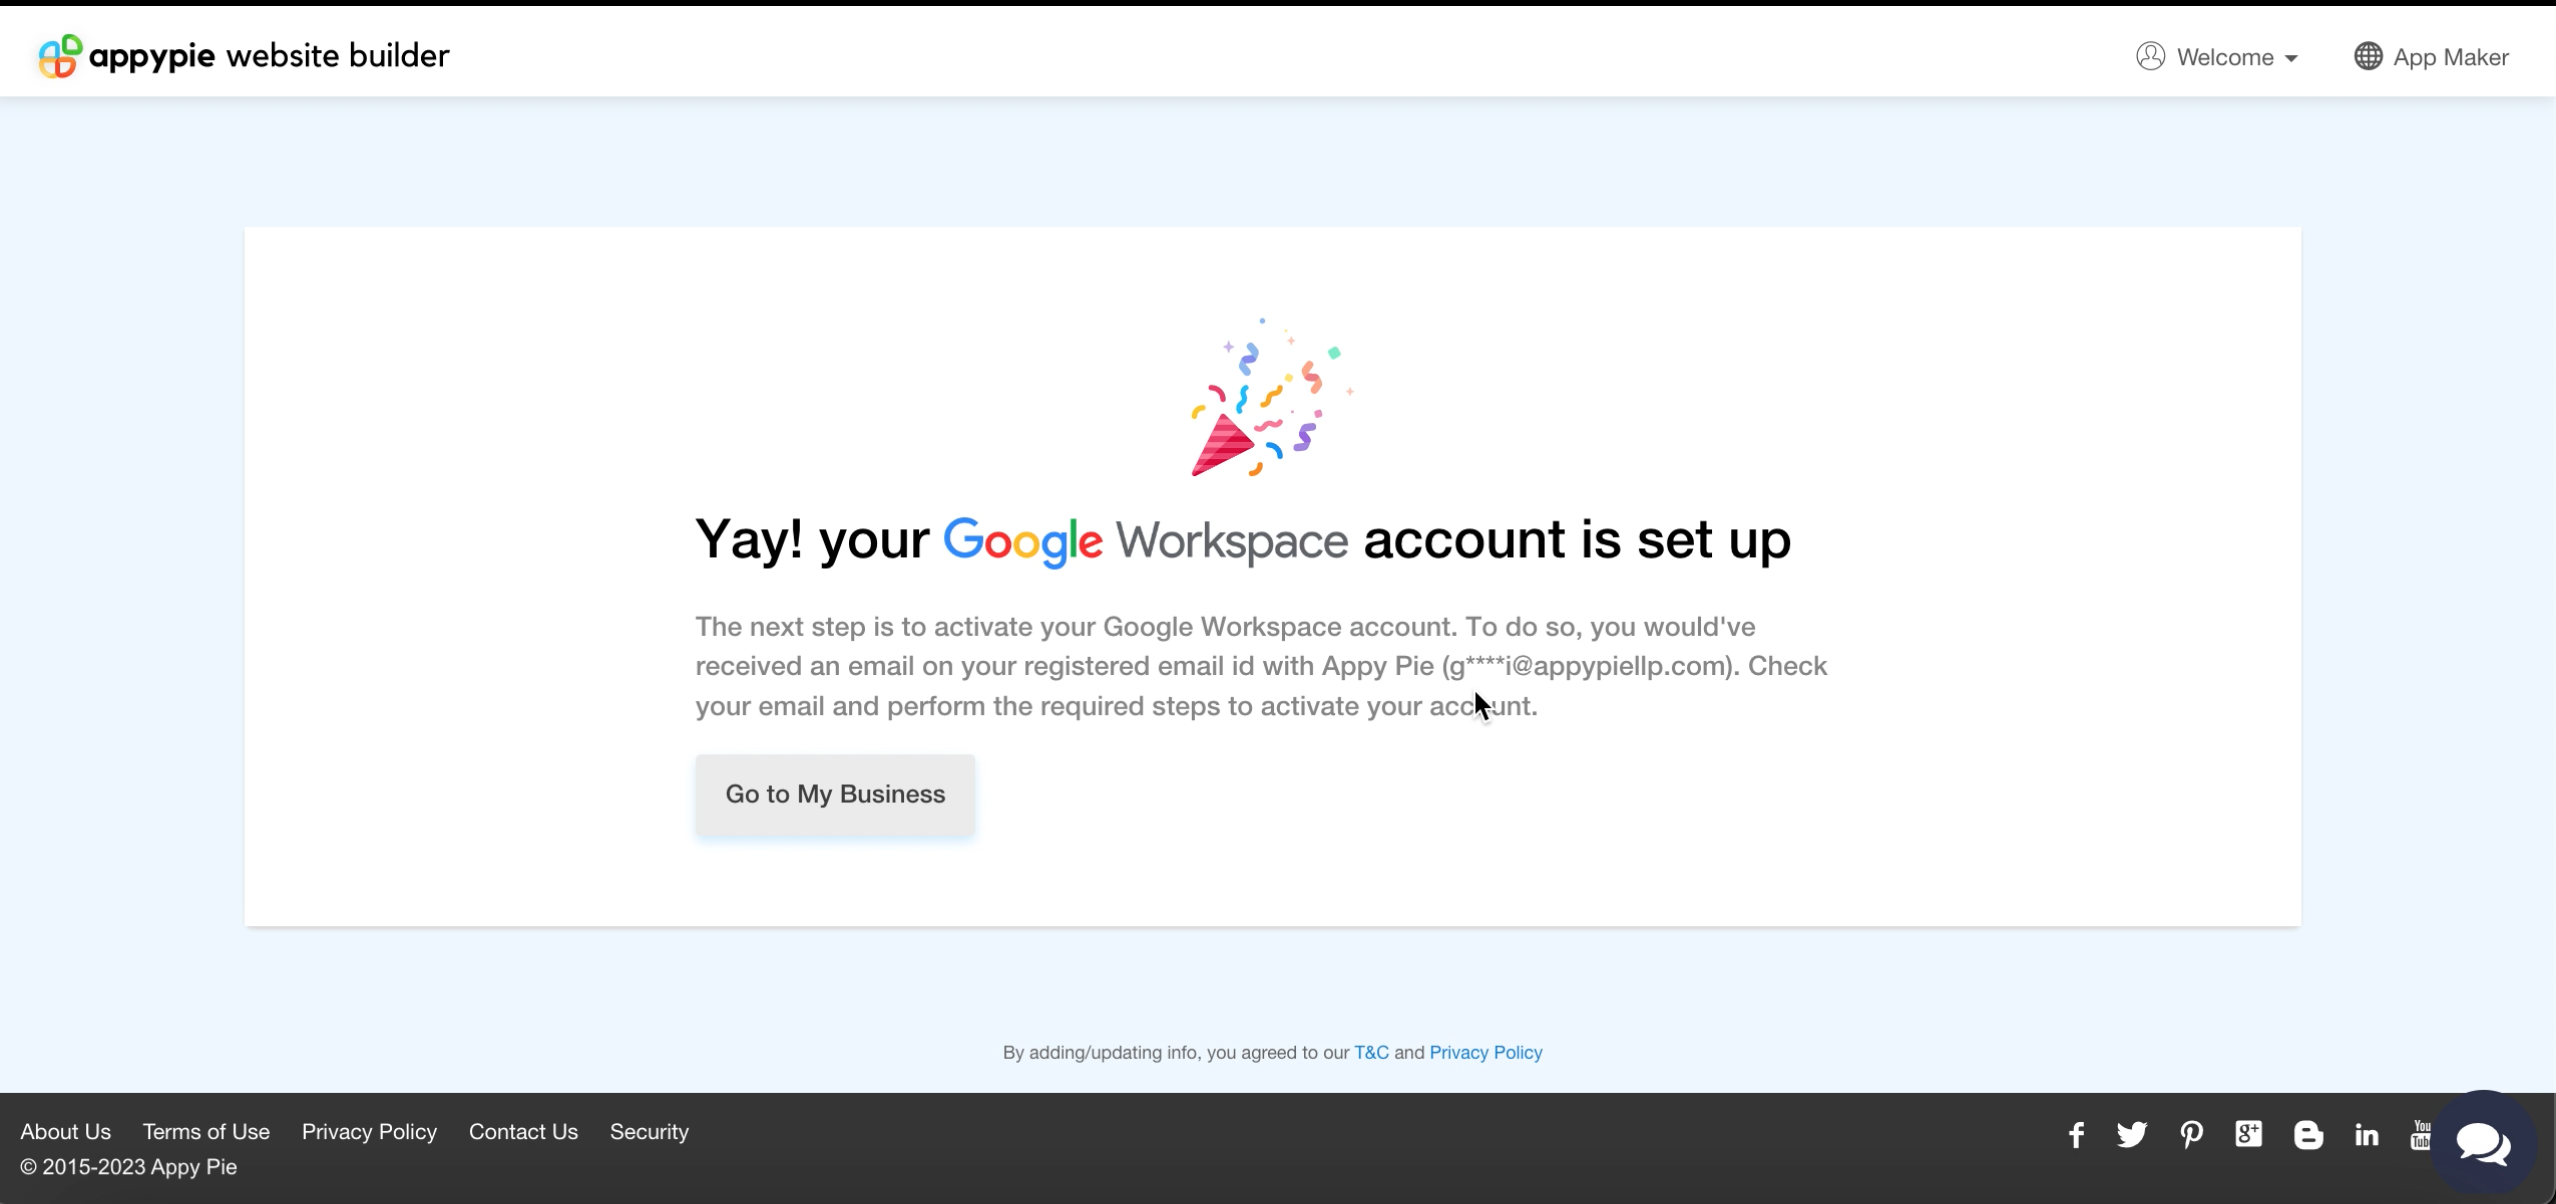
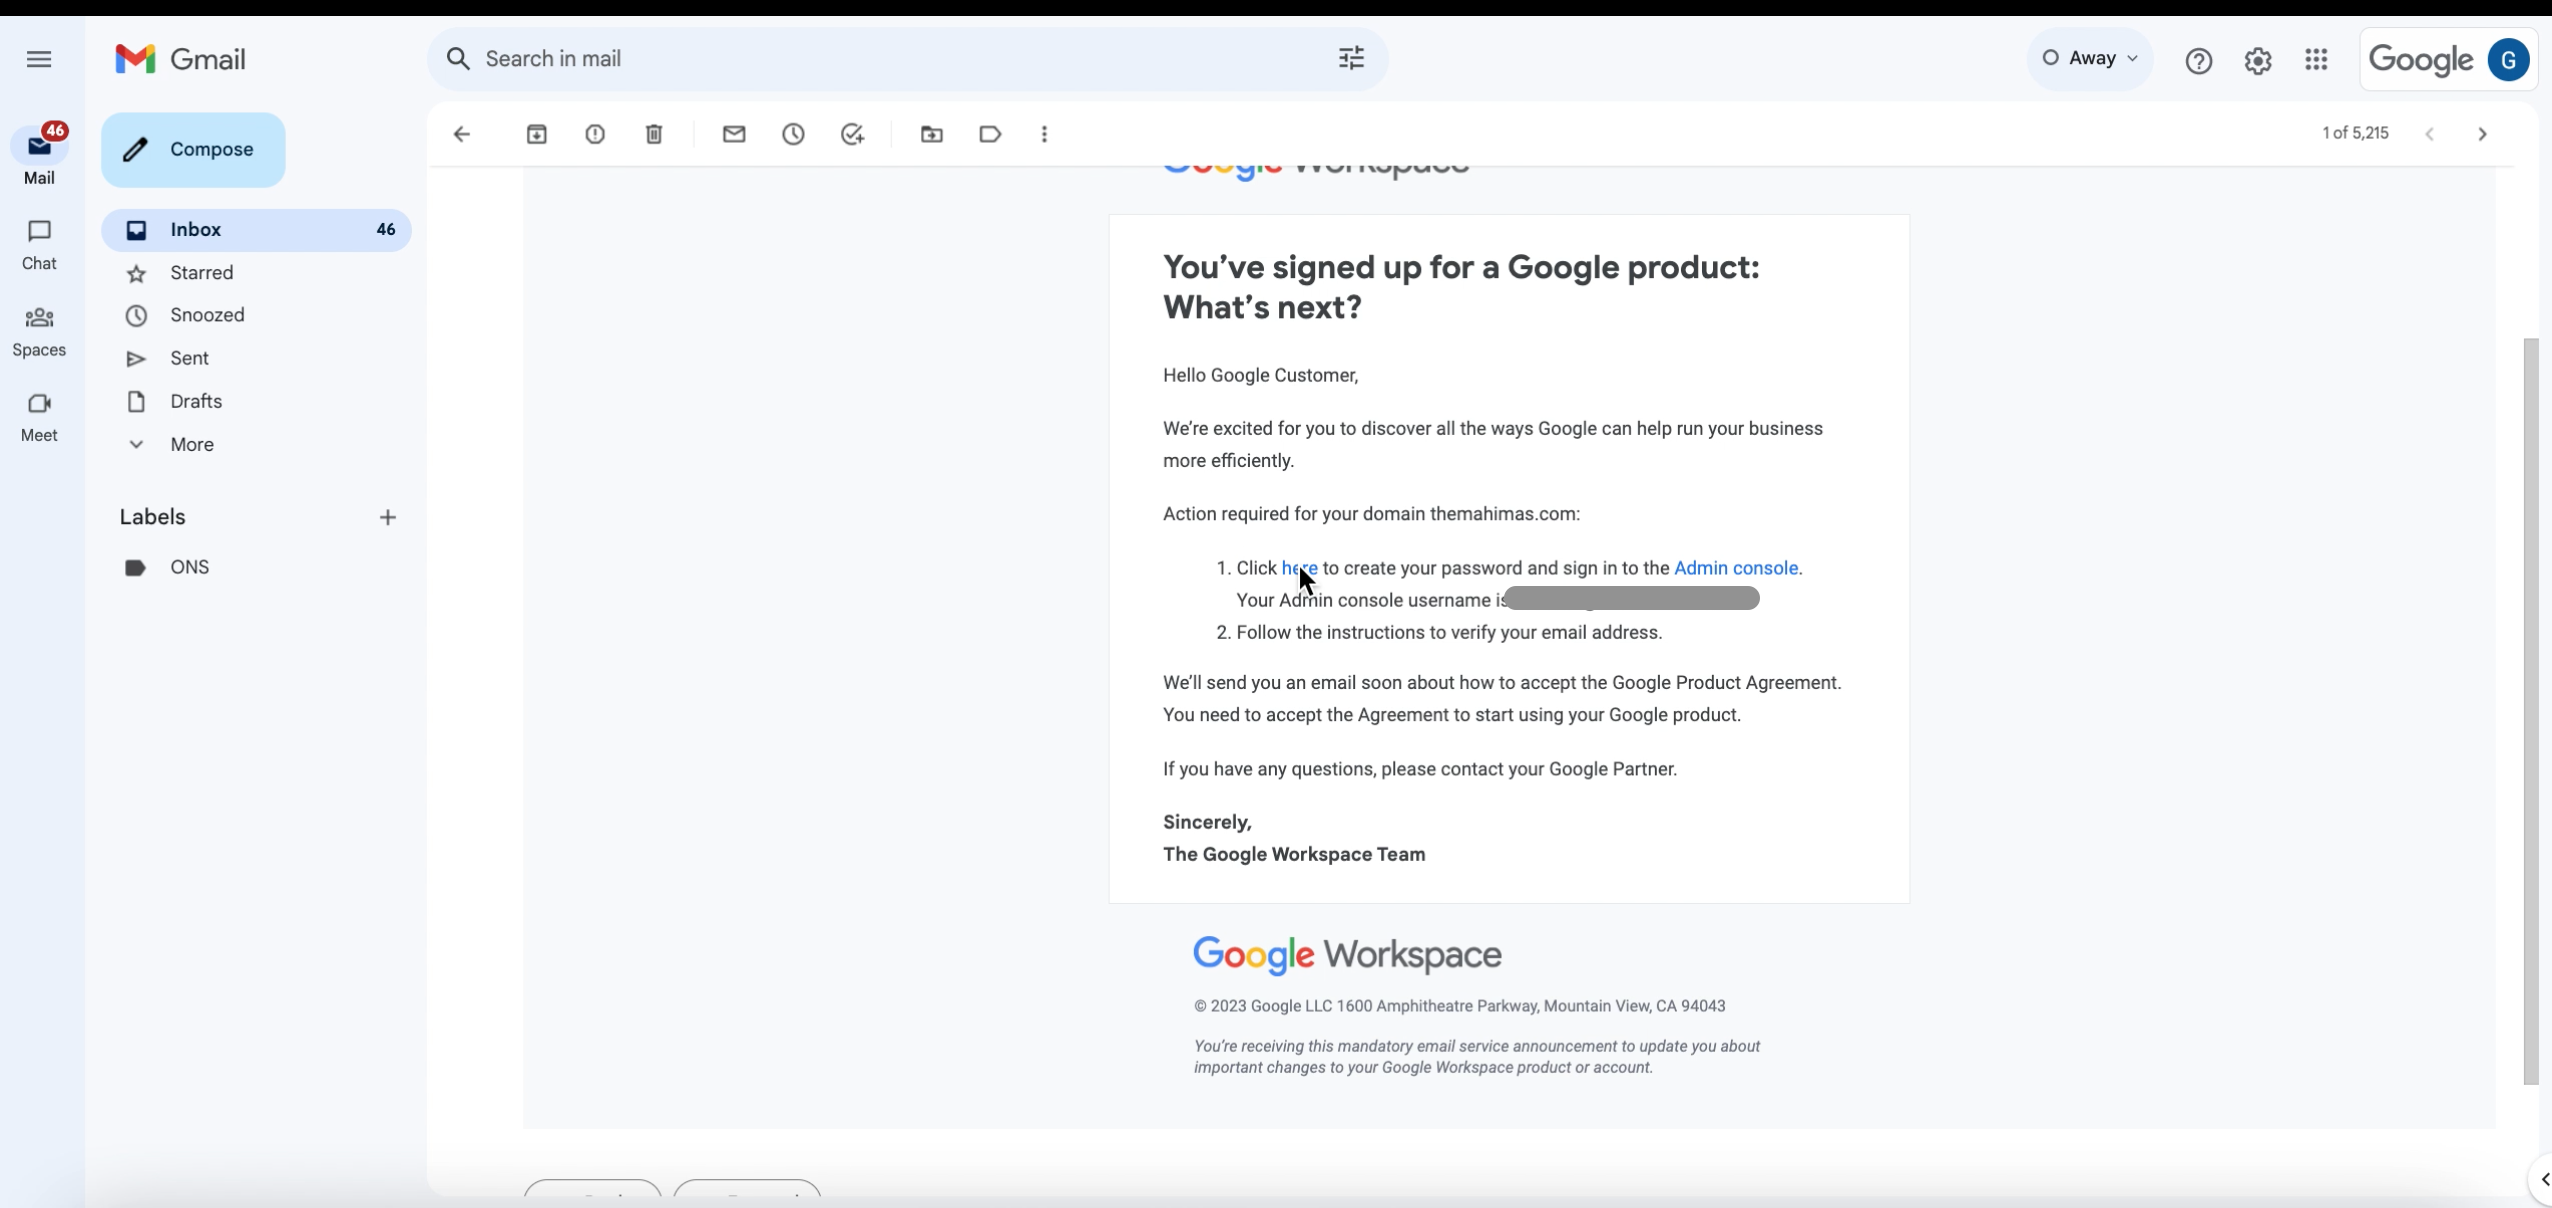
- Check your registered email with Appy Pie for instructions. Click on the link in the first step to create your password for signing in to the Admin console.
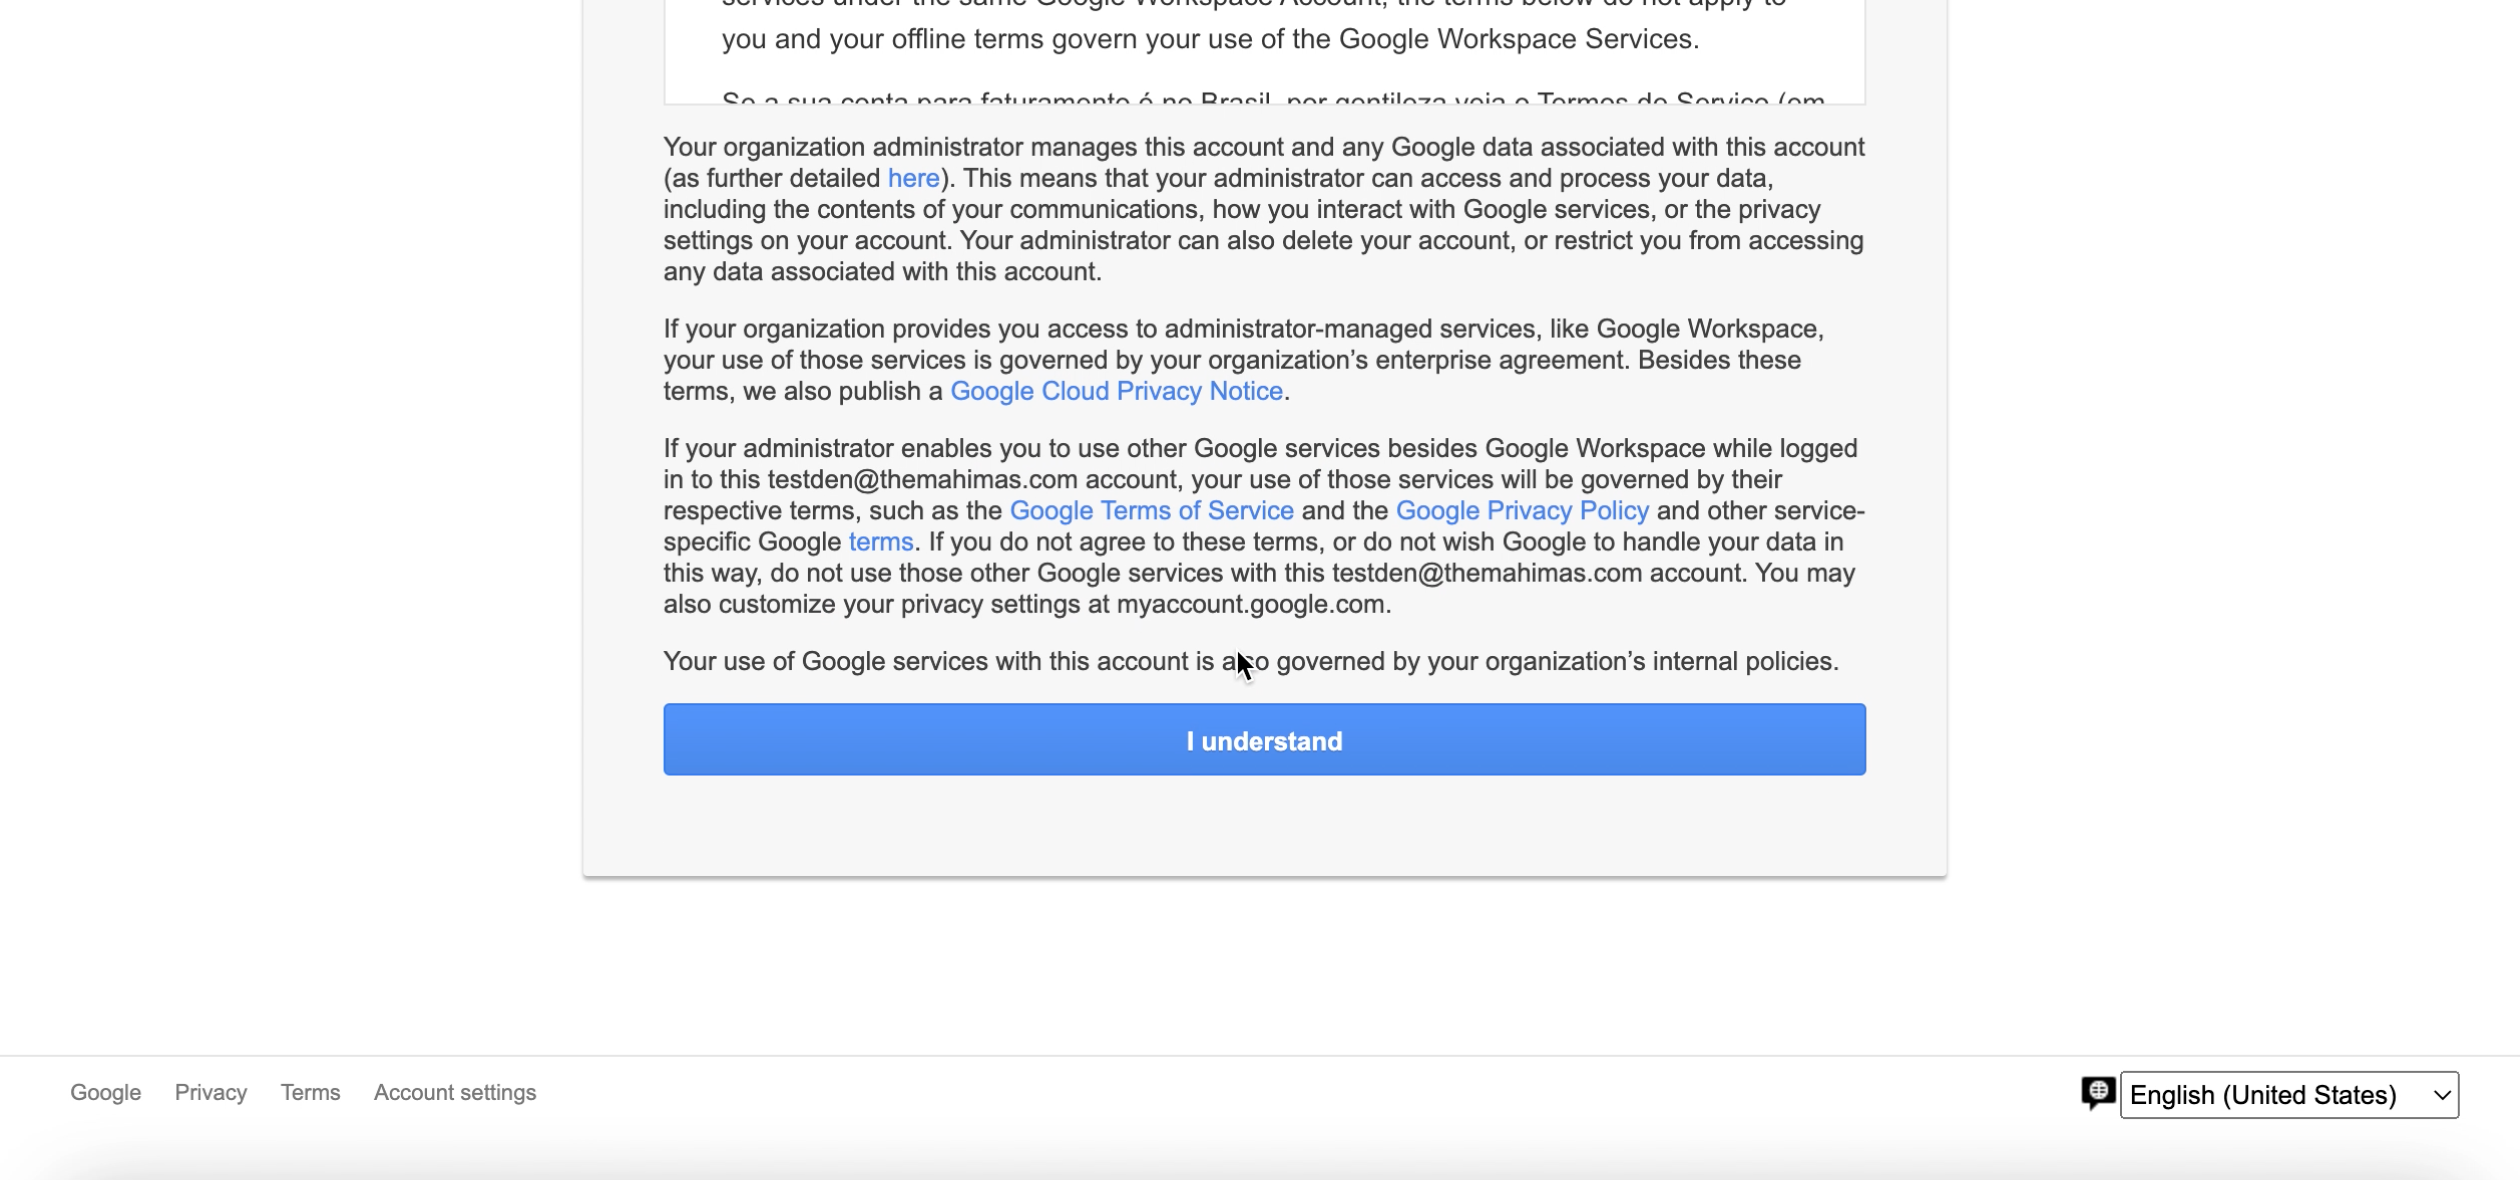
- Go through the Terms of Service and click I understand.
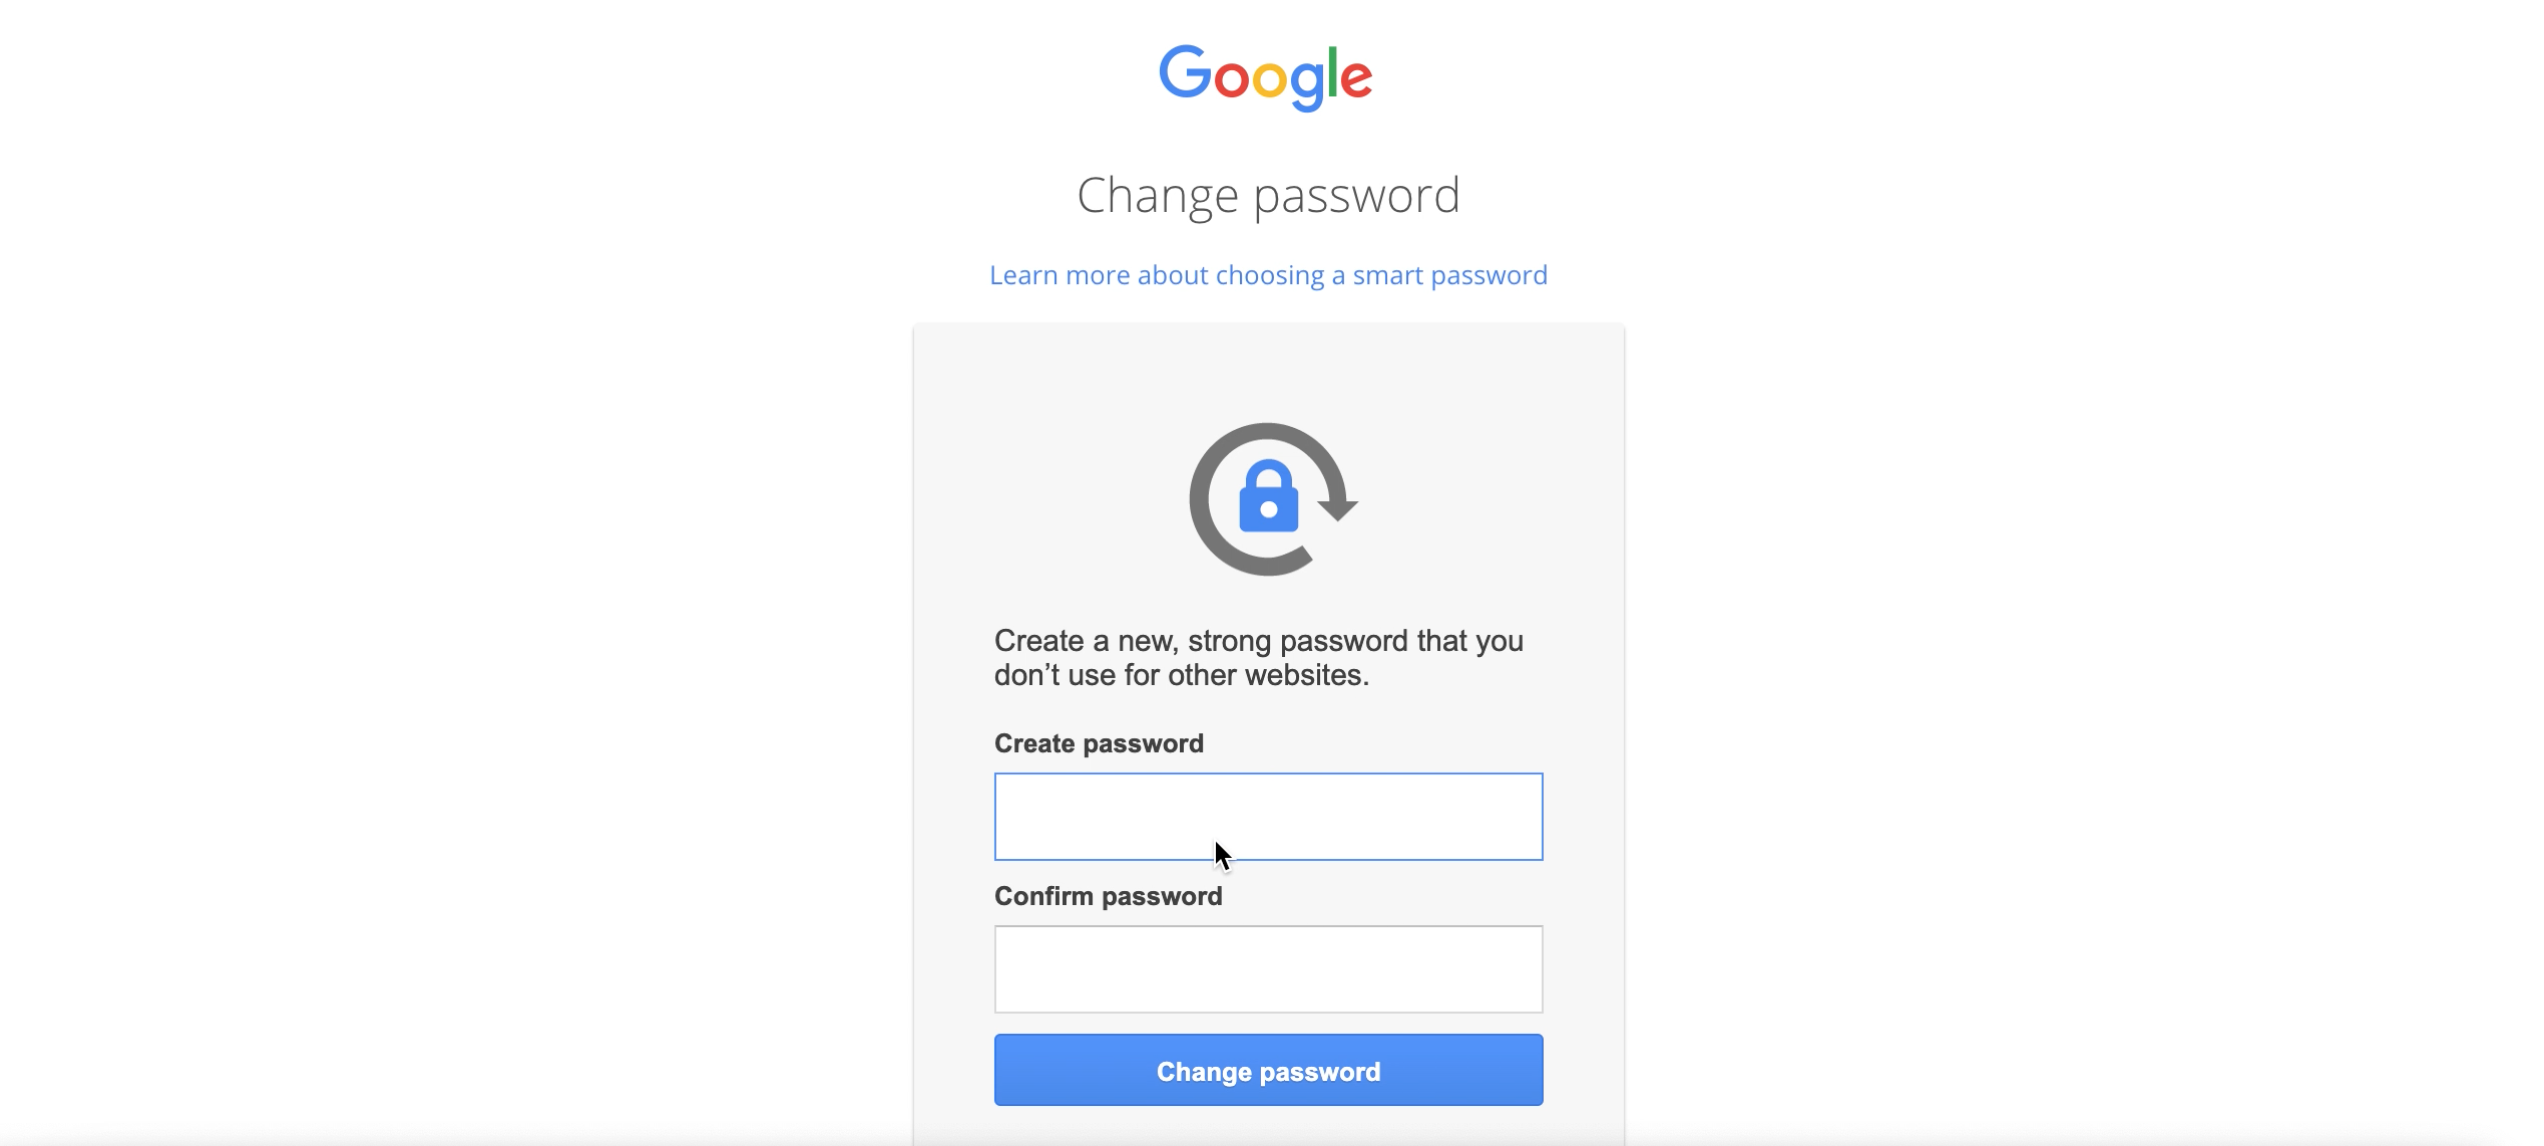
- Create a password to sign in to Admin Console. Once done, click Change Password.
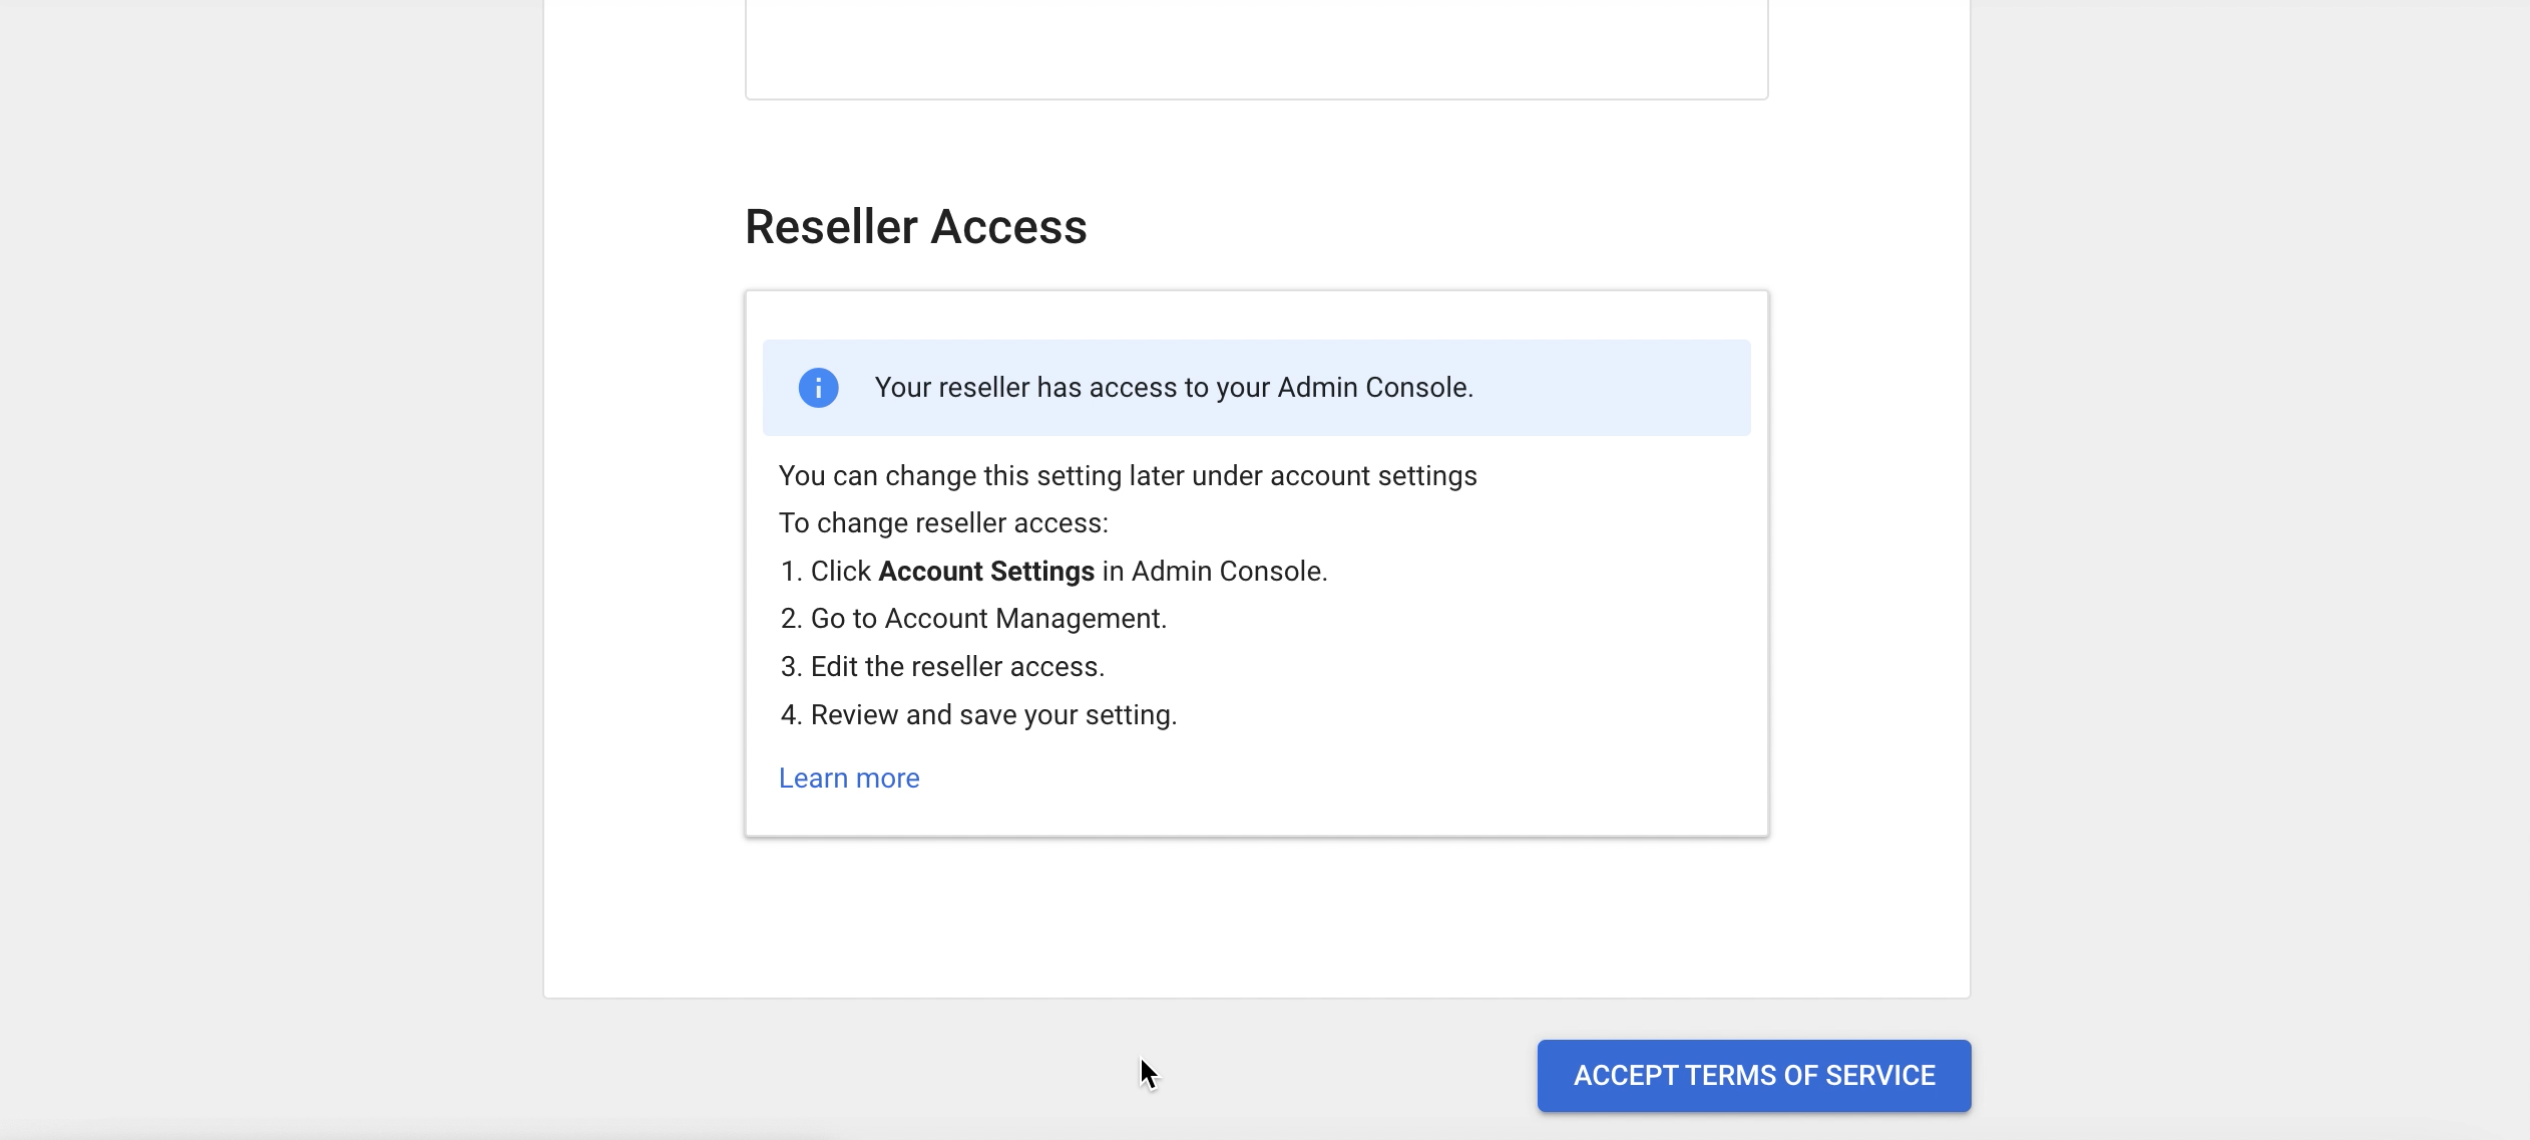
- Read and accept the Google Workspace Terms of Service.
Note: If you encounter any issue while accepting the Terms of Service, then refer to this link. https://helpdesk.appypie.com/kb/article/how-to-resolve-the-something-went-wrong-please-try-again-later-error-on-the-google-workspace-tos-acceptance-page - You’ll be redirected to your Admin console. Click Verify Domain in the top ribbon.

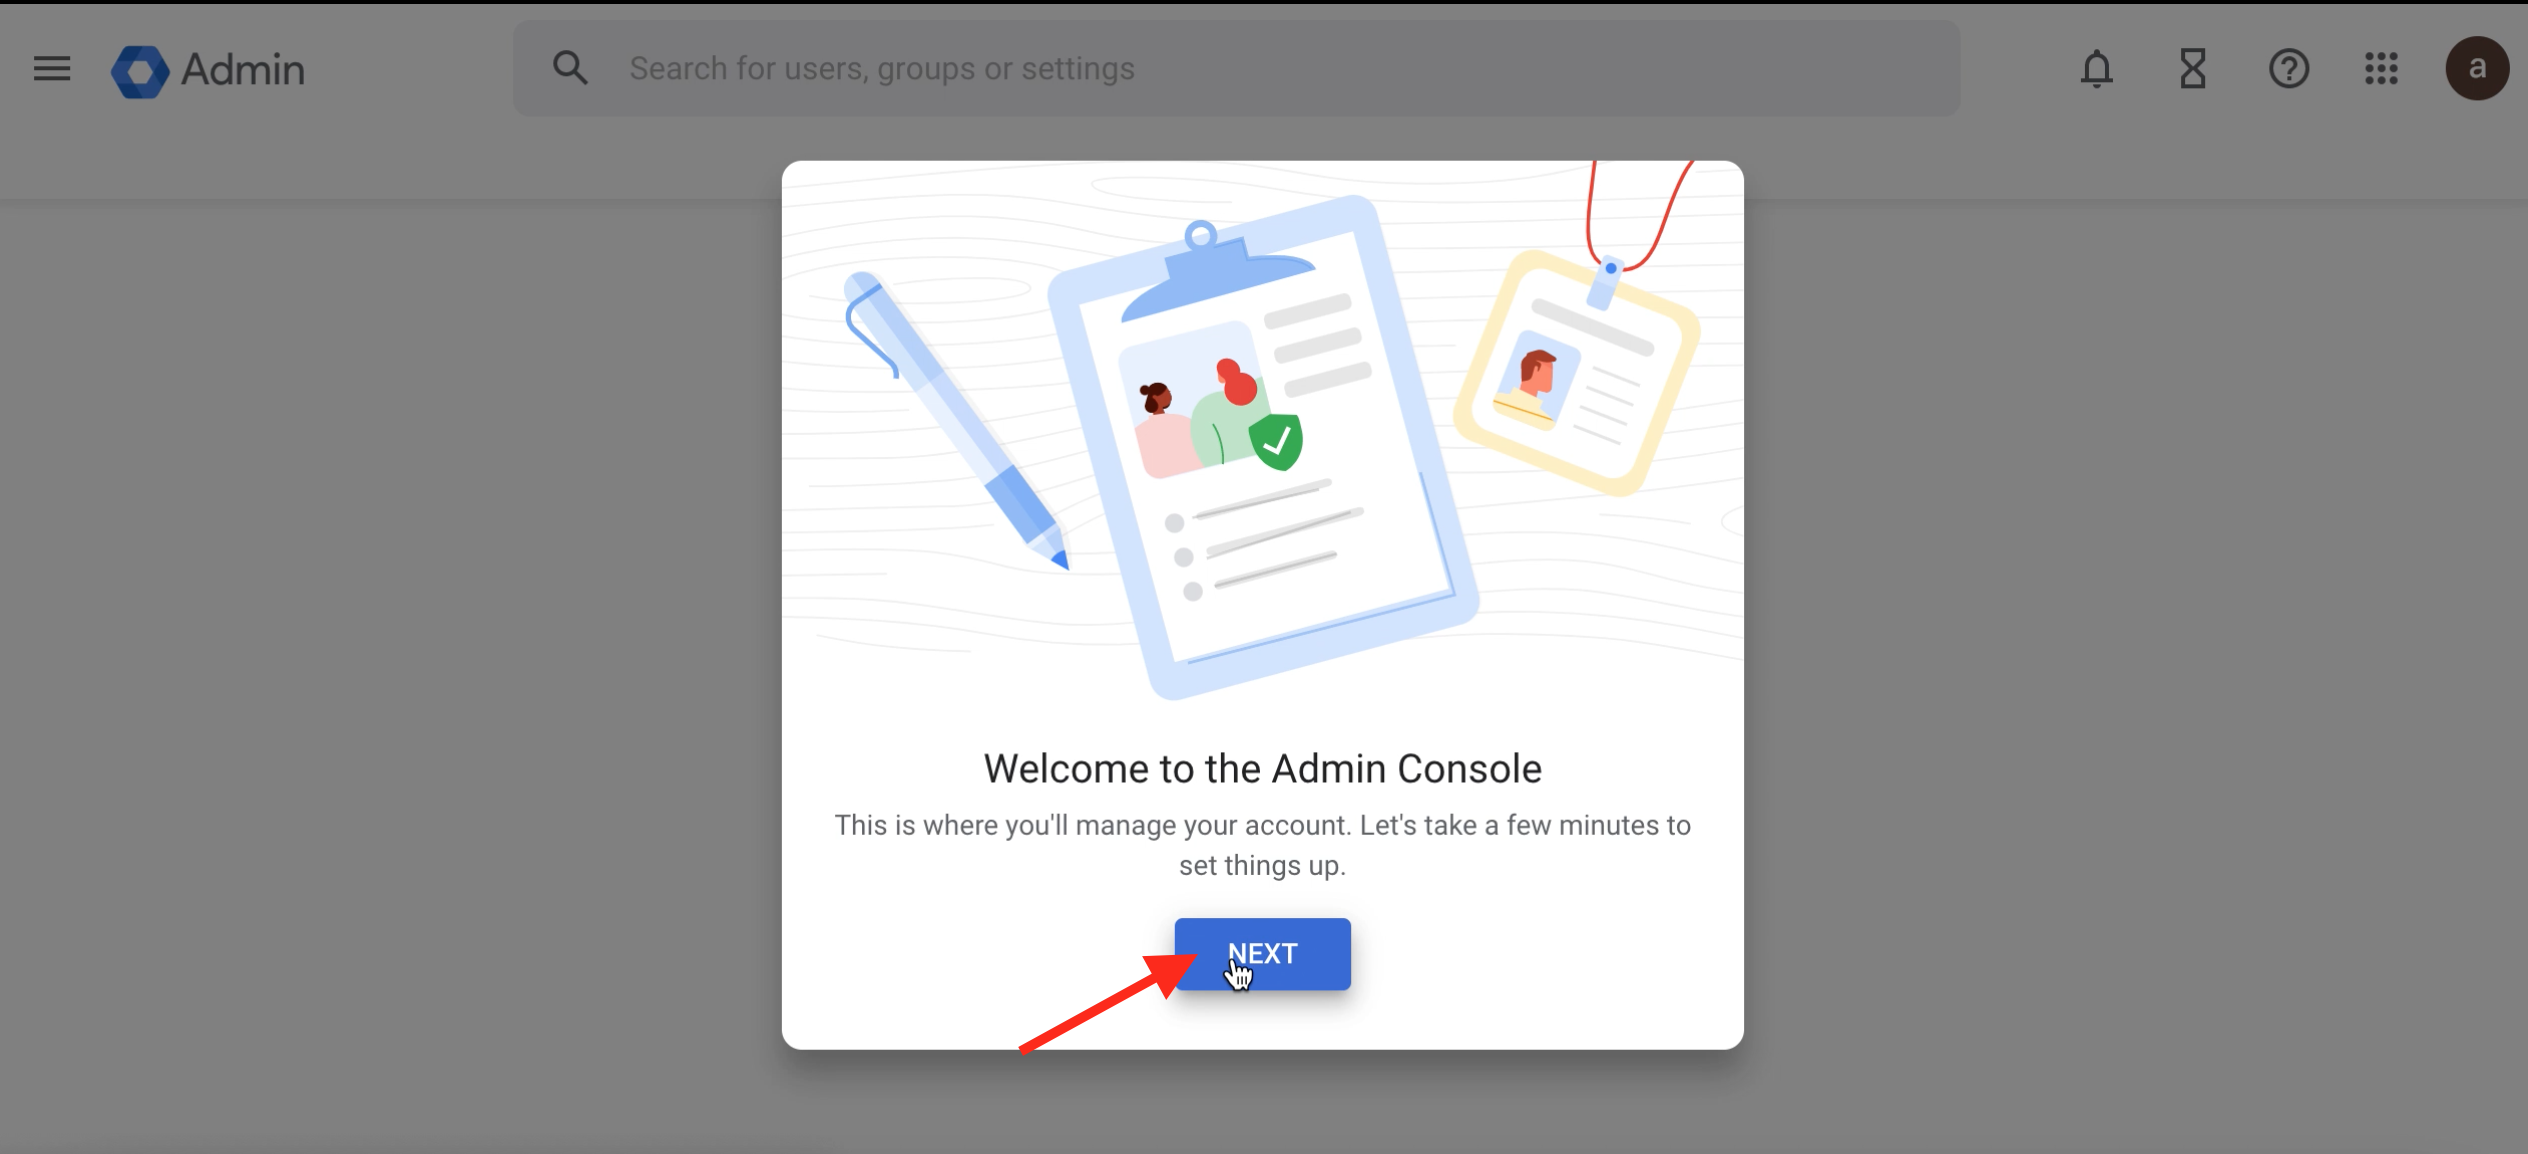
- Click NEXT in the popup.
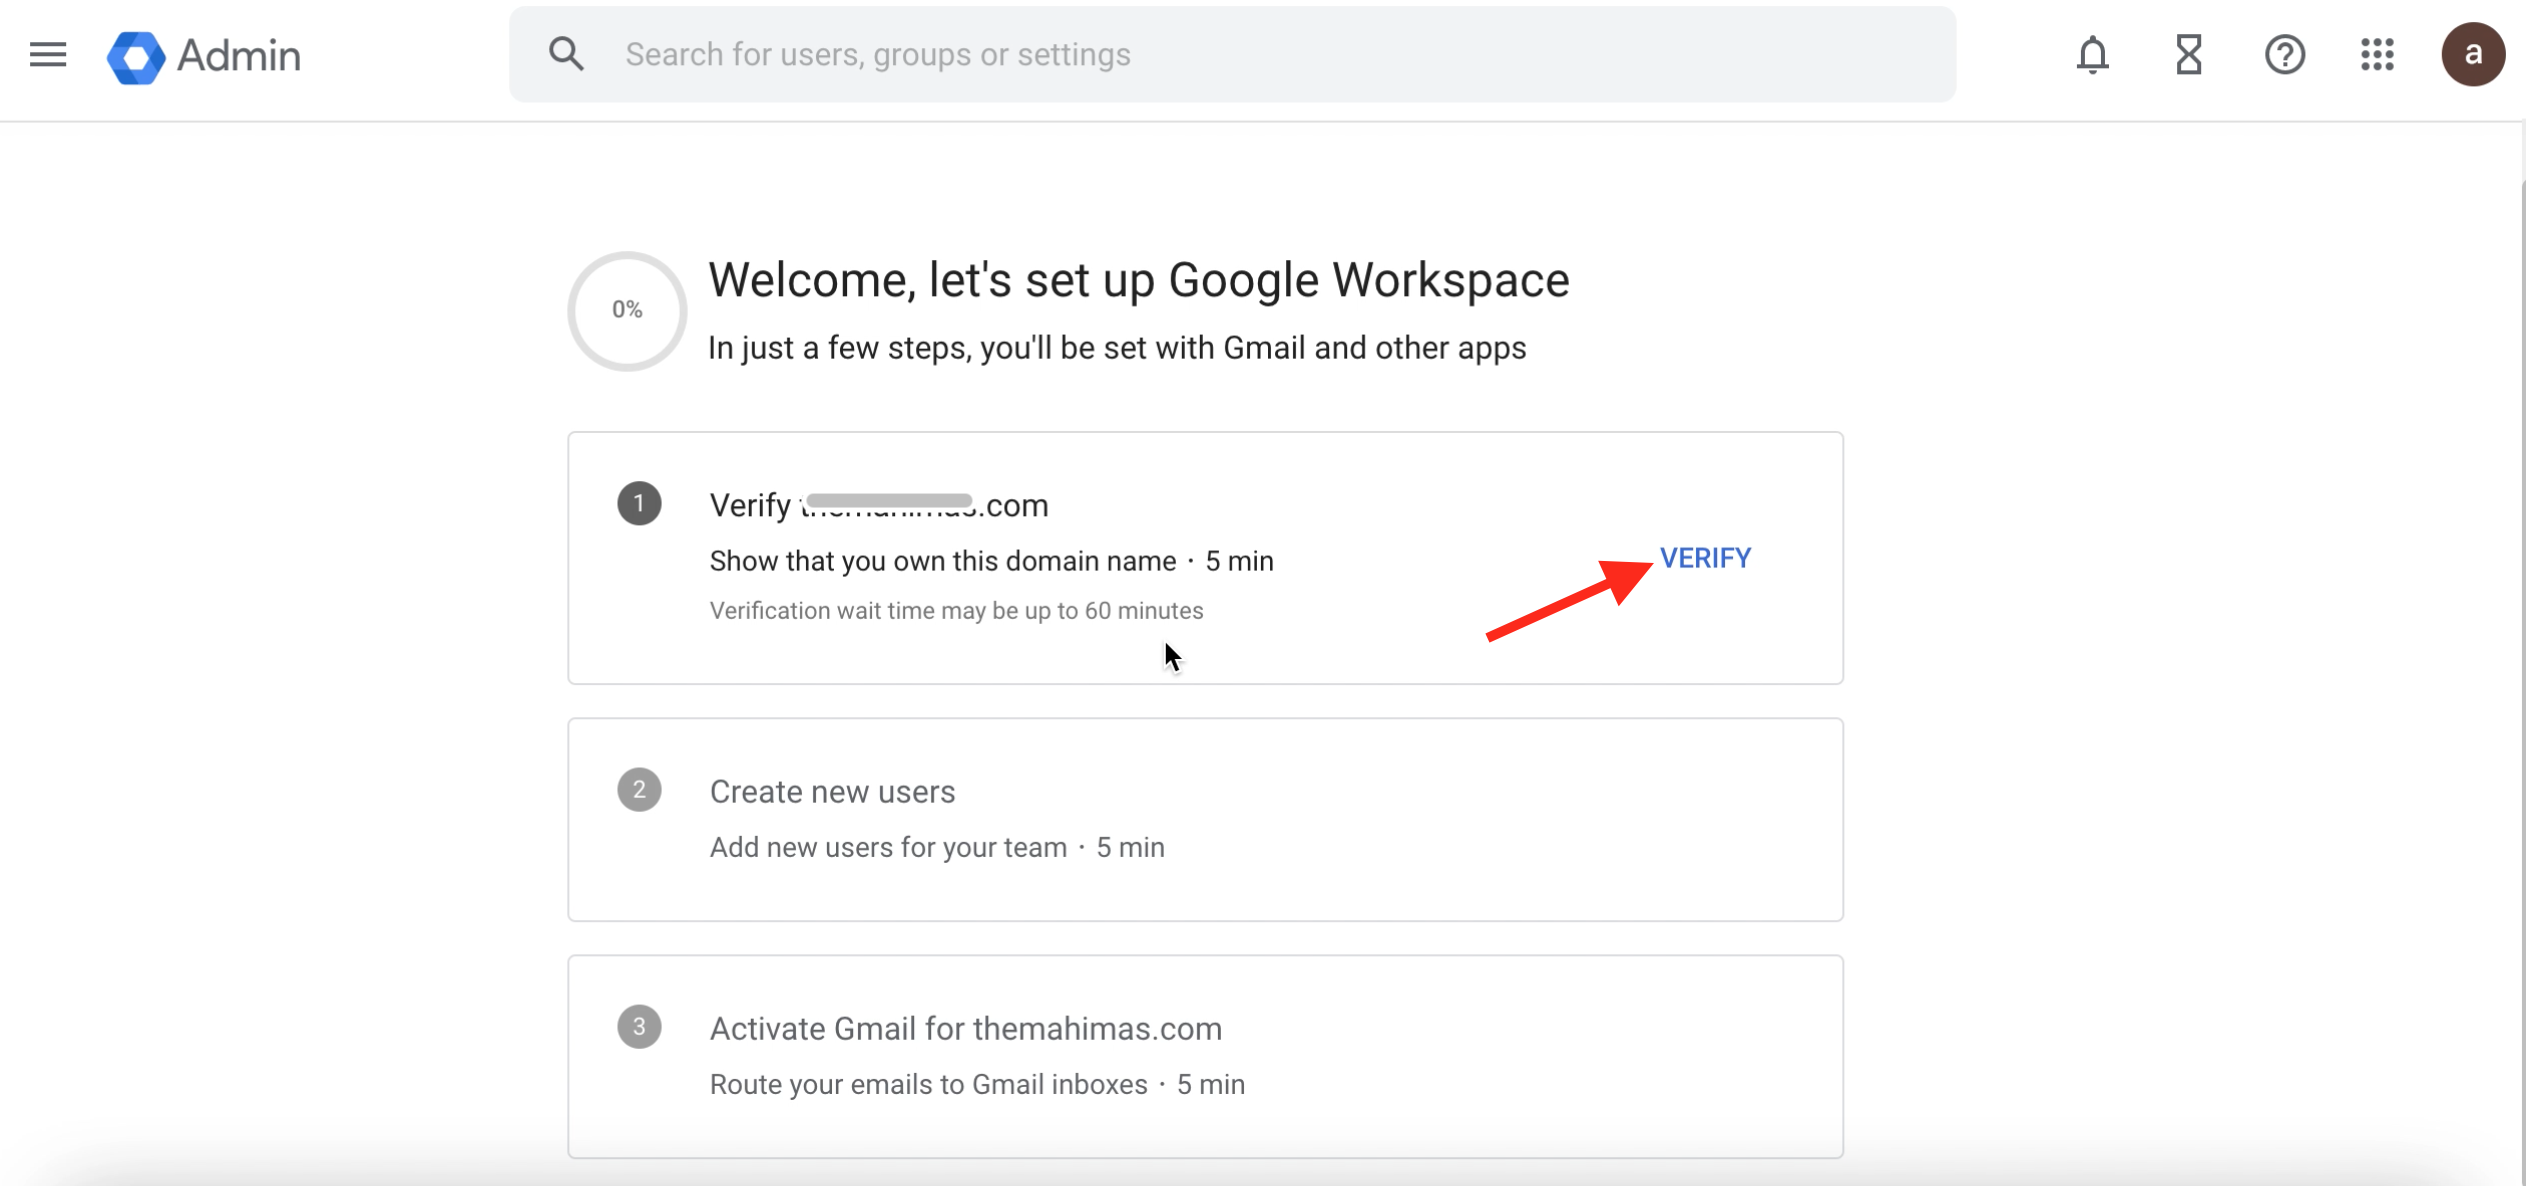
- Click Verify to verify your domain.
- Go through the steps and click CONTINUE to verify your domain with the TXT verification method.

To verify your domain, you need to add a TXT record to your domain settings. Follow the below steps to add a TXT record.
Sign in to your domain host.
Copy your TXT Record from the Google admin console.

Locate the TXT records: In the DNS management section, you should see a list of your current DNS record.
Create a new record.
Fill in the fields for the new TXT record.
Set the Type to TXT.
Look for a field labeled Name, Host, or Alias. Enter @.
Find the field labeled Value, Answer, Destination, or Server, and paste the copied code from the admin console.
Leave the TTL field to default.
Click Save.
.png?alt=media&token=863520c0-655e-4c7b-96ba-7f0d86c881d1)
Once you’re done adding the TXT record to your domain settings, click VERIFY MY DOMAIN. After the verification process is complete, you will notice that your domain has been successfully verified.
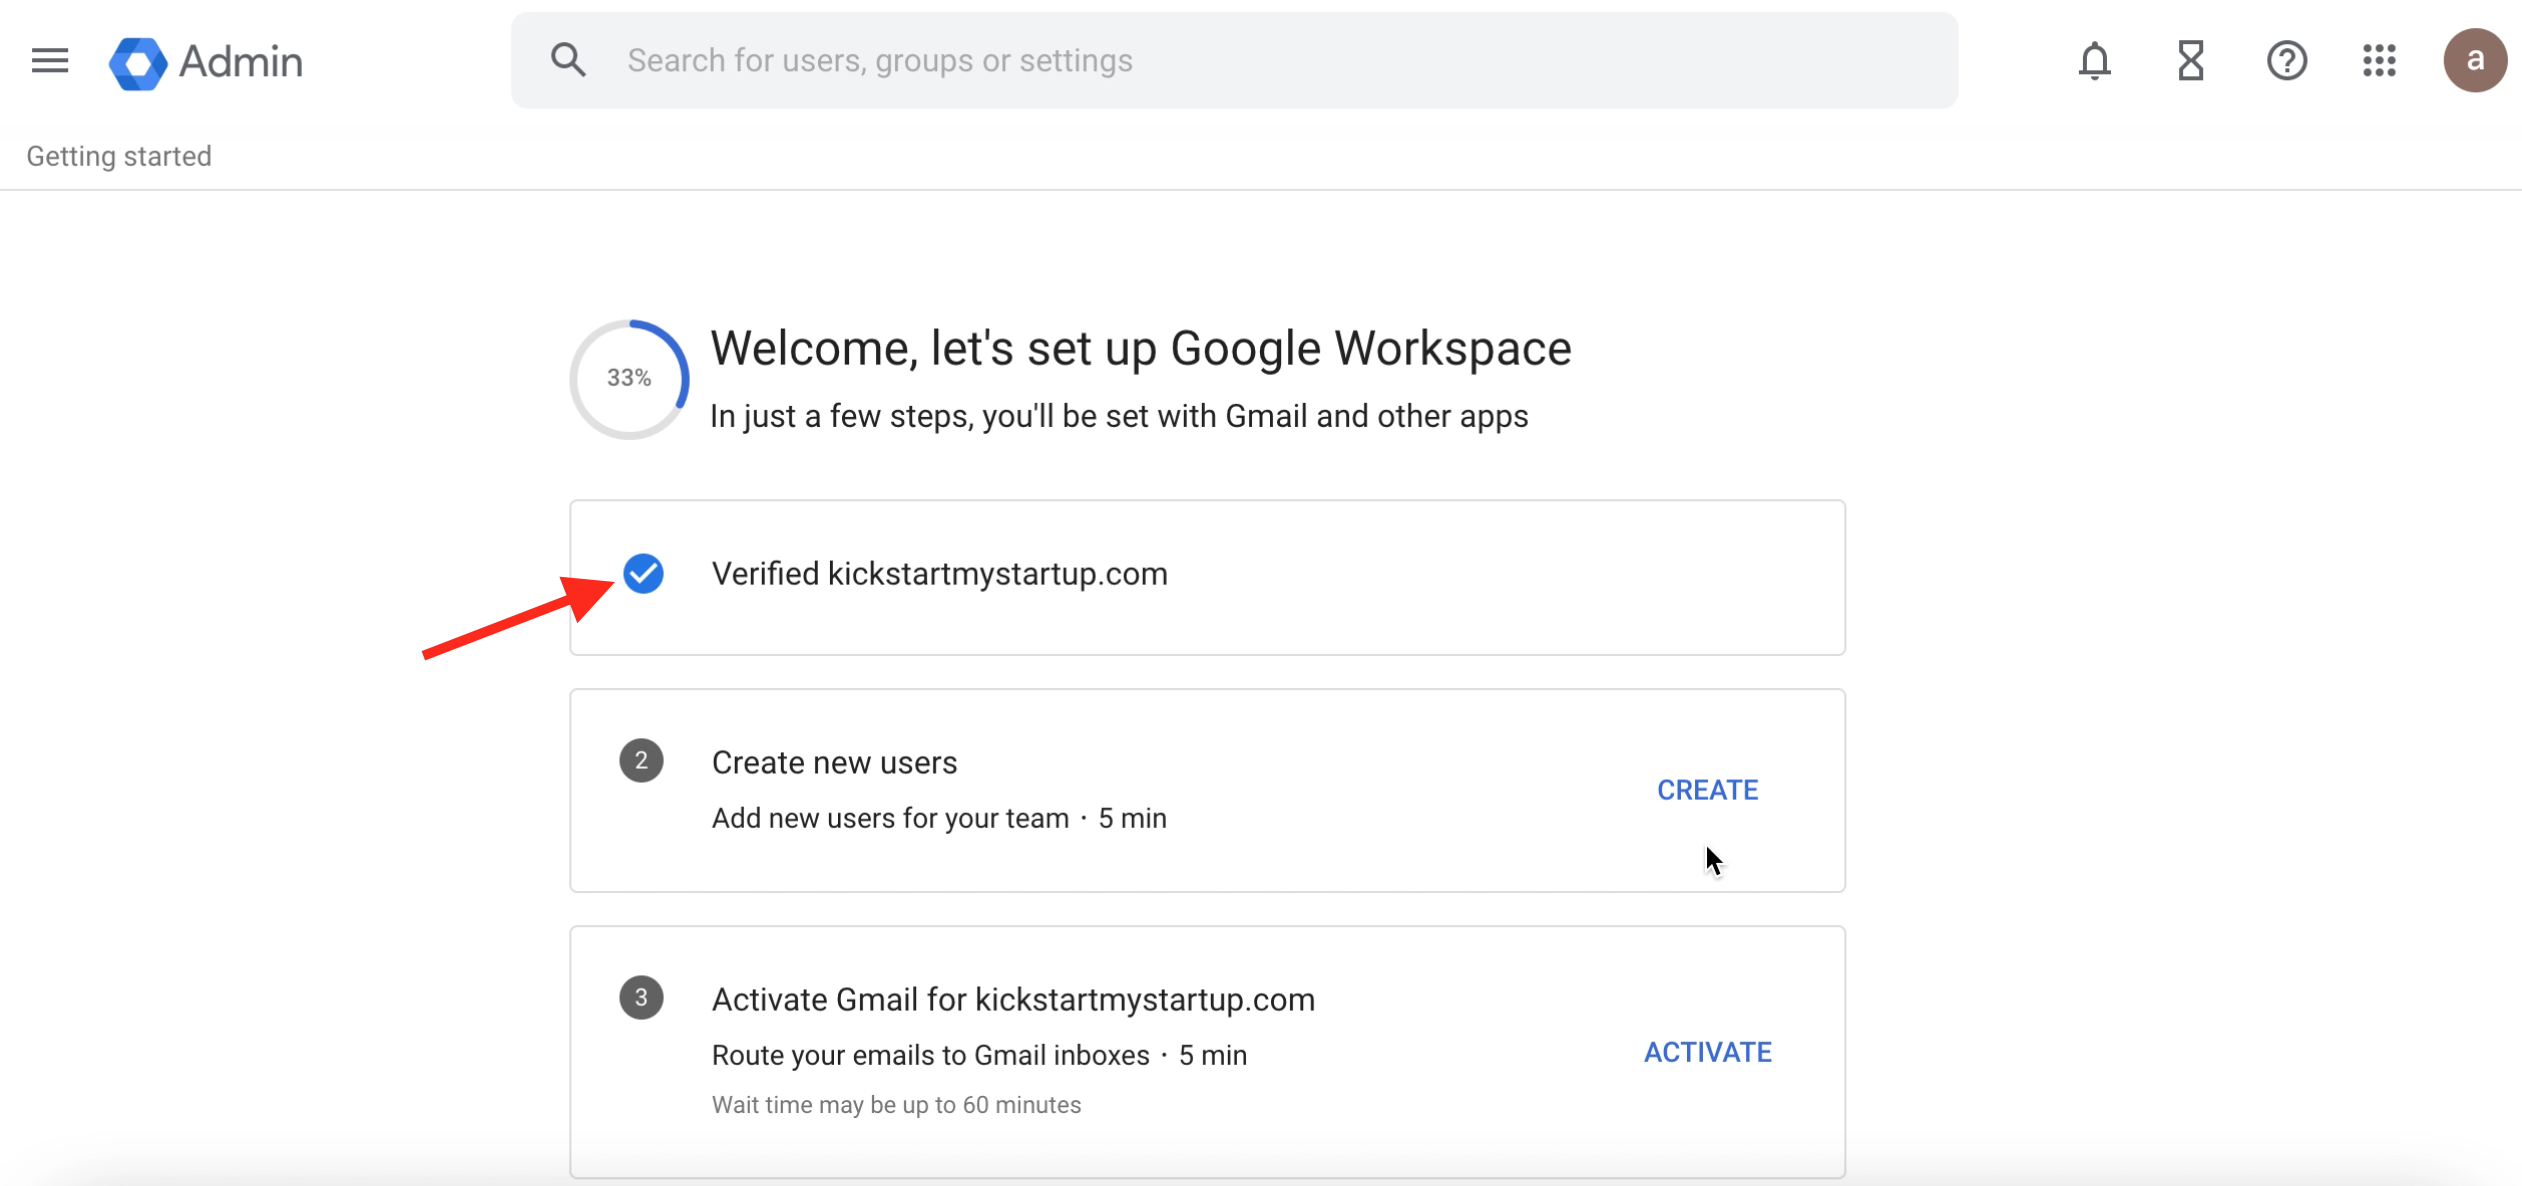
You can activate Gmail for your domain, by clicking ACTIVATE. The activation process may involve configuring MX records, and you can easily do so by following the below steps:
Sign in to your domain host.
Copy your MX Record from the Google admin console.
Go to the section where you can update your domain's MX records. Note: If you have trouble finding MX records, contact your domain registrar for help.
Review your existing DNS records and delete any non-Google MX records you see.
Create a new record.
Fill in the fields for the new MX record.
Choose MX for the type of record.
Look for a field labeled Name, Host, or Alias. Enter @. (If @ causes an error leave this field blank).
Find the field labeled Value, Answer, Destination, or Server, and then paste the copied code from the Admin console.
Enter 1 hour in the TTL field, or you can leave the default value.
Enter 1 in the Priority field.
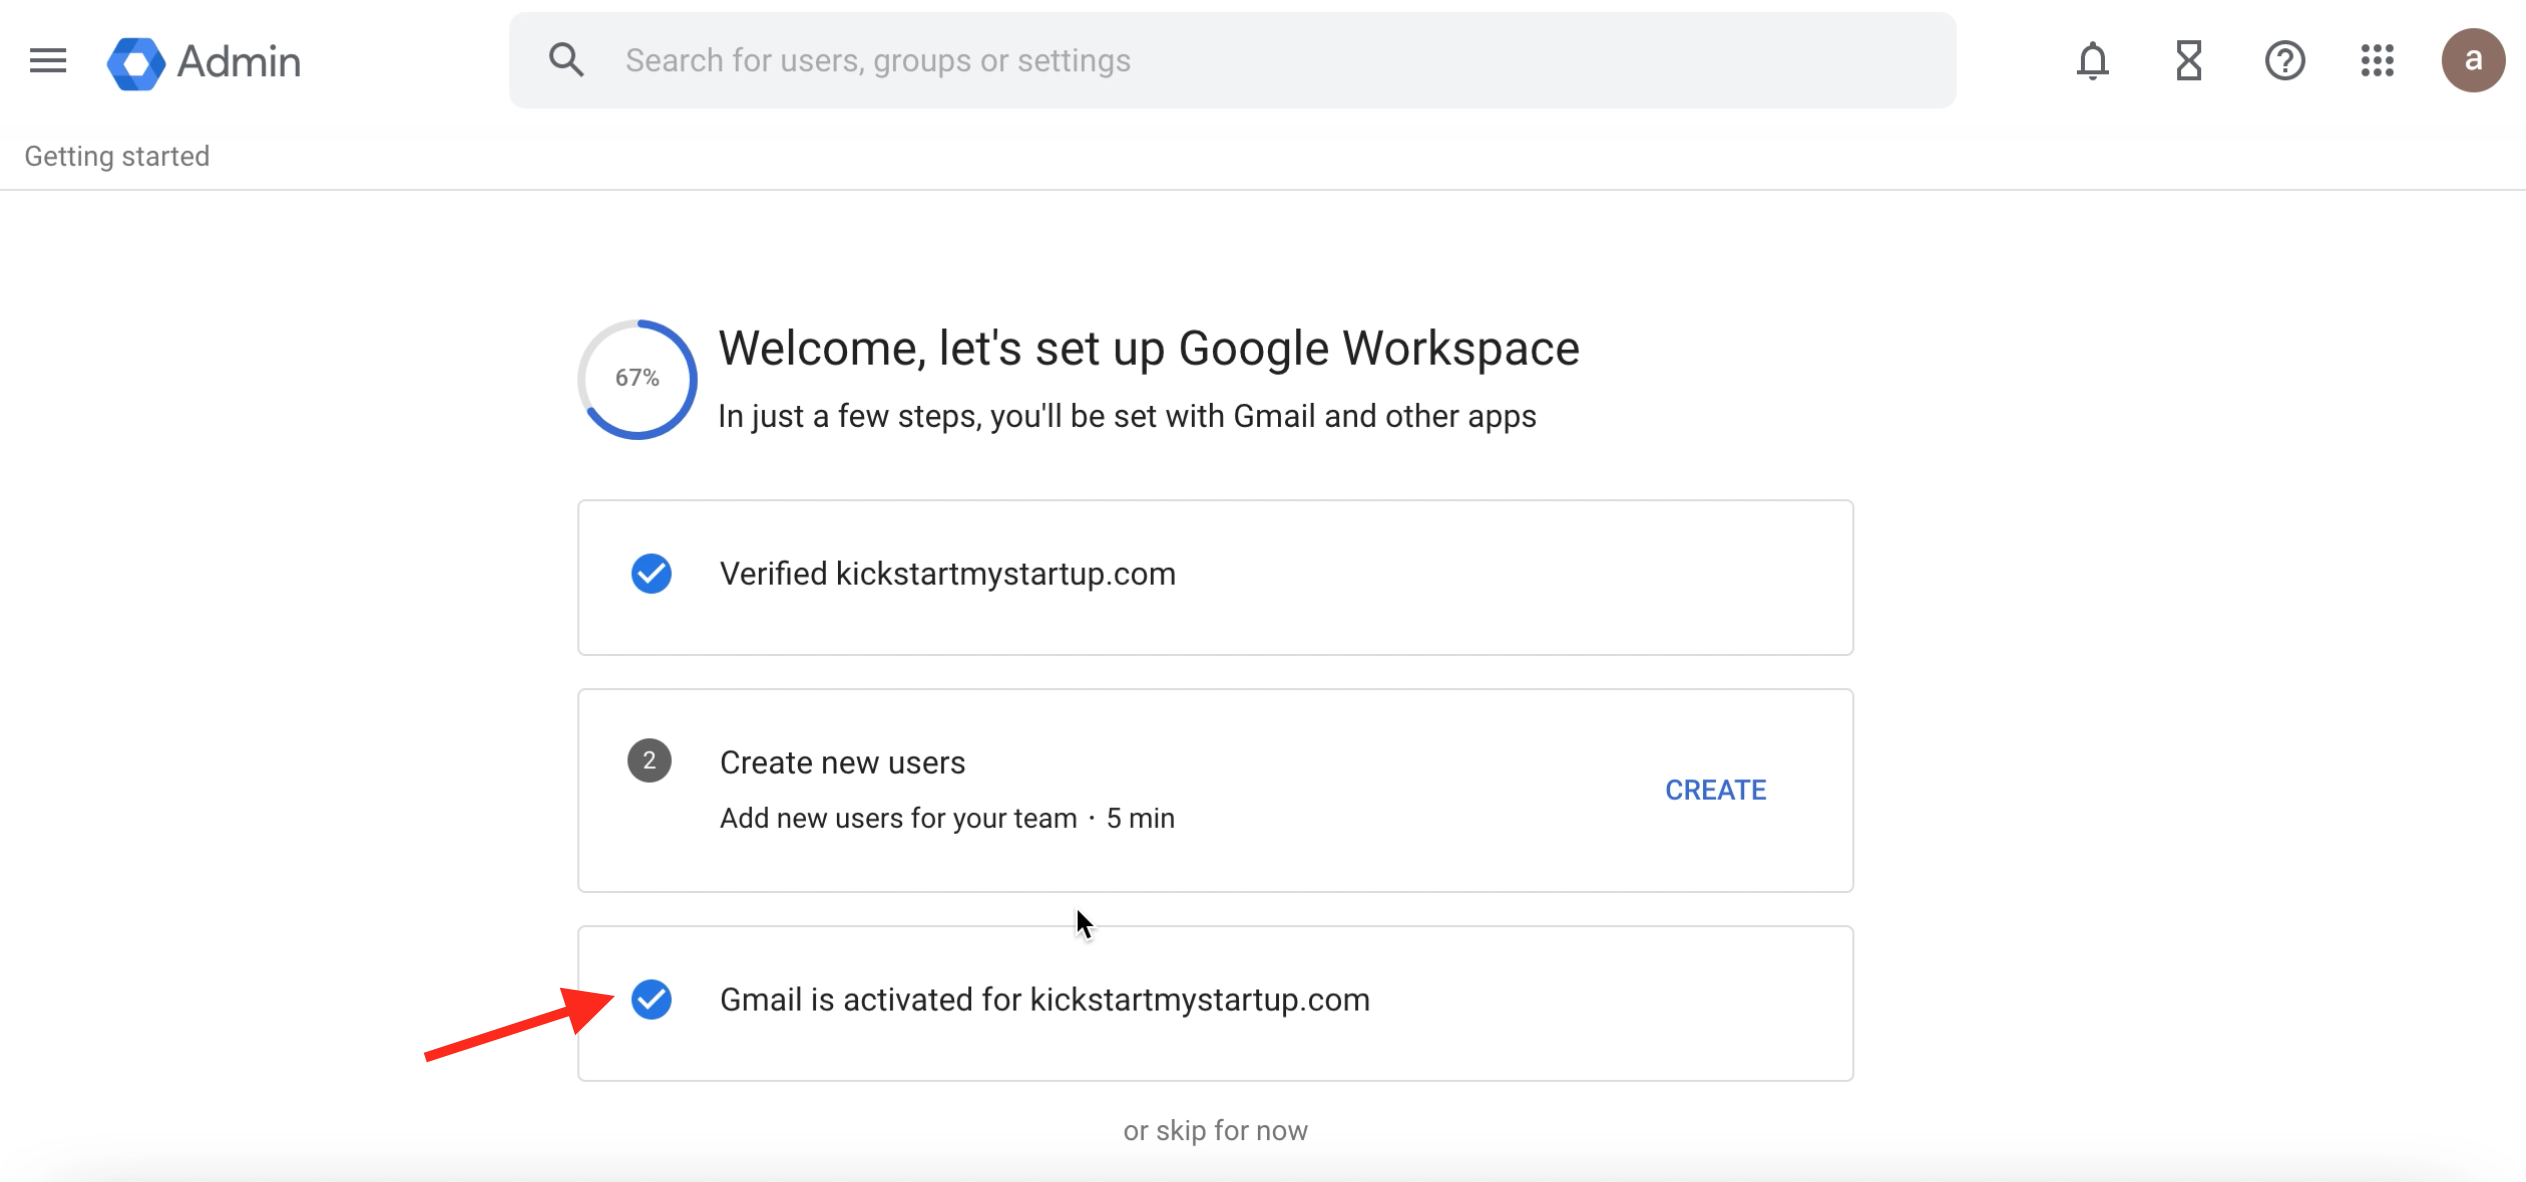
After Gmail activation process is complete, you will see the activated status here.
After you’re all set up, you’ll have your Google Workspace fully configured for the domain you purchased from Third-Party platforms.
loading...
Related Articles
- How to Create and Verify a Payment Profile in Google Play Console?
- Appy Pie: How to create an iOS Distribution Certificate?
- Appy Pie: How to create an iOS Provisioning Profile?
- Appy Pie Font Licensing: What You Need to Know
- How to Publish Your Android App on Google Play Store: A Step-by-Step Guide?
- Appy Pie: What are the Steps to Declare Trader or Non-Trader Status on the Apple App Store?
- Appy Pie: How to add Hyperlocal feature to your app?
- How to add and edit features in Appy Pie?
- Why is an Email Address Required on Appy Pie?
Still can’t find an answer?
Send us a ticket and we will get back to you.