Knowledge Base
How Can I Set Up GitLab Integrations With Appy Pie Connect?
Garima
4 min readPublished on May 01 2023 | Last updated on Aug 21 2023
GitLab is a popular web-based Git repository management tool that allows developers to collaborate on code and project management. Appy Pie Connect is an integration platform that allows users to connect different apps and automate workflows. With GitLab integrations via Appy Pie Connect, developers can streamline their workflows, improve productivity, and reduce errors by automating repetitive tasks.
Steps to Integrate GitLab with other apps
Step 1
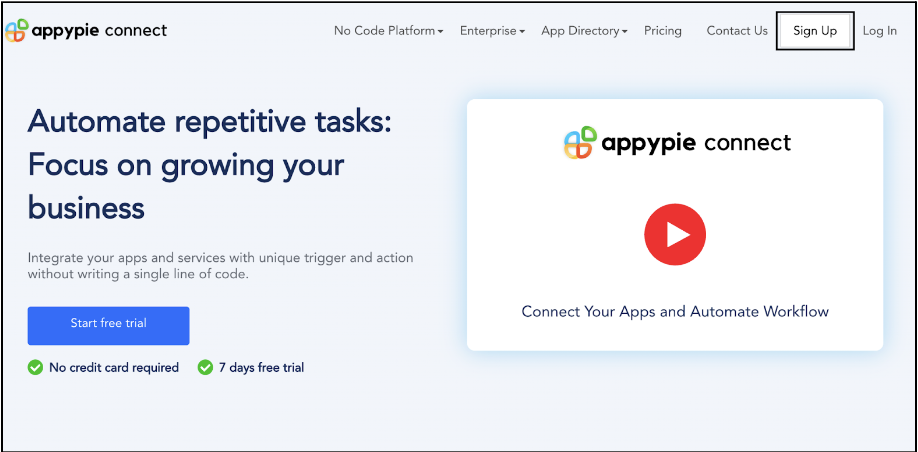
Visit Appy Pie Connect, and ‘Log In’ for Appy Pie Connect. In case you do not have a Appy Pie account, “Sign up” first and then log in to your account.
Step 2
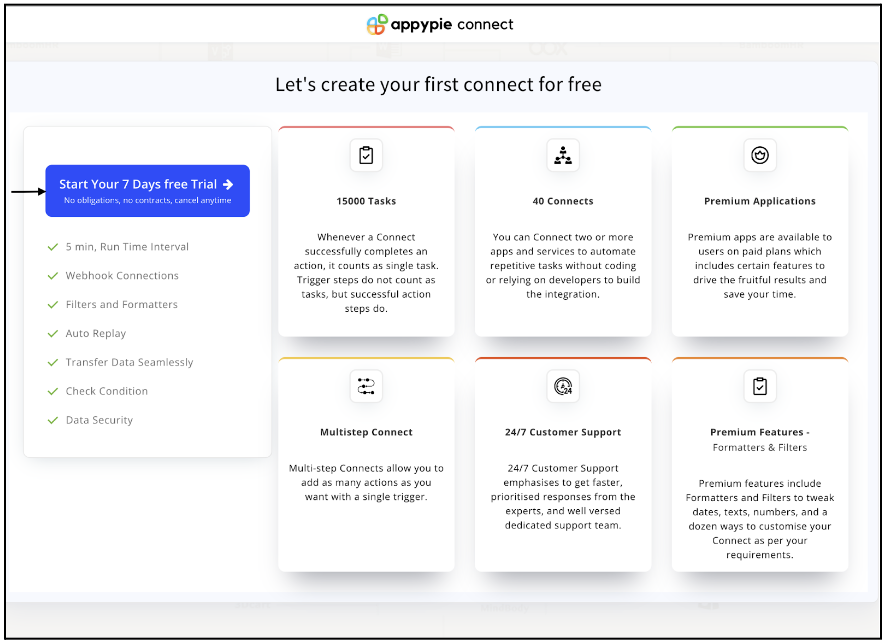
As a sign-up procedure, click “Start your 7 days free trial” to be redirected to the Appy Pie Connect dashboard for further procedure.
Step 3
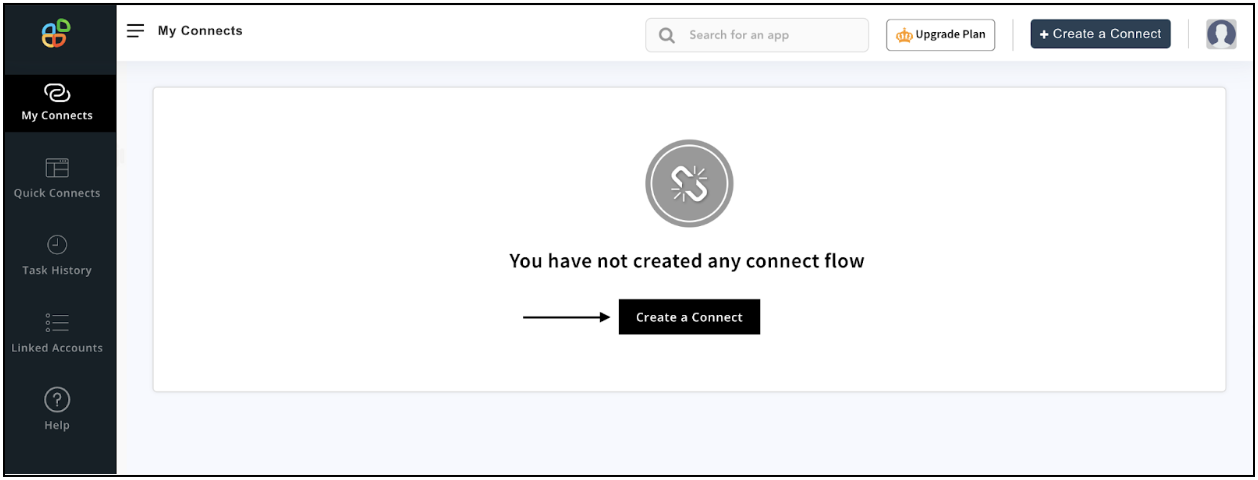
After logging in, you will see a dashboard as shown in the image. This dashboard will contain all the information regarding your integrations between apps.
Here, click on “Create a Connect”.
Step 4
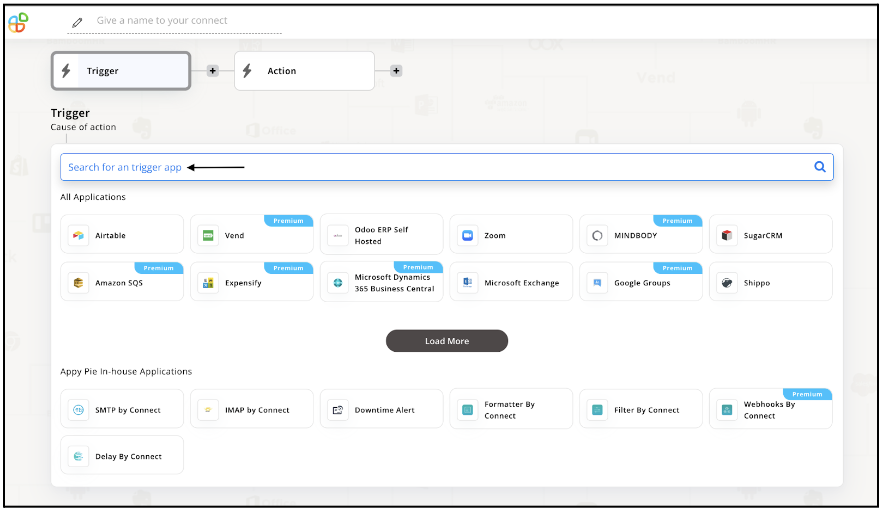
Now, search for ‘GitLab’ in the search toolbar as we’re learning how to enable GitLab integrations through Appy Pie Connect.
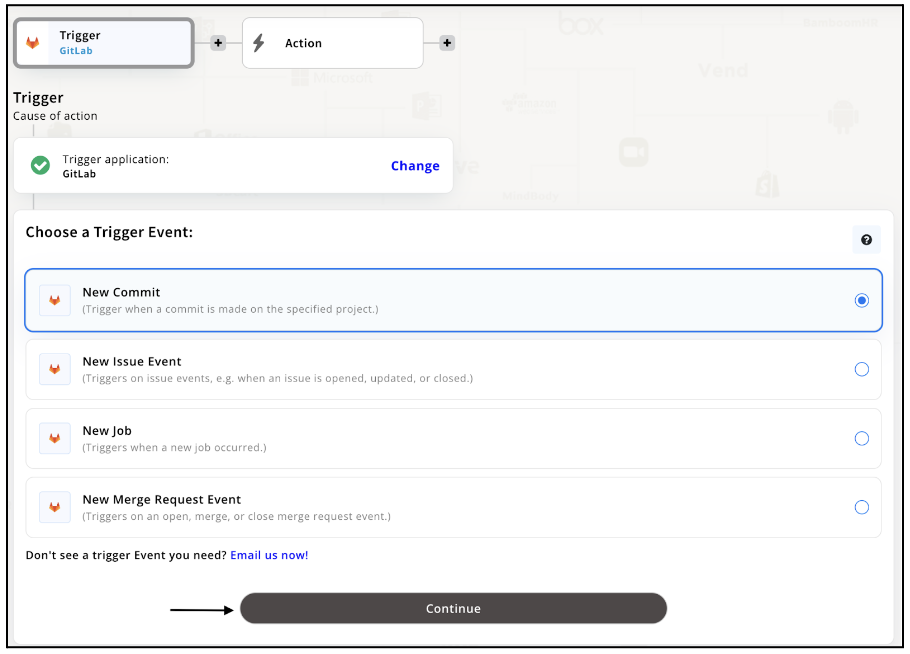
Step 5
Choose the required Trigger Event for GitLab and press “Continue”.
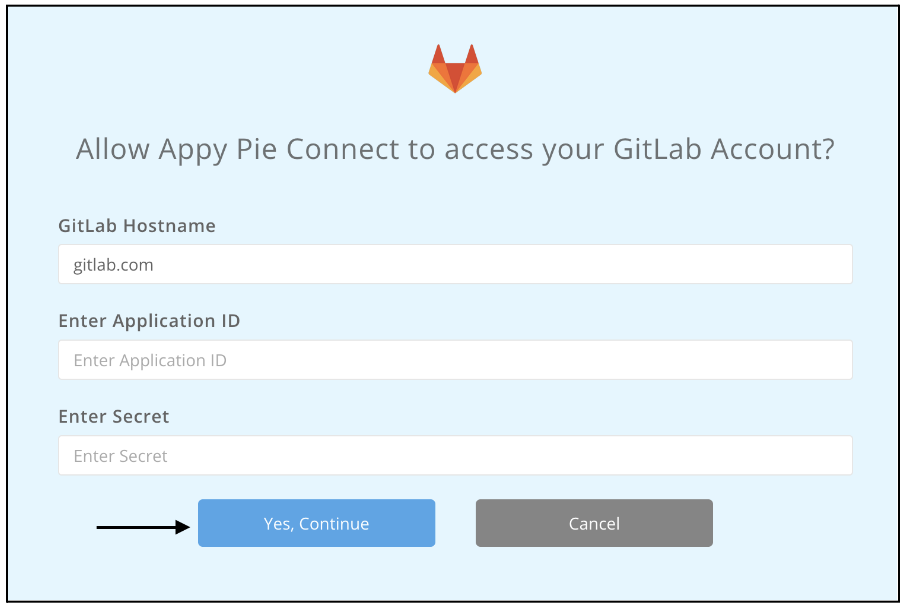
Step 6
Now, Appy Pie will ask for a few permissions regarding your application. Upon reading and understanding, click “Yes, Continue”.
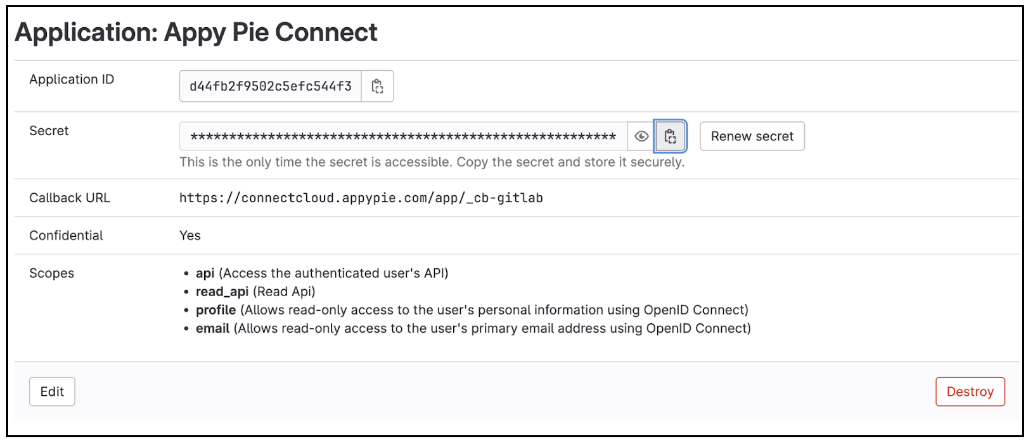
Step 7
Note: To move ahead, you need to create an application ID. Once you’ve created your application, you'll have access to the application ID and secret key but you must use the URI: https://connectcloud.appypie.com/app/_cb-gitlab when asked.
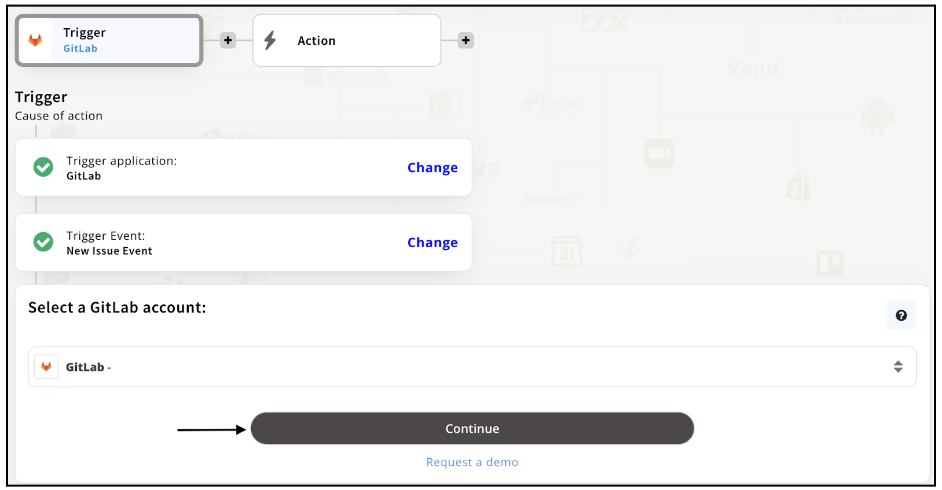
Step 8
Once you’ve agreed to the permissions, your account will be connected to Appy Pie as shown in the image. Select that account and hit “Continue”. Note: You must be a GitLab user to be able to integrate.
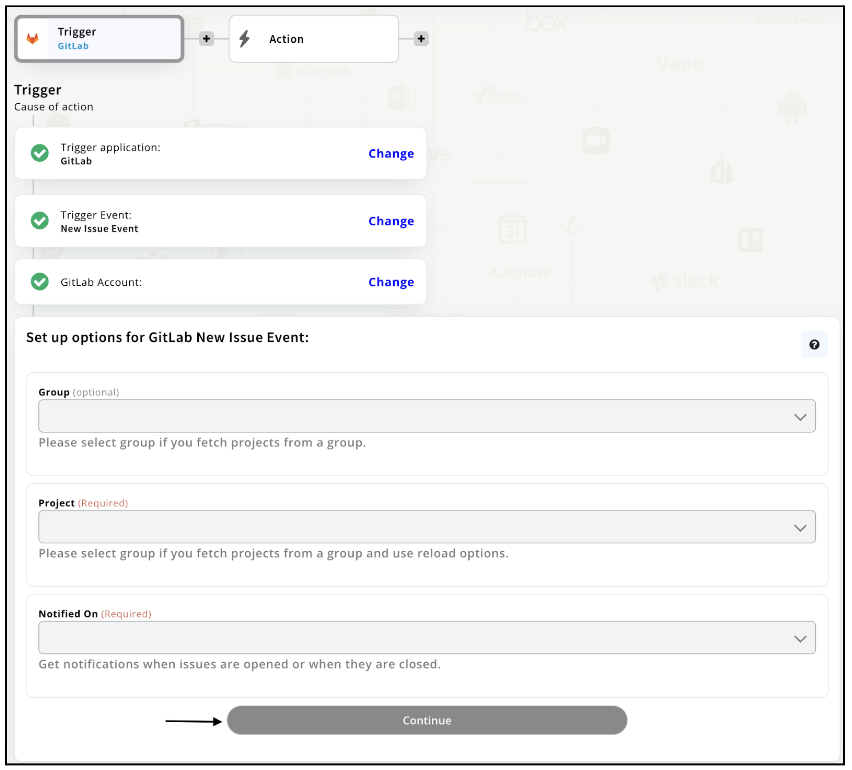
Step 9
Now set up options for GitLab and press “Continue” upon filling in all the necessary details.
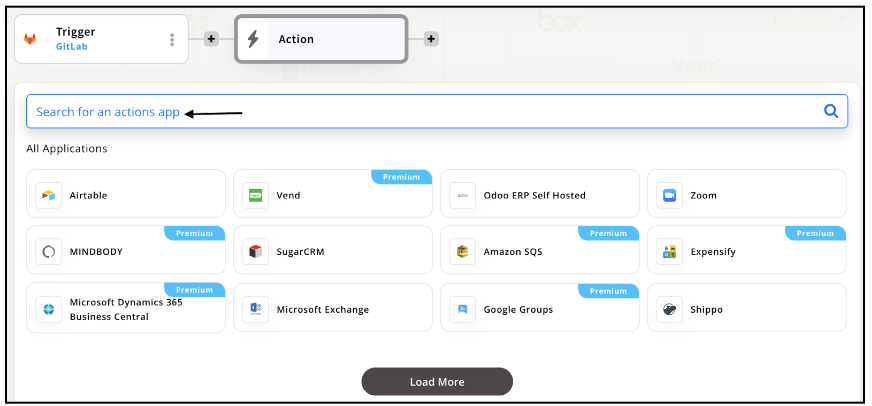
Step 10
Set up for GitLab was complete. Now choose your required action app from 1000+ apps available in the Appy Pie Connect app directory. Let’s select Airtable for your reference.
Step 11
Choose your required Action Event for Airtable which relates to the Trigger Event of GitLab you selected before. Upon choosing click on “Continue”.

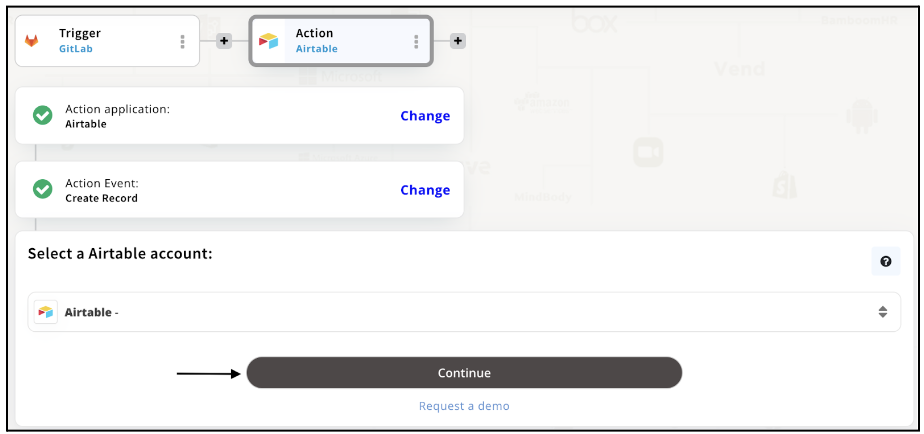
Step 12
Connect your Airtable account with Appy Pie but if you are new to Airtable, you must create an account before proceeding further. Once you’ve created and connected the account, press “Continue”.
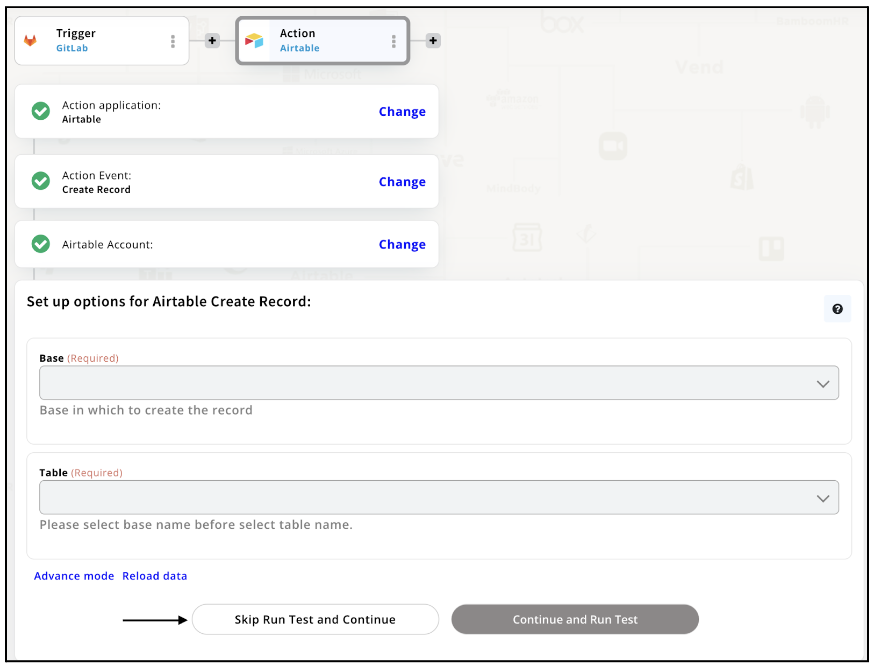
Step 13
Set up options for the Action Event you selected for Airtable. The details being asked will depend on the action event chosen. Now, skipping or continuing with the Run Test is your wish. Choose accordingly.
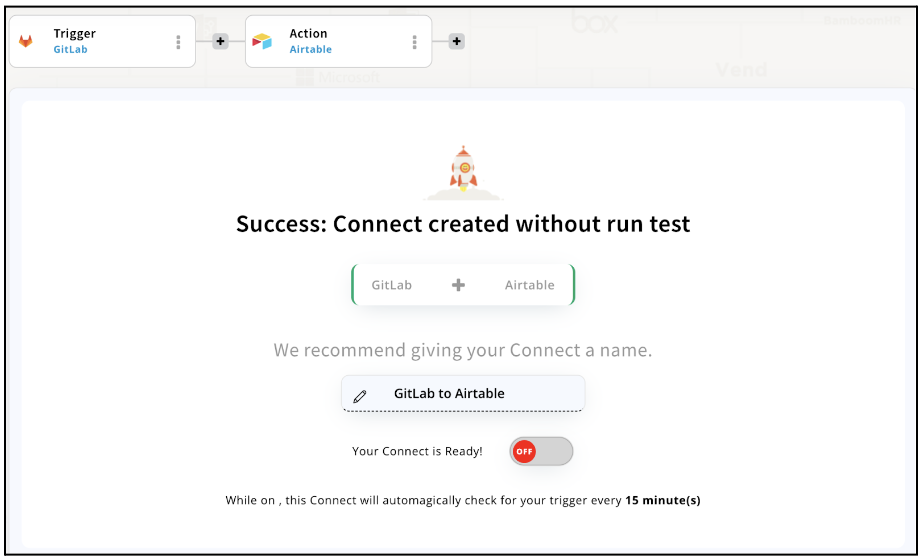
Step 14
Congratulations! Your GitLab integration with Airtable was a success. In the same way, you can integrate GitLab with your favorite app available in the Appy Pie Connect directory and enjoy all the fantastic features.
Conclusion
GitLab integrations via Appy Pie Connect can greatly benefit developers by automating repetitive tasks and streamlining their workflows. With the ability to connect GitLab with other 1000+ apps, developers can easily manage their projects, collaborate with team members, and increase productivity. Whether it's automating notifications, syncing data between apps, or creating custom workflows, Appy Pie Connect offers a simple and effective way to integrate GitLab with other apps. By using GitLab integrations via Appy Pie Connect, developers can focus on what they do best, writing great code.
loading...
loading...
loading...
Related Articles
- How to setup Login with Facebook in my Facebook Developer Account
- How can I setup PayPal web hooks using the PayPal Developer Portal
- How Can I Set Up Facebook Page Integrations With Appy Pie Connect?
- How Can I Set Up Facebook Messenger Integrations With Appy Pie Connect?
- How Can I Set Up Facebook Integrations With Appy Pie Connect?
- How Can I Set Up ClickUp Integrations With Appy Pie Connect?
- How Can I Set Up Appy Pie App Maker Integrations With Appy Pie Connect?
- How Can I Set Up GitLab Integrations With Appy Pie Connect?
- How Can I Set Up Strava Integrations With Appy Pie Connect?
Still can’t find an answer?
Send us a ticket and we will get back to you.