Knowledge Base
Appy Pie: How to find Google Account Client ID and Client Secret key?
Priya Gautam
29 min readPublished on Feb 20 2020 | Last updated on Feb 20 2020
To get your Google Client ID and Secret Key, follow these steps:
Step 1: Go to Google Developer portal.
Step 2: If you already have a Google account, log in. If not, you will need to create a Google account.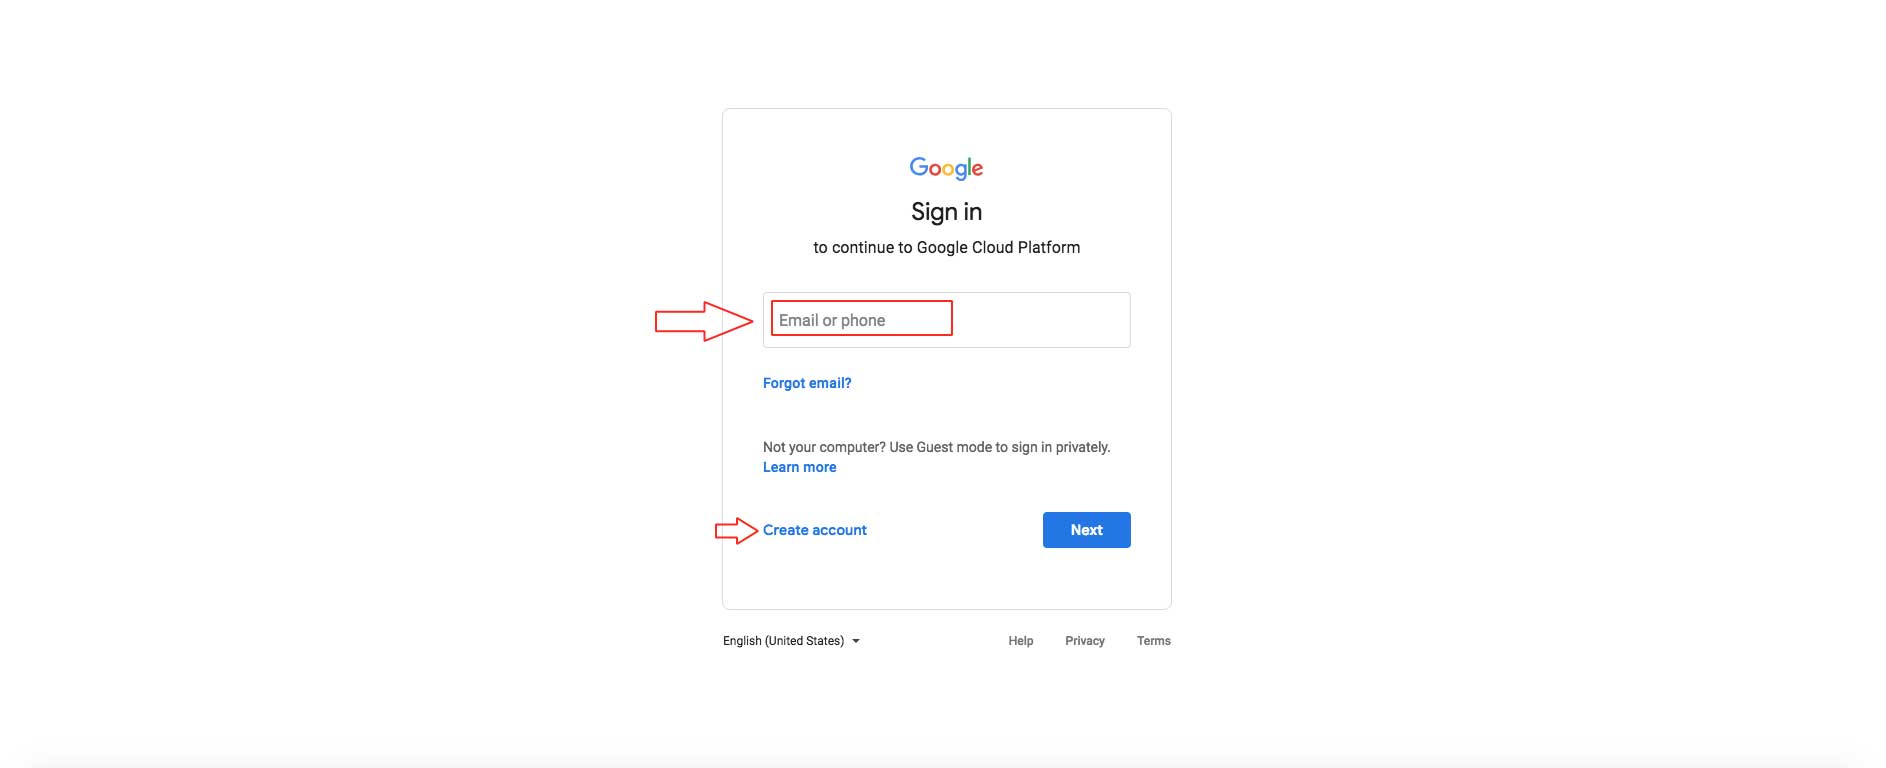


Step 5: Enter a name for the project, and optionally, edit the provided project ID. Once you’ve provided the required details, click on Create.


Step 7: Click on ENABLE APIS & SERVICES.

Step 8: Search for Google Play Android Developer API in the search box or scroll down to the Mobile section to find the Google Play Android Developer API card.

Step 9: Click on the Google Play Android Developer API card.

Step 10: Click on ENABLE to activate the key.
Note: Once enabled, you can check the status on the API/Service Details page.
Step 11: Click on Credentials in the side menu.

Step 12: In the credentials section, click CREATE CREDENTIALS, then select OAuth client ID.

Step 13: Click on the CONFIGURE CONSENT SCREEN button.

Step 14 : Select User Type from the options, and then click Create.
Note: Projects associated with a Google Cloud Organization can configure Internal users to limit authorization requests to members of the organization whereas Projects configured with a user type of External are available to any user with a Google Account.
The following steps are to be followed when user type "External" is selected:
1. Enter App name and User support email (email which your users can use to contact you).2. Scroll down to the bottom of the same page and enter the required email address under Developer Contact Information, then click on Save and Continue.
3. Next, you will be redirected to the Scopes screen. Scroll down and click on Save and Continue.
4. On the Test Users screen, click on Save and Continue.
5. Once done, you can review the OAuth Consent screen summary.
The following steps are to be followed when user type "Internal" is selected:
1. Enter the Application Name and select User support email.2. Enter the Authorized Domain and Developer Email address. In the Authorized Domains field, enter the URL - appypie.com. Once done, click on Save and Continue.
3. On the Scopes screen, click on Save And Continue.
4. Once done, you can review the summary.

Step 15: Once you’ve configured the user type, then click on Credentials in the side menu.

Step 16: On the Credentials page, click on Create Credentials, then select OAuth client ID.

Step 17: Click on the Application Type dropdown menu, then select Web application.

Step 18: Under Authorized JavaScript origins, click on the ADD URI button, then copy and paste this URI- https://snappy.appypie.com in the required field.

Step 19: Under Authorized redirect URIs, click on the ADD URI button, then copy and paste this URI- https://snappy.appypie.com/app/iap-token in the required field. Once done, click on CREATE.

Step 20: Once done, your OAuth client will be created. Now, copy your client ID and secret key from the dialog.
Note: You can also access and copy your Client ID from the Credentials page in APIs & Services.
Step 21: Paste the copied keys in the respective fields on the creator software.

Next you need to link your created Google Cloud project to Play Console developer account. To link your created Google Cloud project to your Play Console developer account:
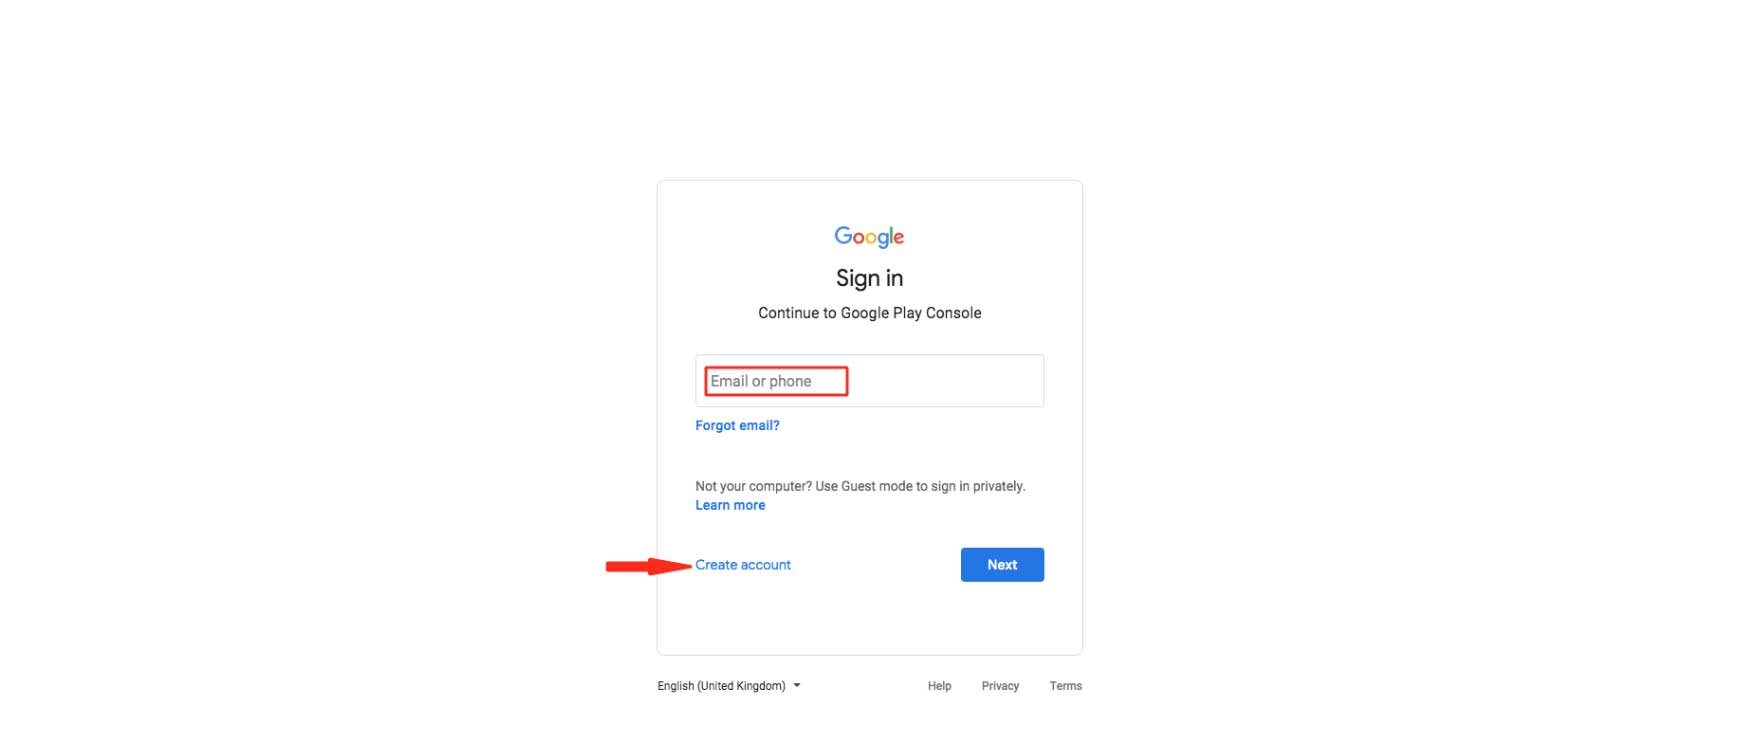
Step 22: Go to Google Play Console. If you have a Google Developer account, login, else Signup.
Note: Ensure that you use the same account to log in or sign up for the Play Console as the one you used when creating your Google Cloud project.
Step 23: On the Play Console dashboard, go to the side menu, then click “Setup”>”API Access”.

Step 24: Under Google Cloud Project, select Link an existing Google Cloud project.

Step 25: Click on the Project dropdown menu.

Step 26: Select your created Google Cloud project, then click Save.

Step 27: Once done, you will find your linked project under the Google Cloud project section.

loading...
loading...
loading...
Related Articles
- Appy Pie: How to create an iOS Distribution Certificate?
- Appy Pie: How to create an iOS Provisioning Profile?
- Appy Pie Font Licensing: What You Need to Know
- Appy Pie: How to add Hyperlocal feature to your app?
- How to add and edit features in Appy Pie?
- Why is an Email Address Required on Appy Pie?
- Appy Pie: How to add the Donate feature to your app ?
- Appy Pie: How to add the Audio feature to your app ?
- Appy Pie: How to get Live Publishable Key, Live Secret Key and client ID from Stripe for Taxi?
Still can’t find an answer?
Send us a ticket and we will get back to you.