Knowledge Base
How Can I Set Up Harvest Integrations With Appy Pie Connect?
Garima
4 min readPublished on Date | Last updated on Date
Harvest is a popular time-tracking and invoicing software used by businesses of all sizes. However, as businesses grow, they often find themselves using multiple tools and software, which can lead to data silos and inefficiencies. That's where Appy Pie Connect comes in. Appy Pie Connect is a powerful automation platform that enables businesses to integrate their Harvest account with other apps and services they use, allowing them to streamline their workflows and save time.
Steps to Integrate Harvest with other apps
Step 1
Visit Appy Pie Connect, and ‘Log In’ for Appy Pie Connect. In case you do not have a Appy Pie account, “Sign up” first and then log in to your account.

Step 2
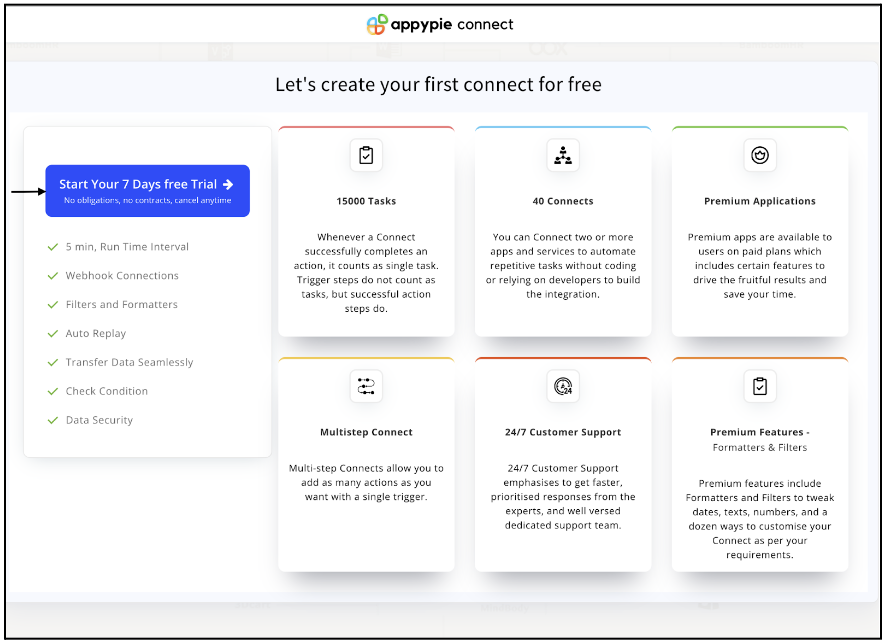
As a sign-up procedure, click “Start your 7 days free trial” to be redirected to the Appy Pie Connect dashboard for further procedure.
Step 3
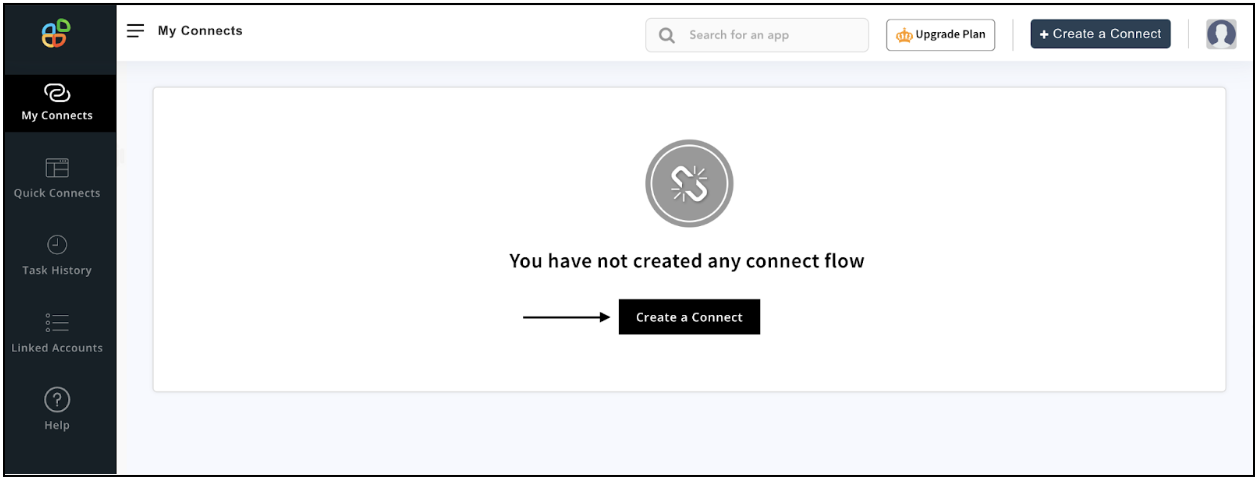
After logging in, you will see a dashboard as shown in the image. This dashboard will contain all the information regarding your integrations between apps.
Here, click on “Create a Connect”.
Step 4
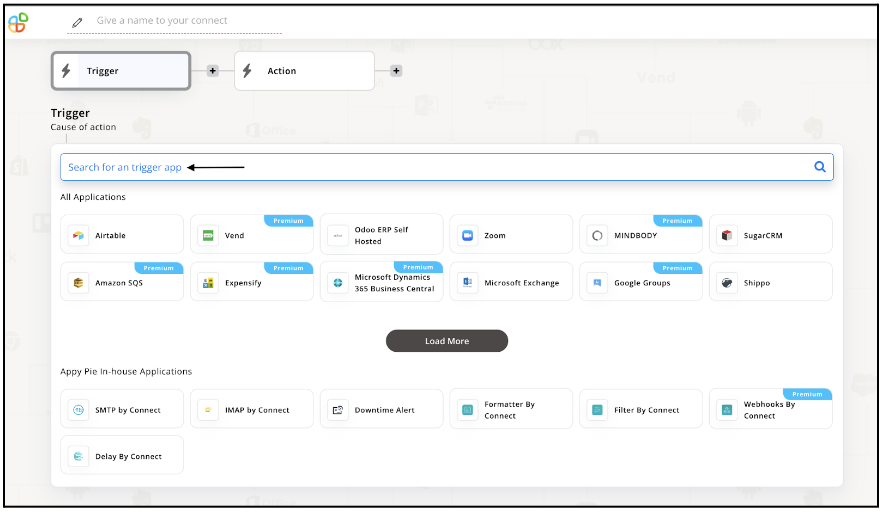
Now, search for ‘Harvest’ in the search toolbar as we’re learning how to enable Harvest integrations through Appy Pie Connect.
Step 5
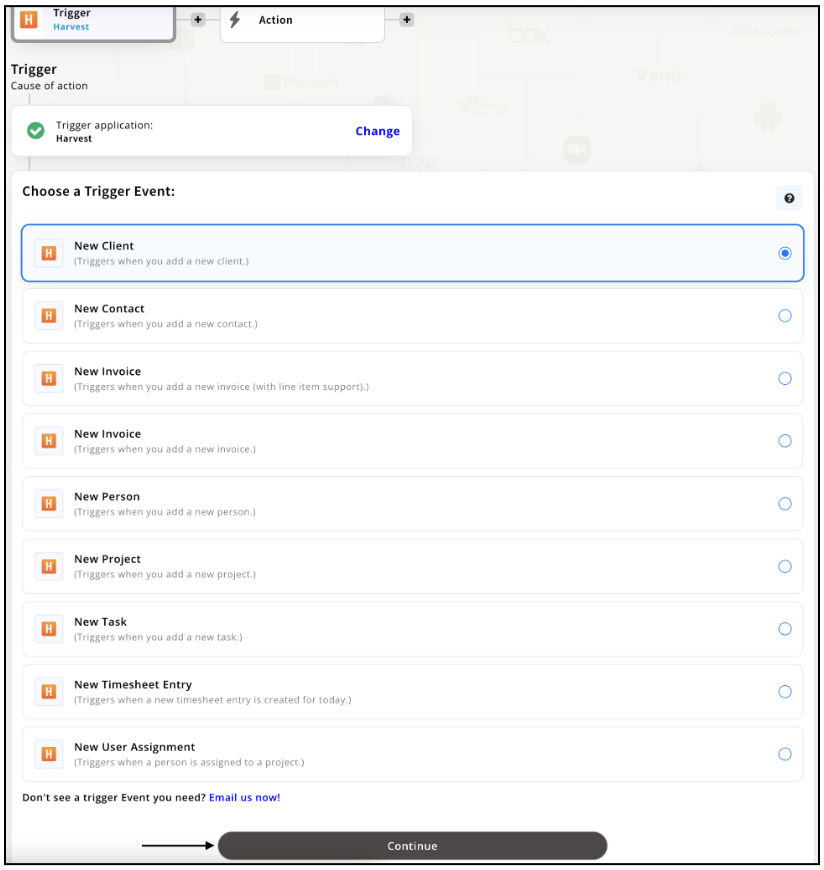
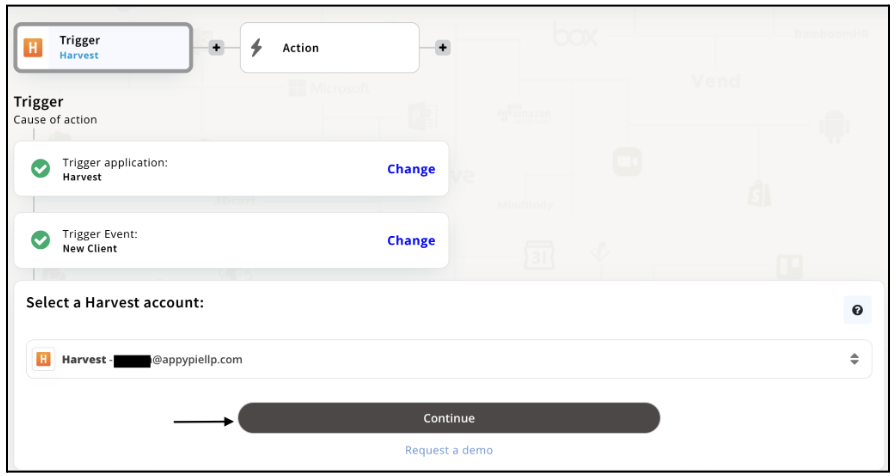
Choose the required Trigger Event for Harvest and press “Continue”.
Step 6
Once you’ve agreed to the permissions, your account will be connected to Appy Pie as shown in the image. Select that account and hit “Continue”. Note: You must be a Harvest user to be able to integrate.
Step 7
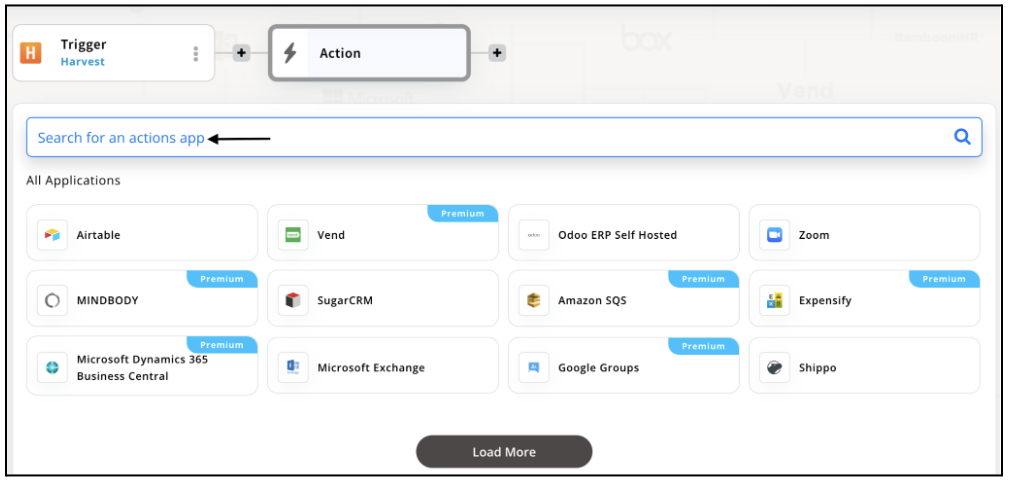
Set up for Harvest was complete. Now choose your required action app from 1000+ apps available in the Appy Pie Connect app directory. Let’s select Zoom for your reference.
Step 8
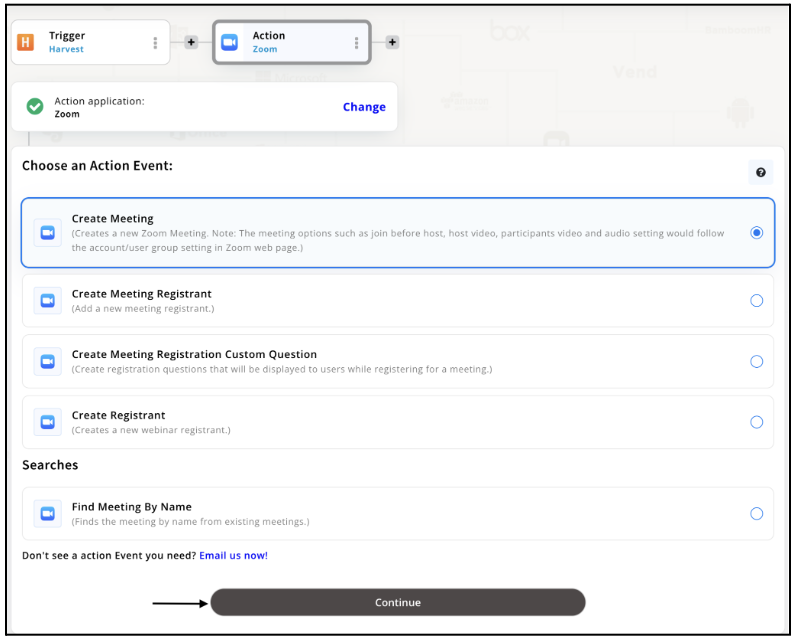
Choose your required Action Event for Zoom which relates to the Trigger Event of Harvest you selected before. Upon choosing click on “Continue”.
Step 9
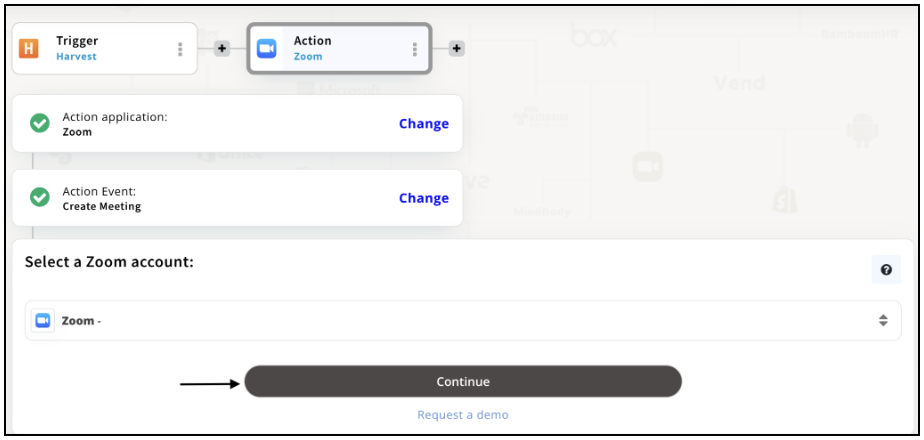
Connect your Zoom account with Appy Pie but if you are new to Zoom, you must create an account before proceeding further. Once you’ve created and connected the account, press “Continue”.
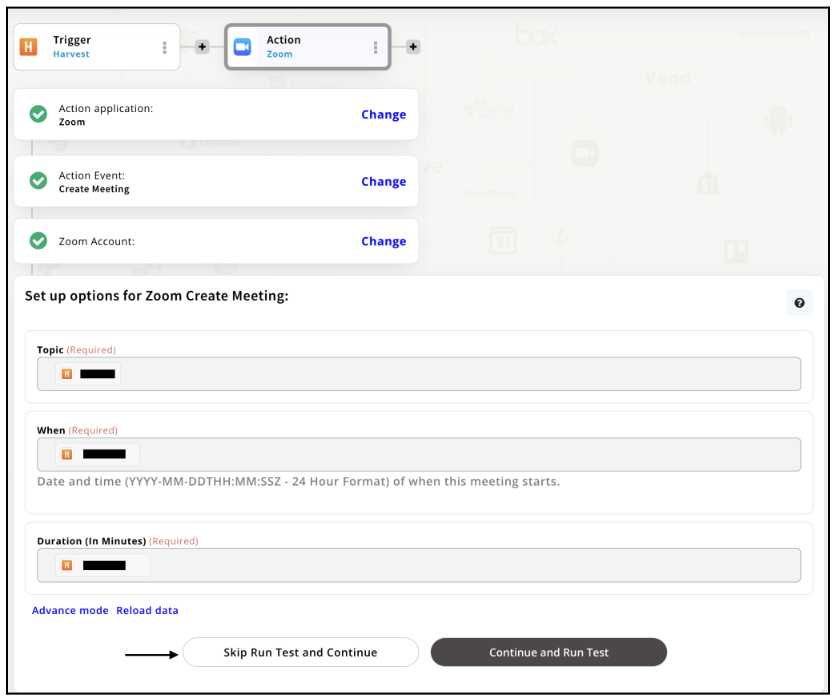
Step 10
Set up options for the Action Event you selected for Zoom. The details being asked will depend on the action event chosen. Now, skipping or continuing with the Run Test is your wish. Choose accordingly.
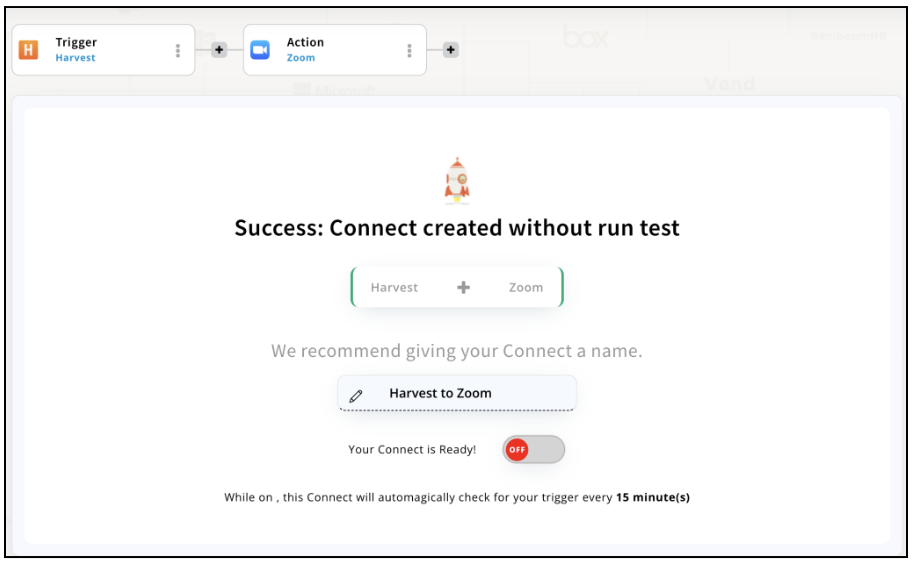
Step 11
Congratulations! Your Harvest integration with Zoom was a success. In the same way, you can integrate Harvest with your favorite app available in the Appy Pie Connect directory and enjoy all the fantastic features.
Conclusion
Integrating Harvest with other apps and services can greatly enhance a business's productivity and efficiency. With Appy Pie Connect, businesses can automate time-consuming tasks, eliminate manual data entry, and create seamless workflows between their favorite tools. By following the instructions in this integration guide, businesses can easily set up integrations with other 1000+ popular apps and services, and enjoy the benefits of a fully integrated workflow.
loading...
Related Articles
- How to setup Login with Facebook in my Facebook Developer Account
- How can I setup PayPal web hooks using the PayPal Developer Portal
- How Can I Set Up Facebook Page Integrations With Appy Pie Connect?
- How Can I Set Up Facebook Messenger Integrations With Appy Pie Connect?
- How Can I Set Up Facebook Integrations With Appy Pie Connect?
- How Can I Set Up ClickUp Integrations With Appy Pie Connect?
- How Can I Set Up GitLab Integrations With Appy Pie Connect?
- How Can I Set Up Strava Integrations With Appy Pie Connect?
- How Can I Set Up RepairShopr Integrations With Appy Pie Connect?
Still can’t find an answer?
Send us a ticket and we will get back to you.