Knowledge Base
How Can I Set Up Todoist Integrations With Appy Pie Connect?
Garima
4 min readPublished on Date | Last updated on Date
In today's fast-paced world, people are constantly looking for ways to simplify their lives and streamline their daily tasks. This is where productivity tools like Todoist come in handy. Todoist is a popular task management app that helps users keep track of their to-do lists, deadlines, and projects. To make it even more powerful, Todoist offers integrations with other apps through platforms like Appy Pie Connect. Here, we will learn how to Integrate Todoist with other apps through Appy Pie Connect.
Steps to integrate Todoist with other apps
Step 1
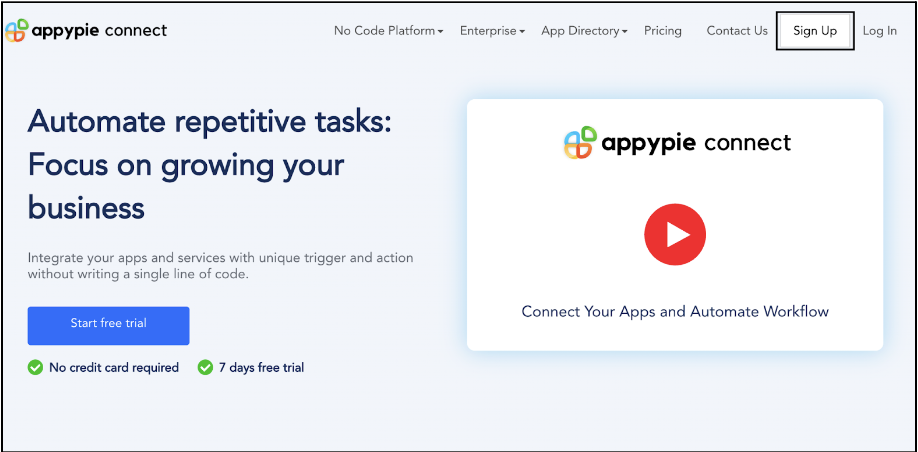
Visit Appy Pie Connect, and “Log In“ for Appy Pie Connect. In case you do not have a Appy Pie account, Sign up first and then log in to your account.
Step 2
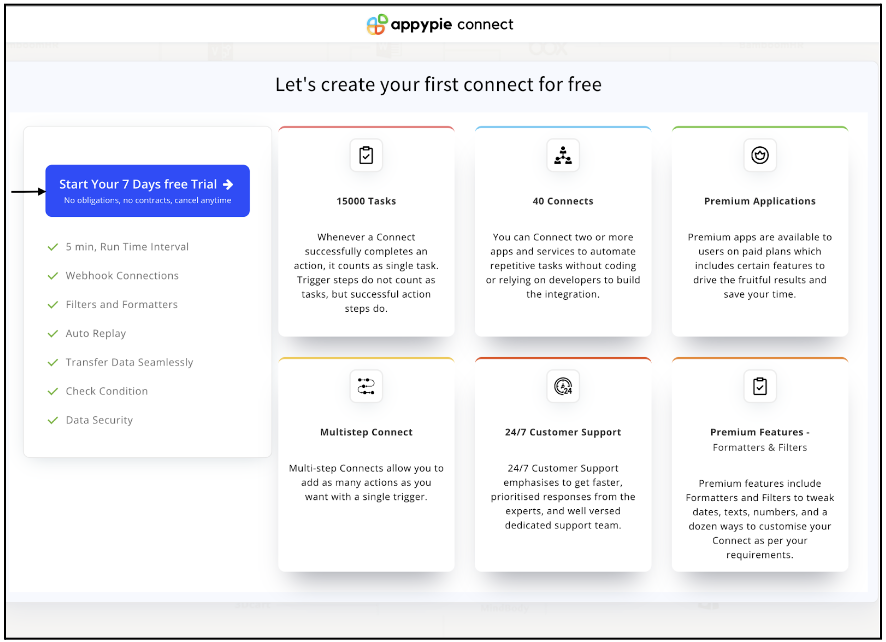
As a sign-up procedure, click on “Start your 7 days free trial” where you will be redirected to the Appy Pie Connect dashboard for further procedure.
Step 3
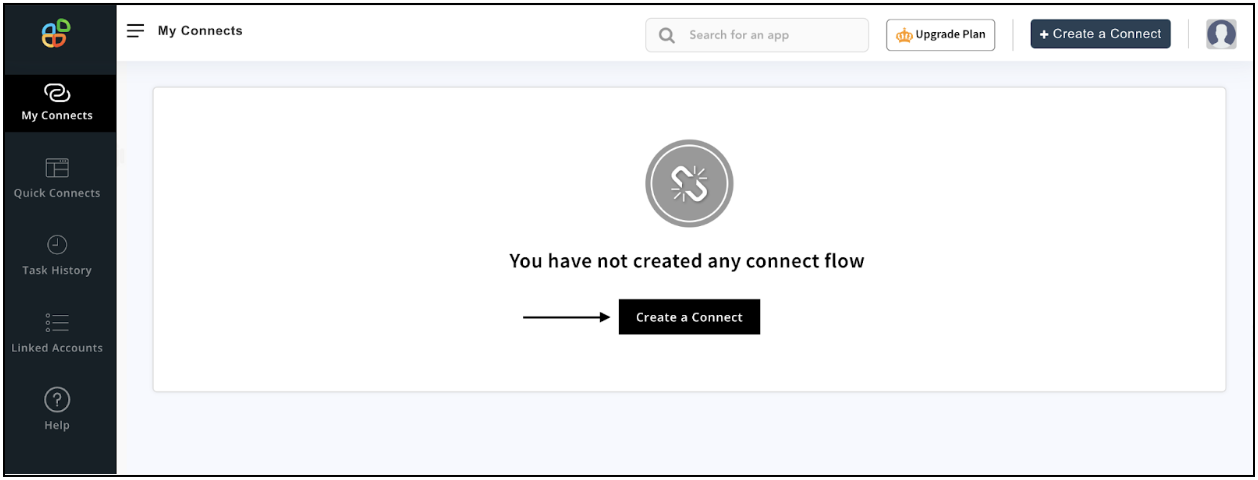
After logging in, you will see a dashboard as shown in the image. This dashboard will contain all the information regarding your integrations between apps.
Here, click on “Create a Connect”.
Step 4
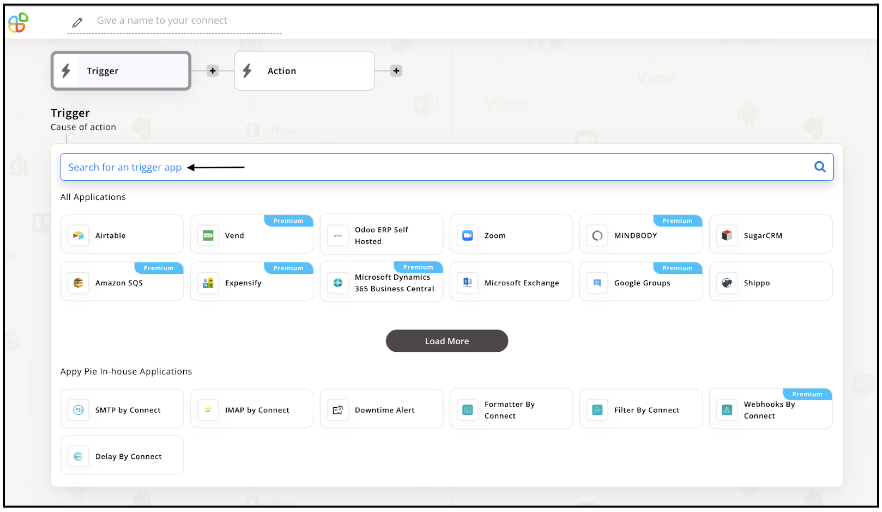
Now, search for ‘Todoist’ in the search toolbar as we’re learning how to enable Todoist integrations through Appy Pie Connect.
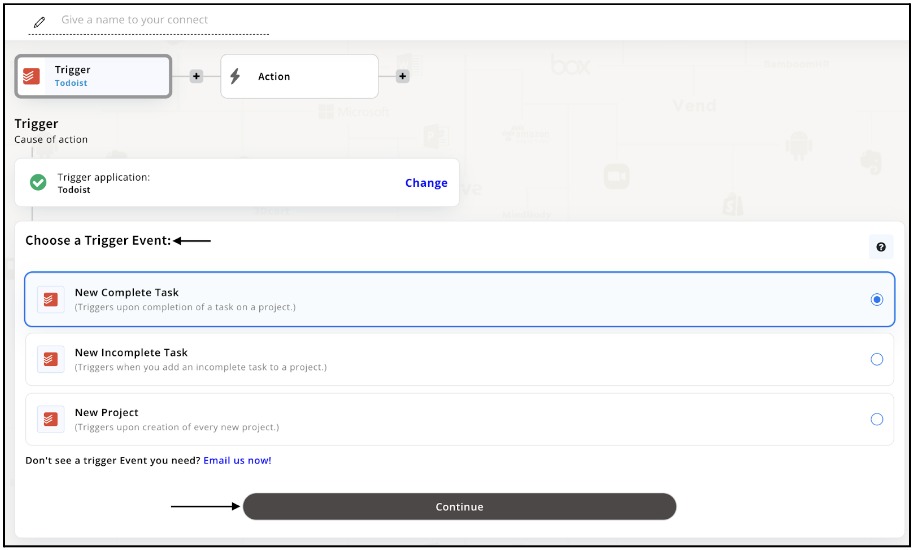
Step 5
Choose the required Trigger Event for Todoist and press “Continue”.
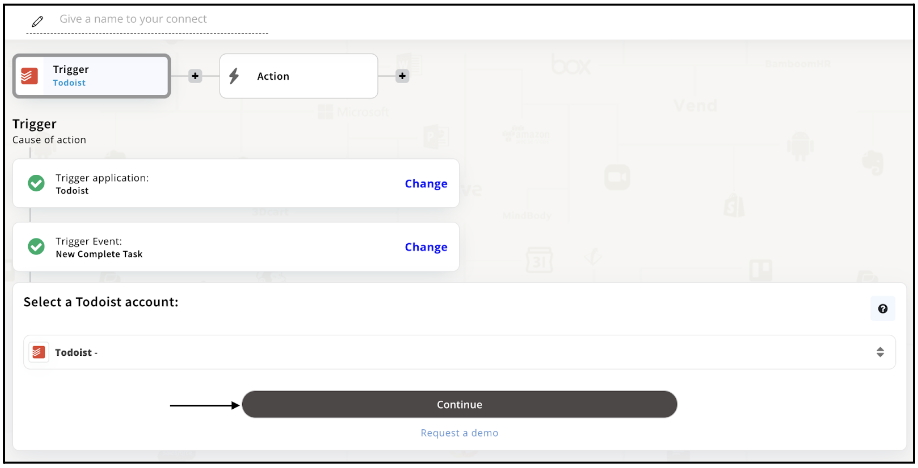
Step 6
Once you’ve agreed to the permissions, your account will be connected to Appy Pie as shown in the image. Select that account and hit “Continue”.
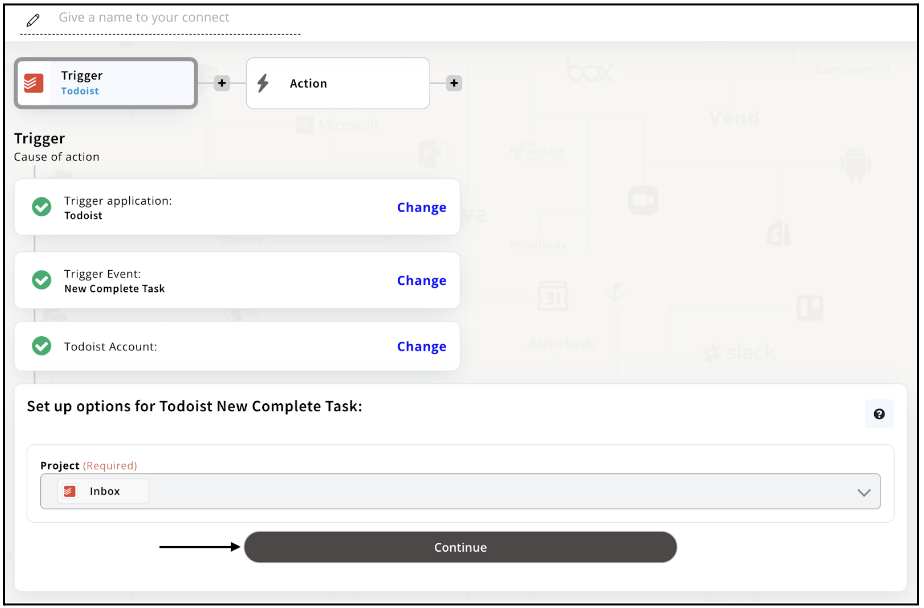
Step 7
Set up options for the Trigger Event you selected before for Todoist and press “Continue”.
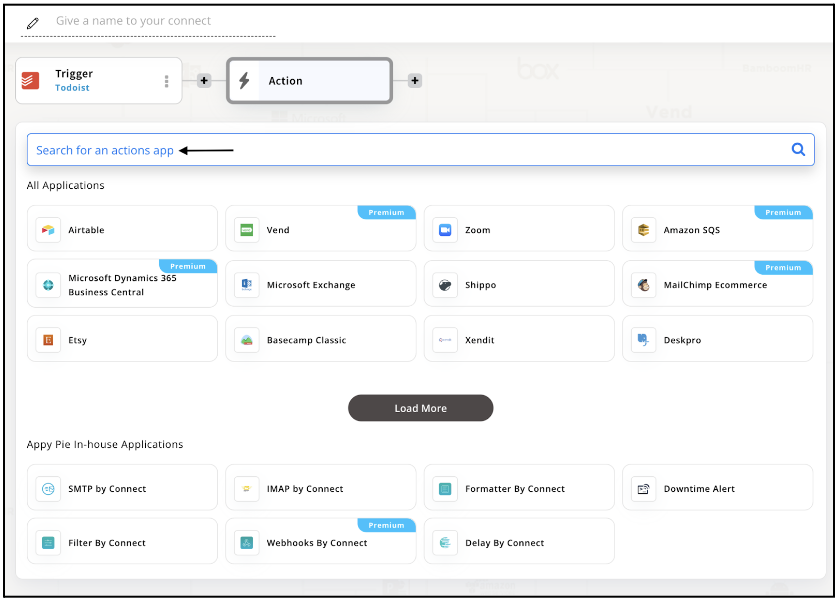
Step 8
Set up for Todoist was complete. Now choose your required action app from 1000+ apps available in the Appy Pie Connect app directory. Let’s select Airtable for your reference.
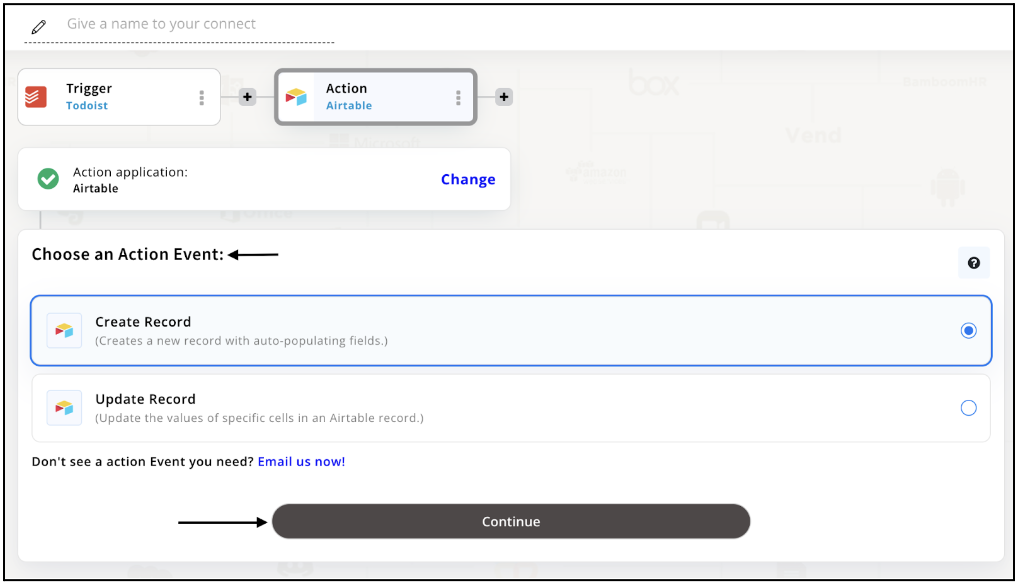
Step 9
Choose your required Action Event for Airtable which relates to the Trigger Event of Todoist you selected before. Upon choosing click on “Continue”.
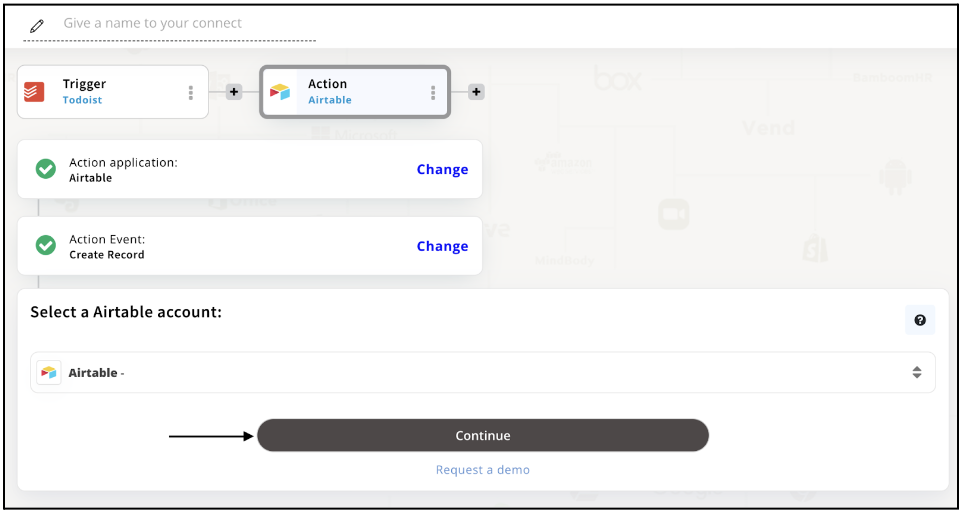
Step 10
Connect your Airtable account with Appy Pie but if you are new to Airtable, you must create an account on Airtable before proceeding further. Once you’ve created and connected the account, press “Continue”.
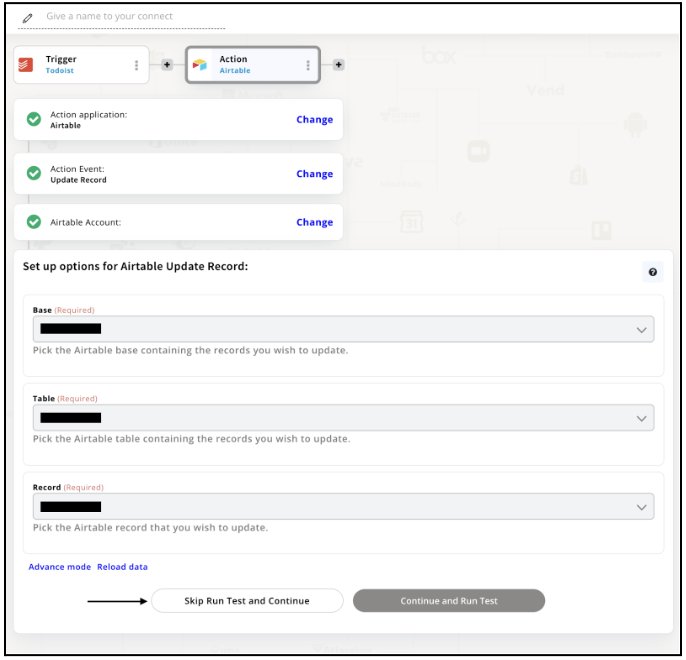
Step 11
Set up options for the Action Event you selected for Airtable. The details being asked will depend on the action event chosen. Now, skipping or continuing with the Run Test is your wish. Choose accordingly.
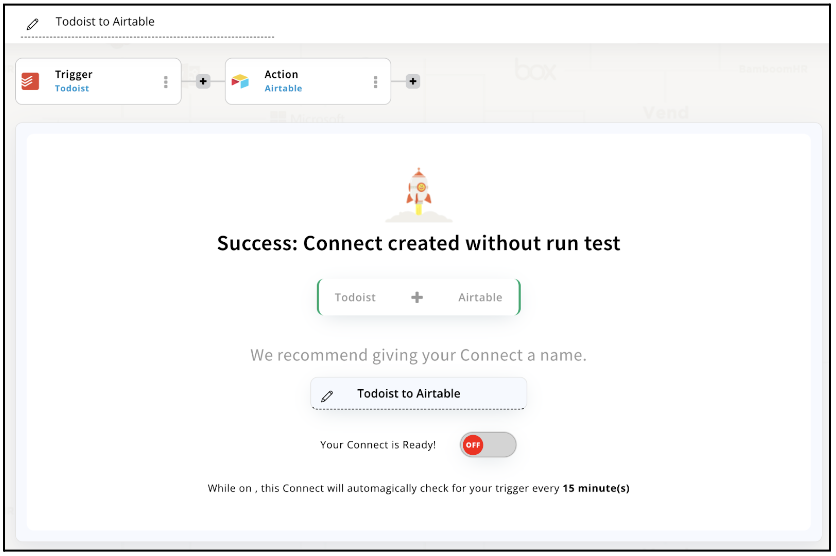
Step 12
Congratulations! Your Todoist integration with Airtable was a success. In the same way, you can integrate Todoist with your favorite app available in the Appy Pie Connect directory and enjoy all the fantastic features.
Conclusion
Todoist is a great tool on its own, but with the help of Appy Pie Connect, it becomes even more useful. By integrating Todoist with other apps, you can streamline your workflow and save time. With Appy Pie Connect, you can easily connect Todoist to other 1000+ apps and automate tasks, so you can focus on the important things. Whether you're a busy professional, a student, or just someone who wants to stay organized, Todoist integrations via Appy Pie Connect can help you achieve your productivity goals.
loading...
Related Articles
- How to setup Login with Facebook in my Facebook Developer Account
- How can I setup PayPal web hooks using the PayPal Developer Portal
- How Can I Set Up Facebook Page Integrations With Appy Pie Connect?
- How Can I Set Up Facebook Messenger Integrations With Appy Pie Connect?
- How Can I Set Up Facebook Integrations With Appy Pie Connect?
- How Can I Set Up ClickUp Integrations With Appy Pie Connect?
- How Can I Set Up GitLab Integrations With Appy Pie Connect?
- How Can I Set Up Strava Integrations With Appy Pie Connect?
- How Can I Set Up RepairShopr Integrations With Appy Pie Connect?
Still can’t find an answer?
Send us a ticket and we will get back to you.