Knowledge Base
Appy Pie: How to create Firebase Plist file ?
Priya Gautam
3 min readPublished on Date | Last updated on Date
Note: You need to create your Plist file with the same Firebase project that you used while creating JSON File. If you have already created the JSON File, you can jump to step 11.
Step 1 : Go to Firebase and Sign in to your account.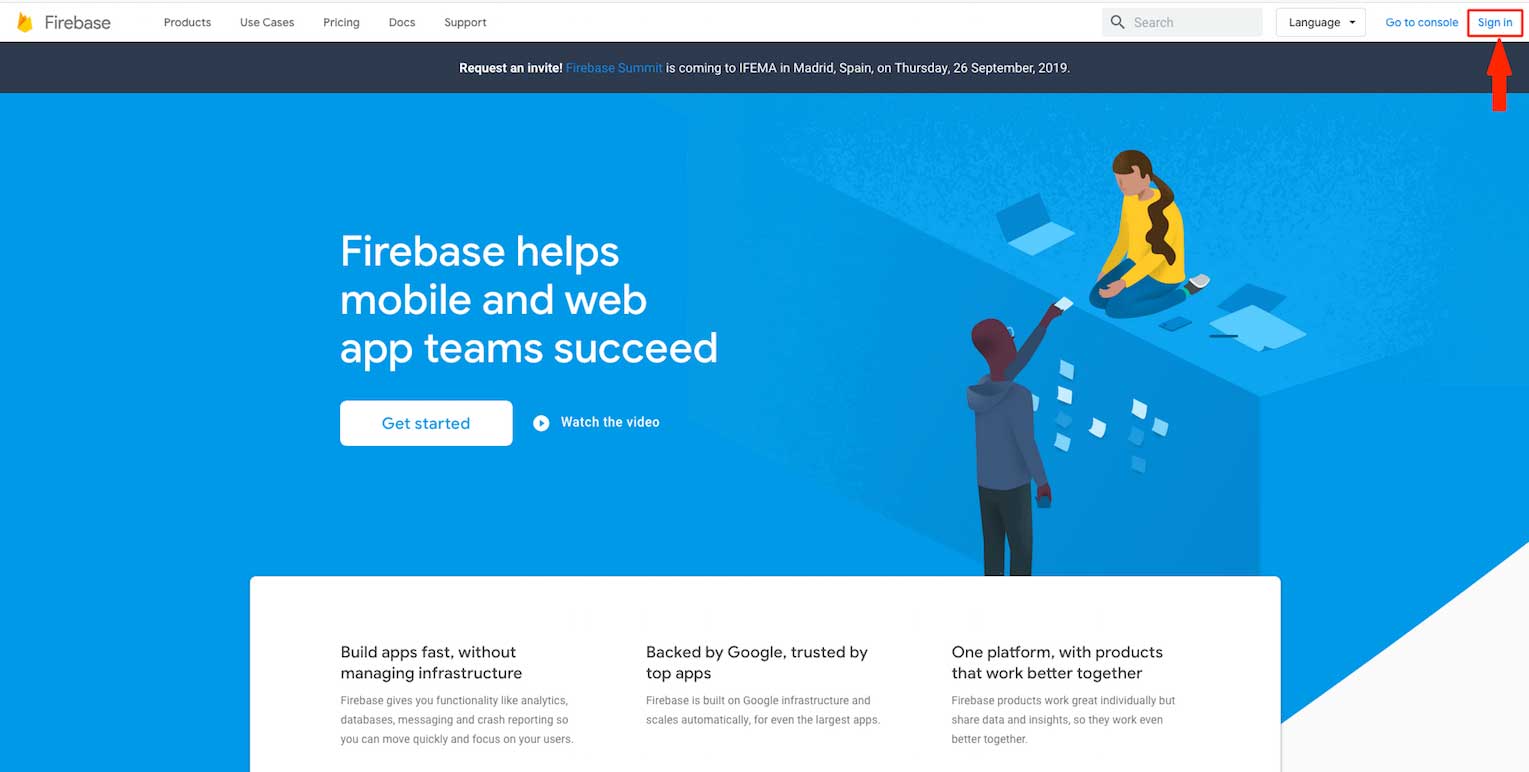
Step 2 : Click on Get Started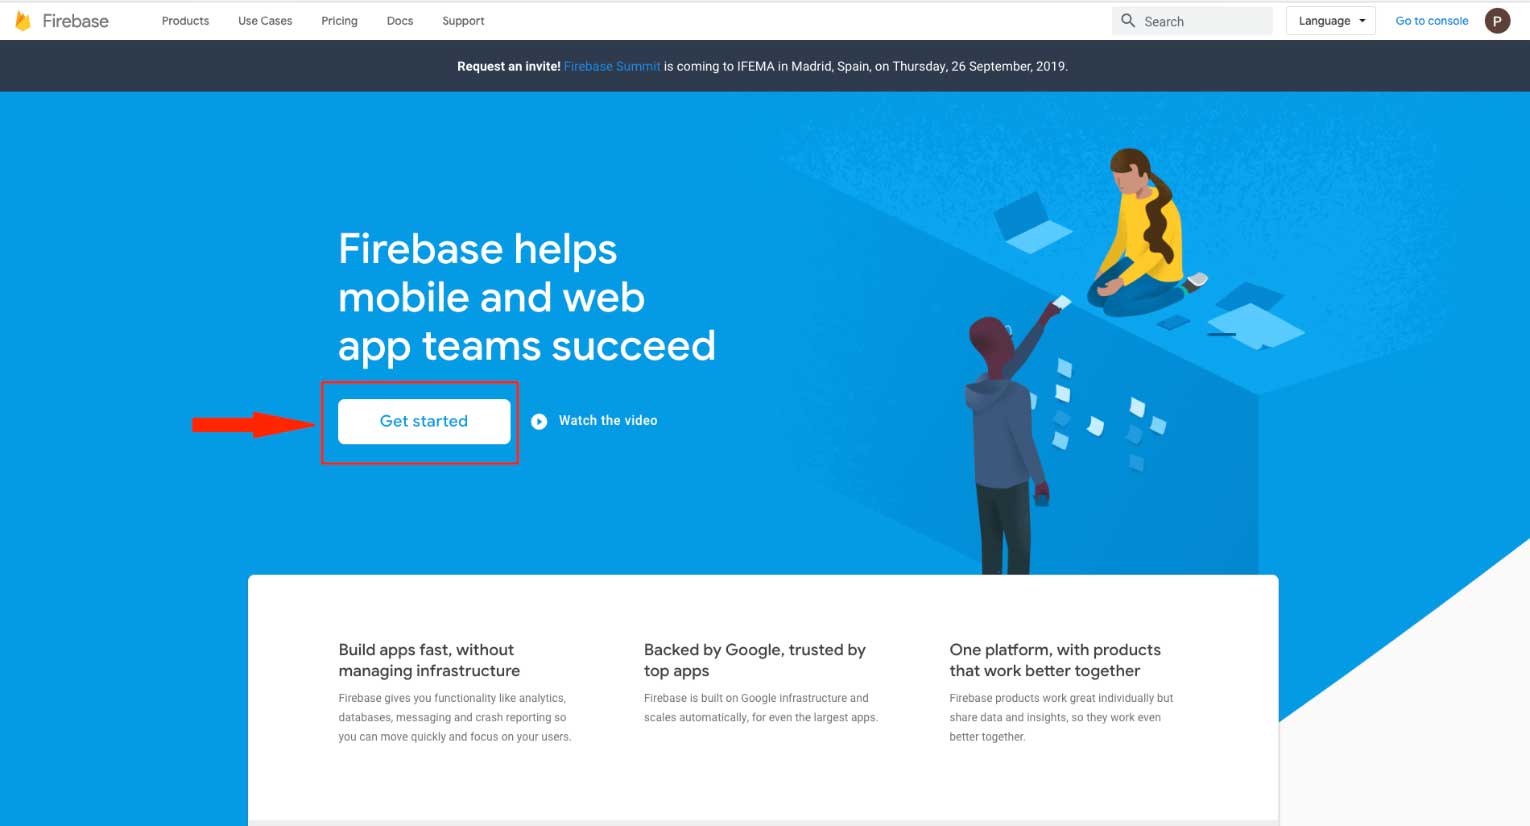
Step 3 : Click on Create a Project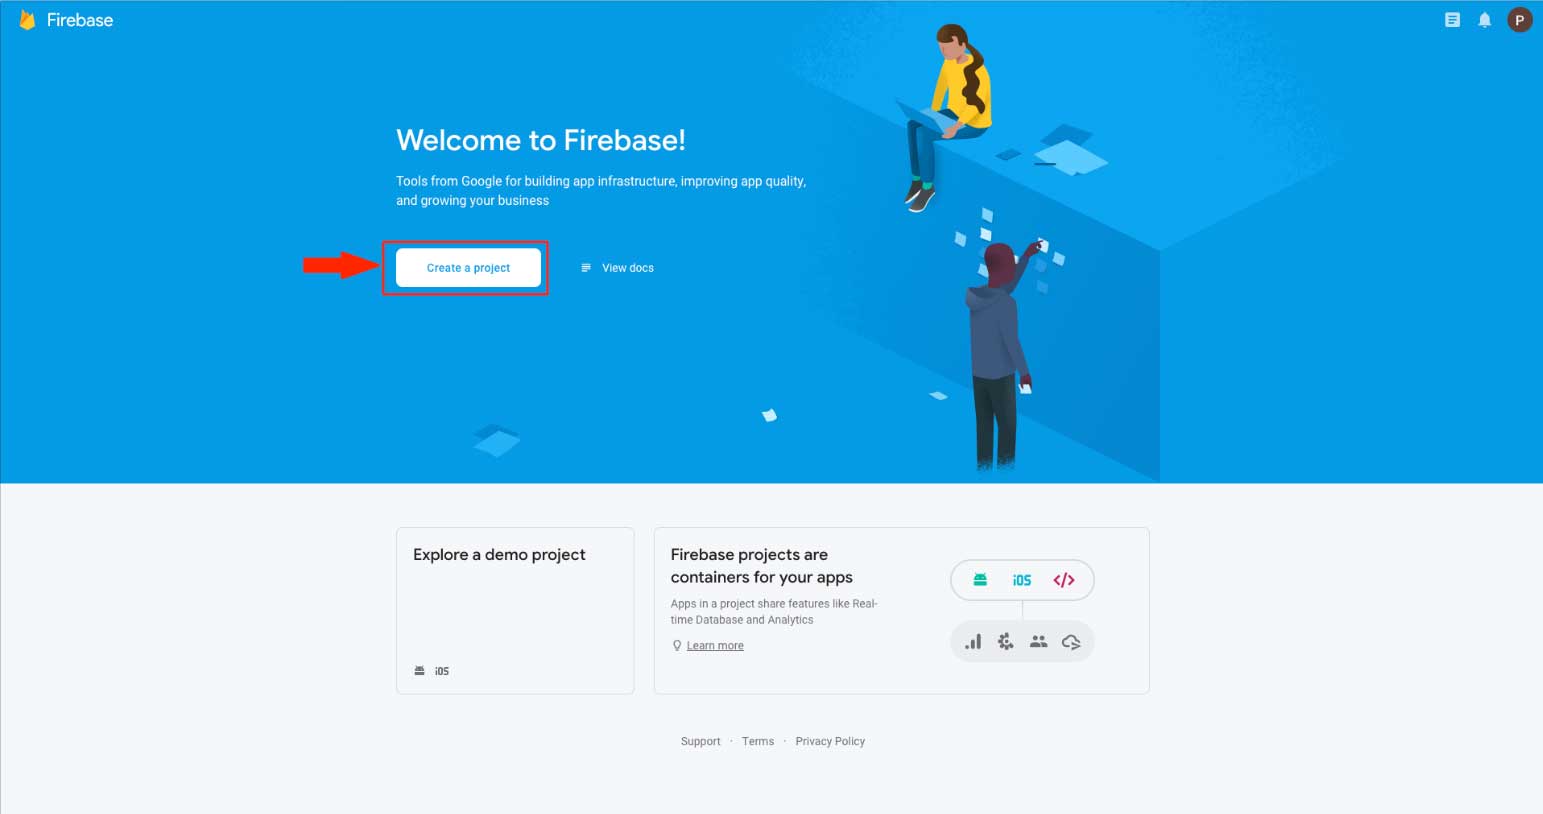
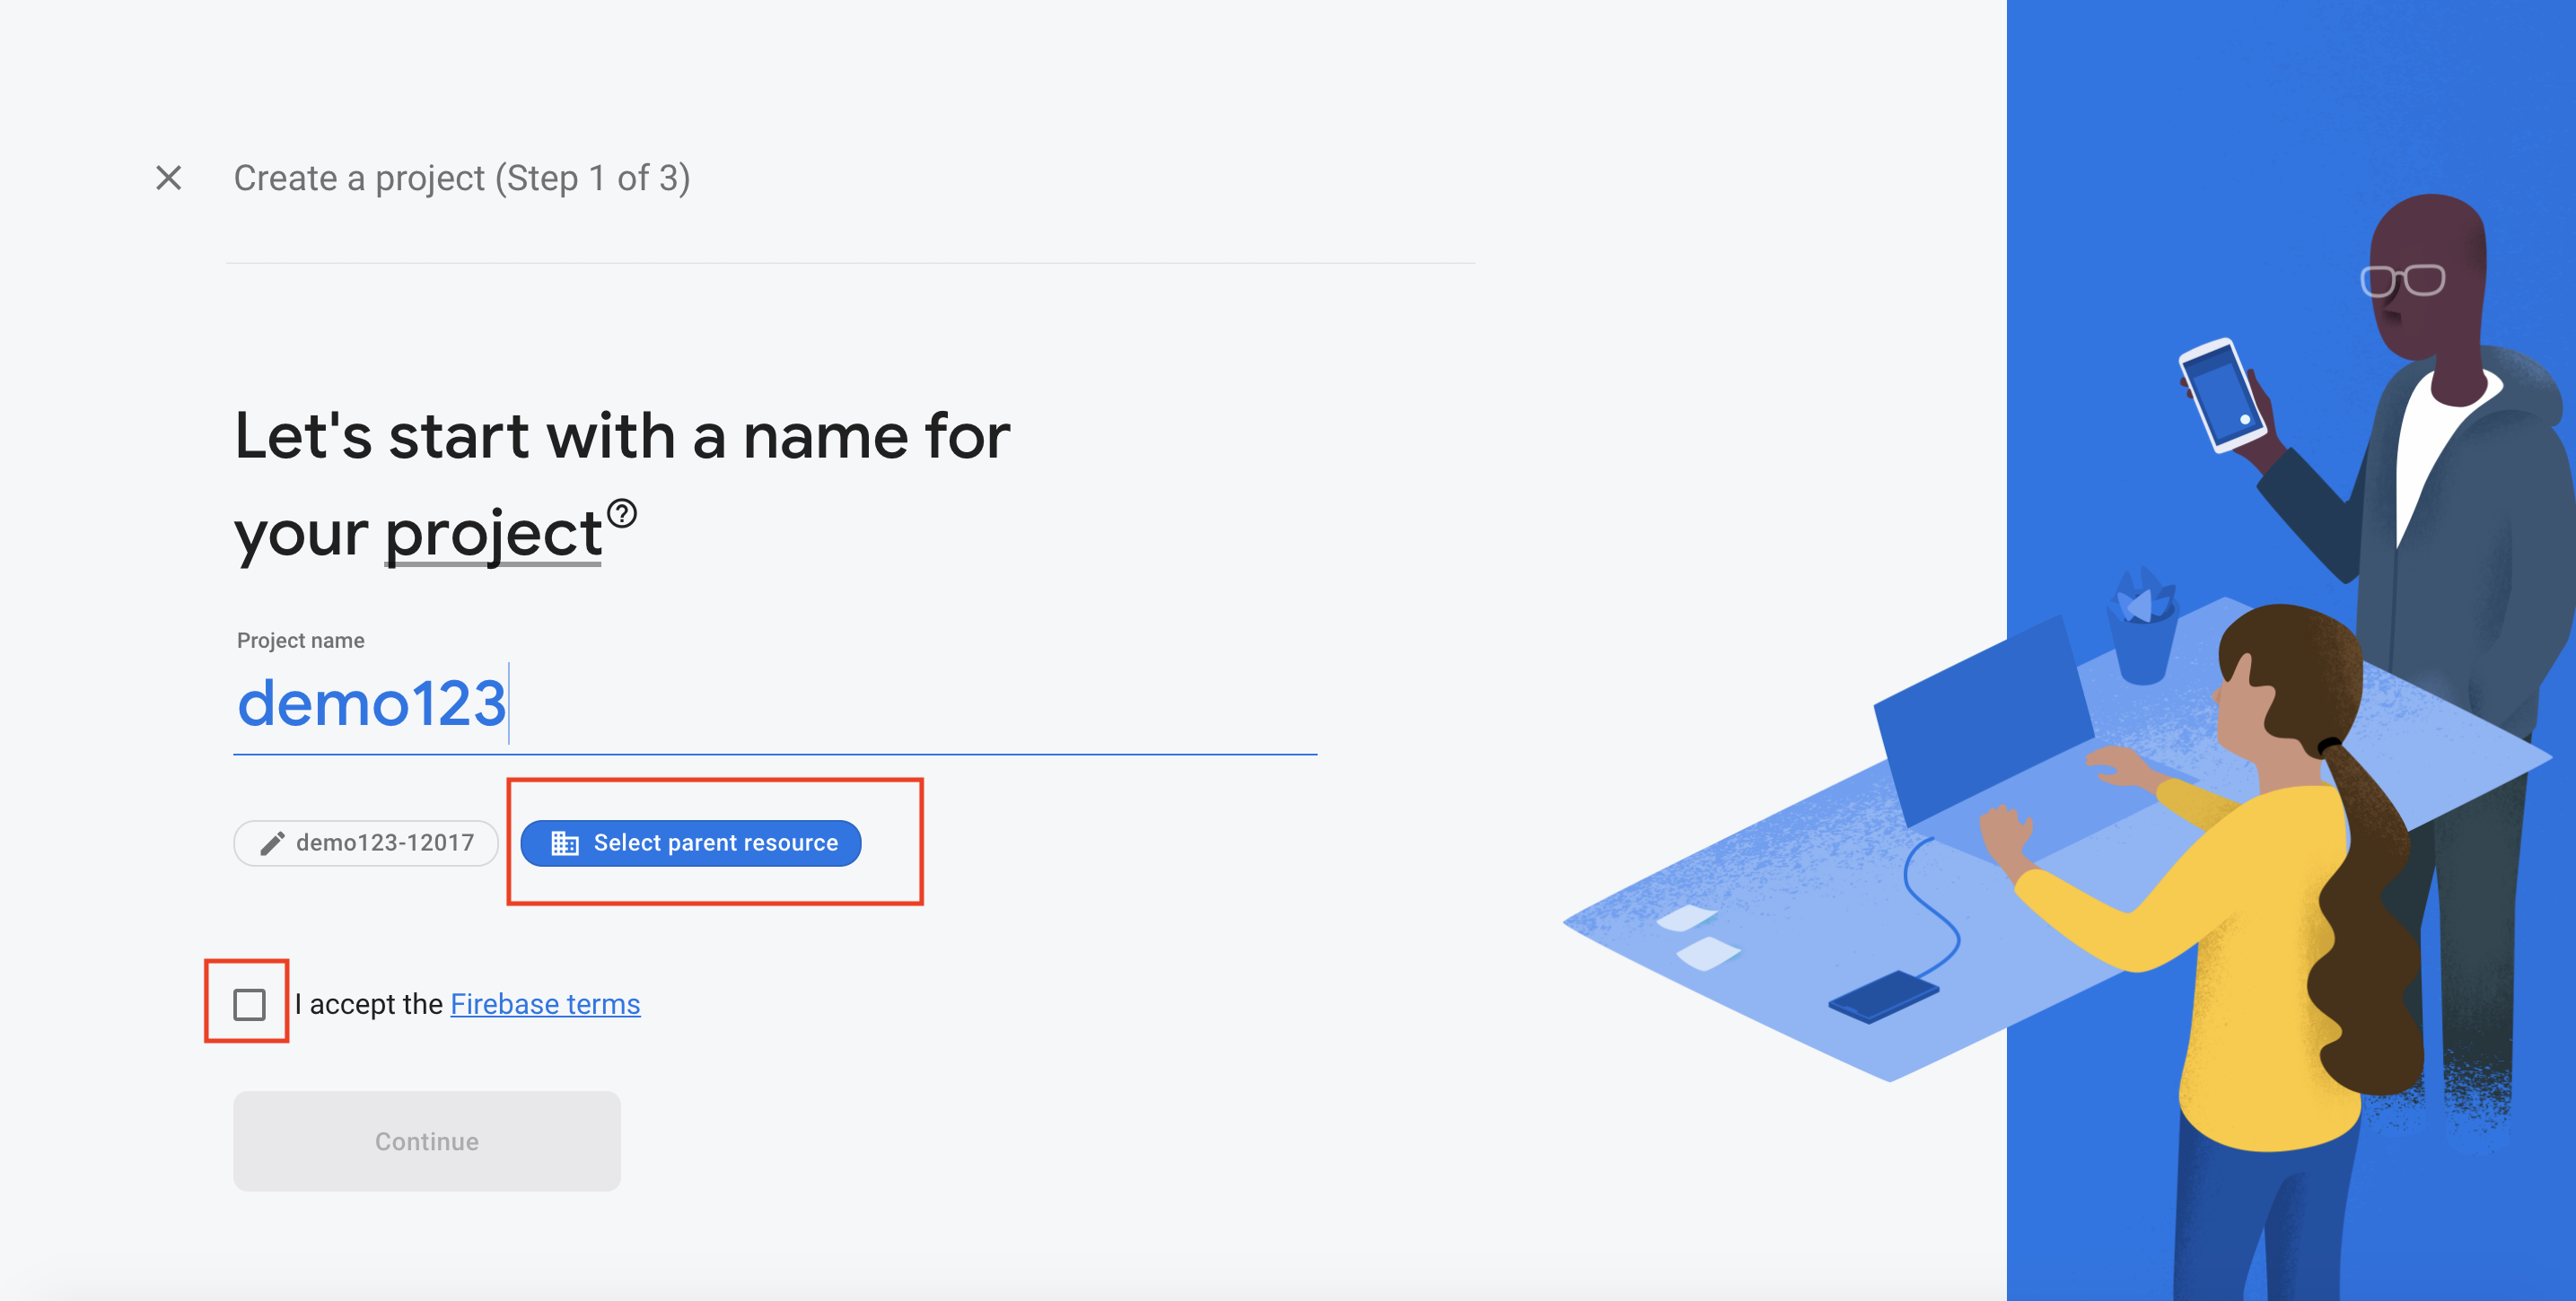
Step 4 : Enter your project name
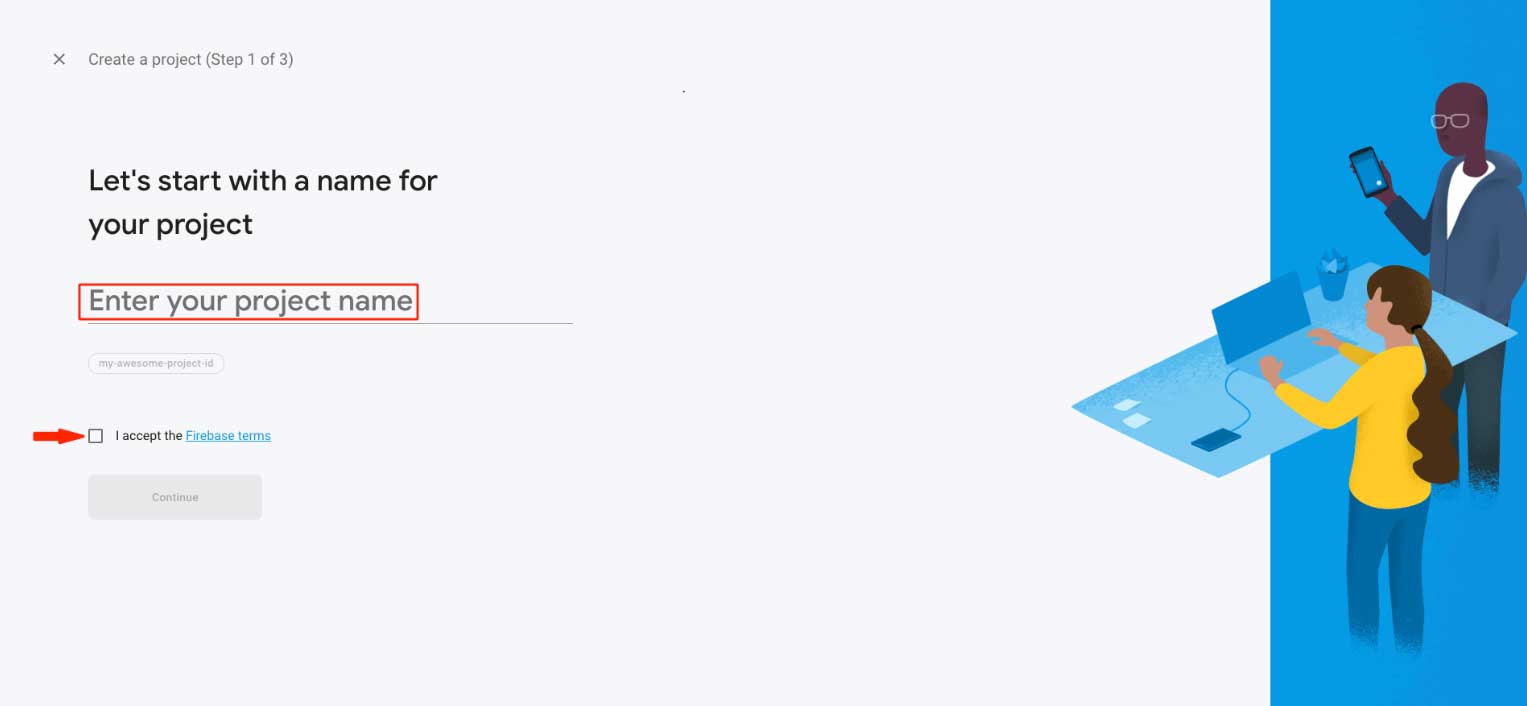
Step 5 : Choose the parent resource and tick mark the checkbox to accept terms and conditions.
Step 6 : Click on Continue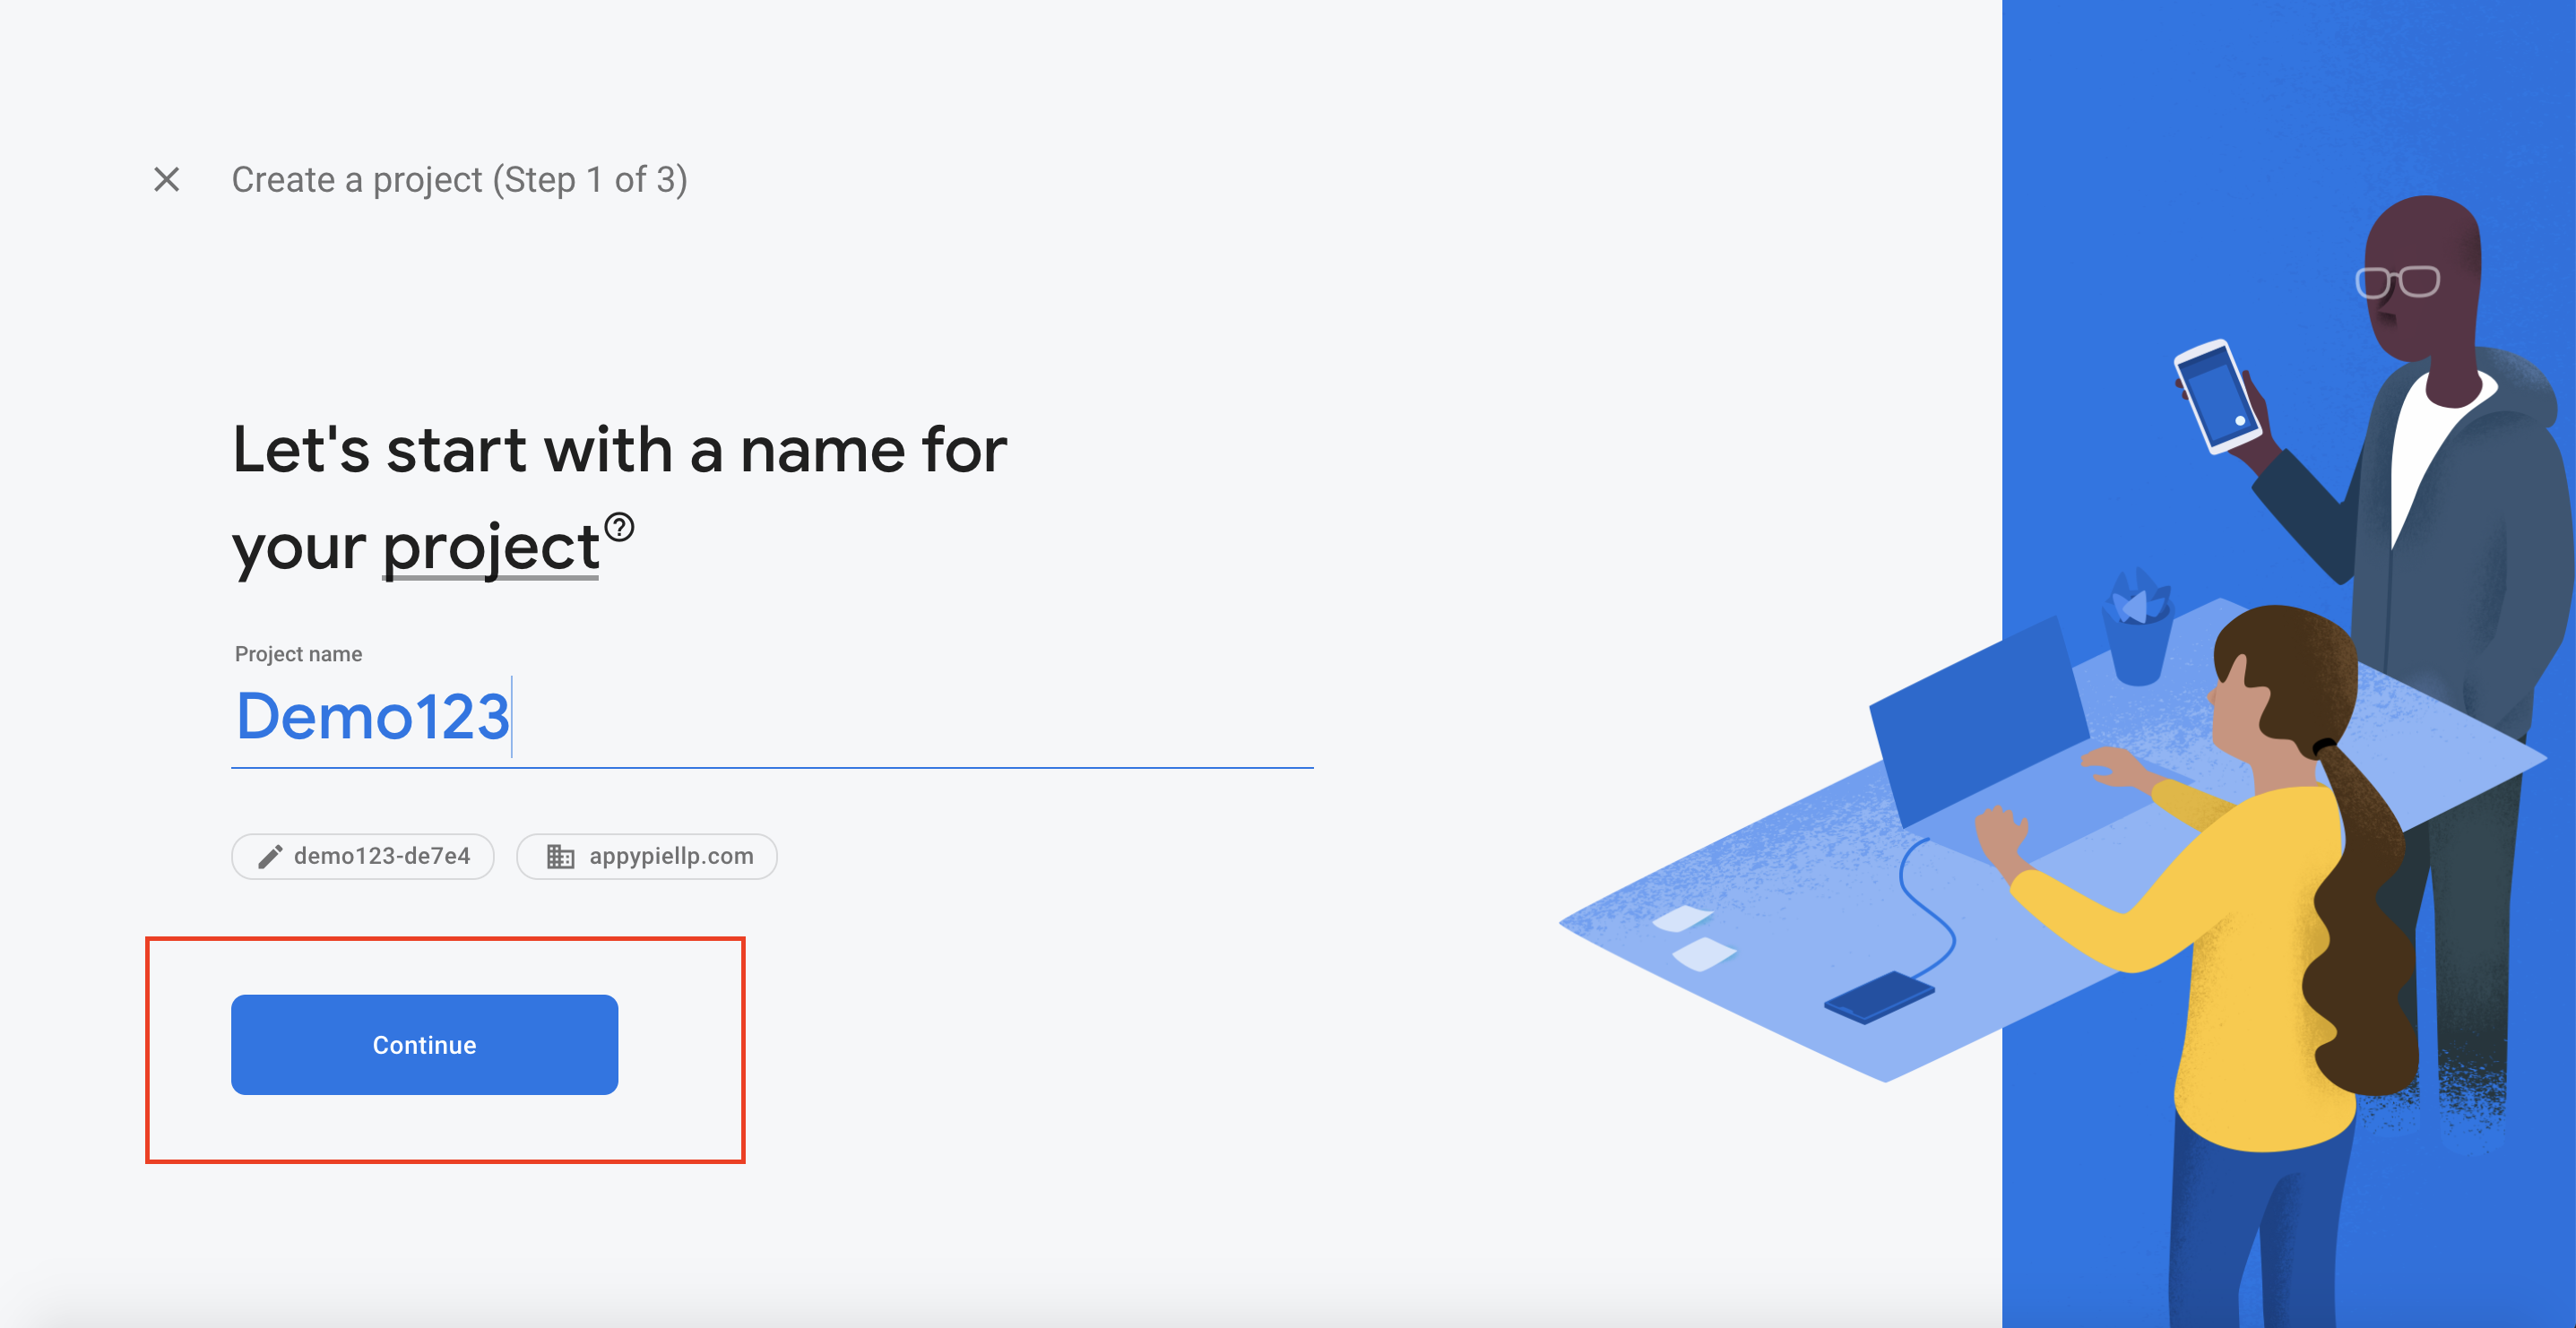
Step 7 : Enable Google Analytics for your project and click on Continue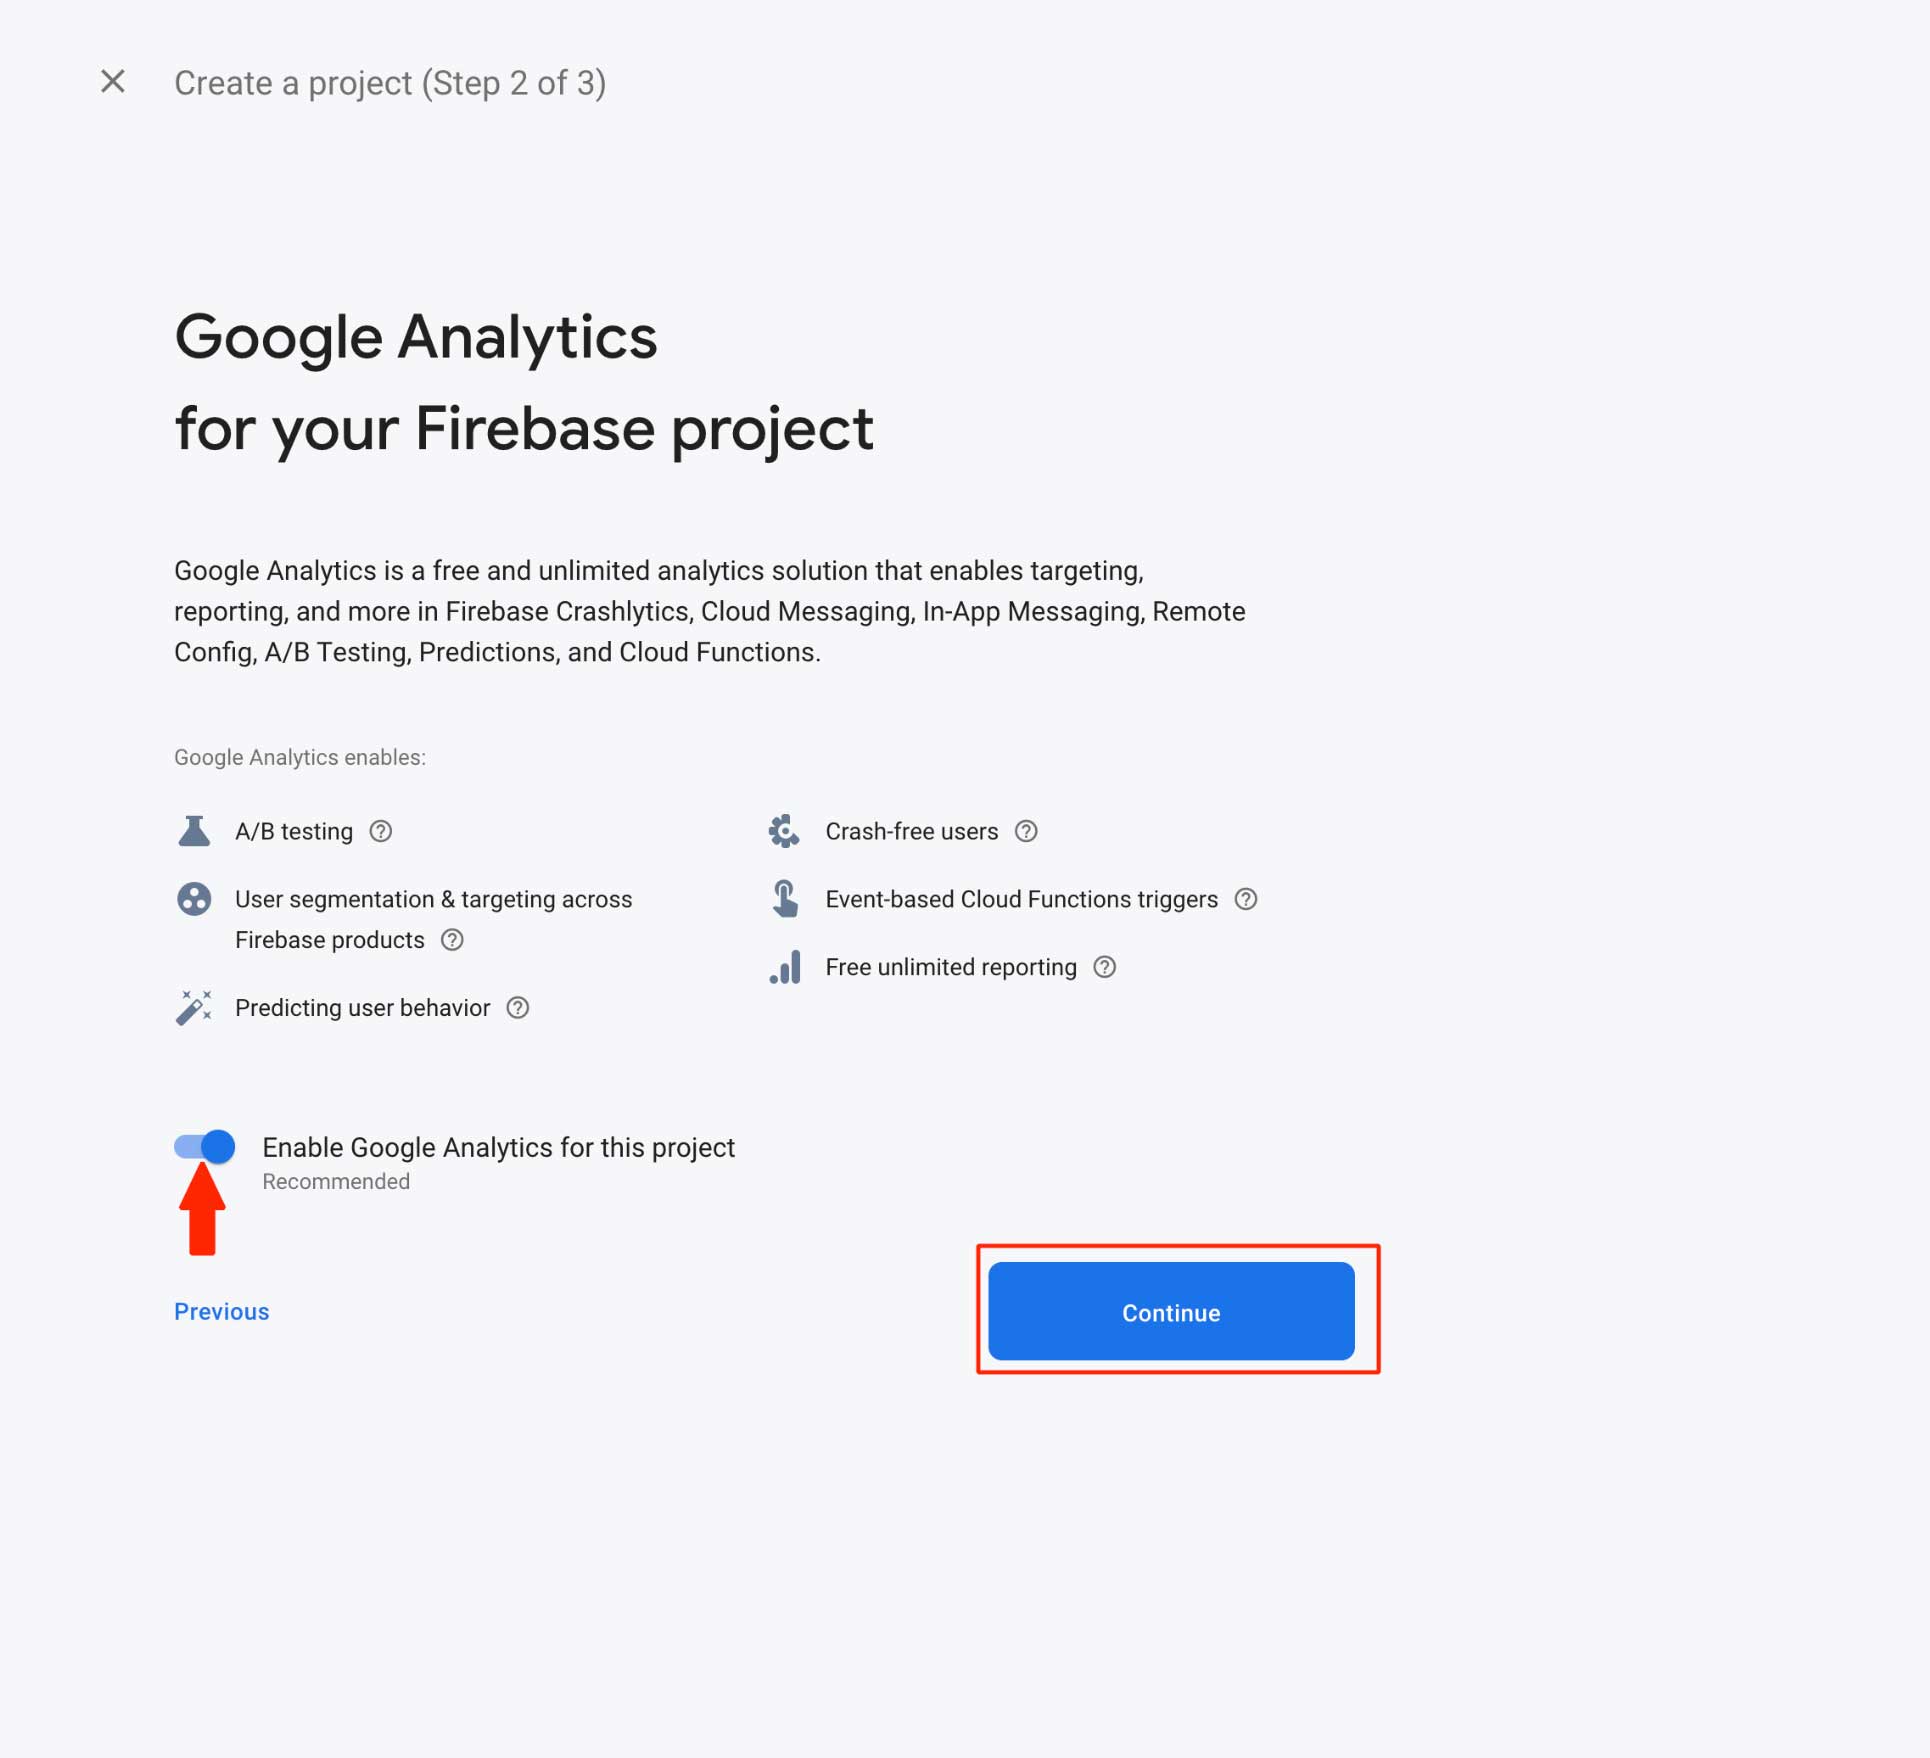
Step 8 : Select your desired Analytics location, and tick mark the checkboxes to accept terms and conditions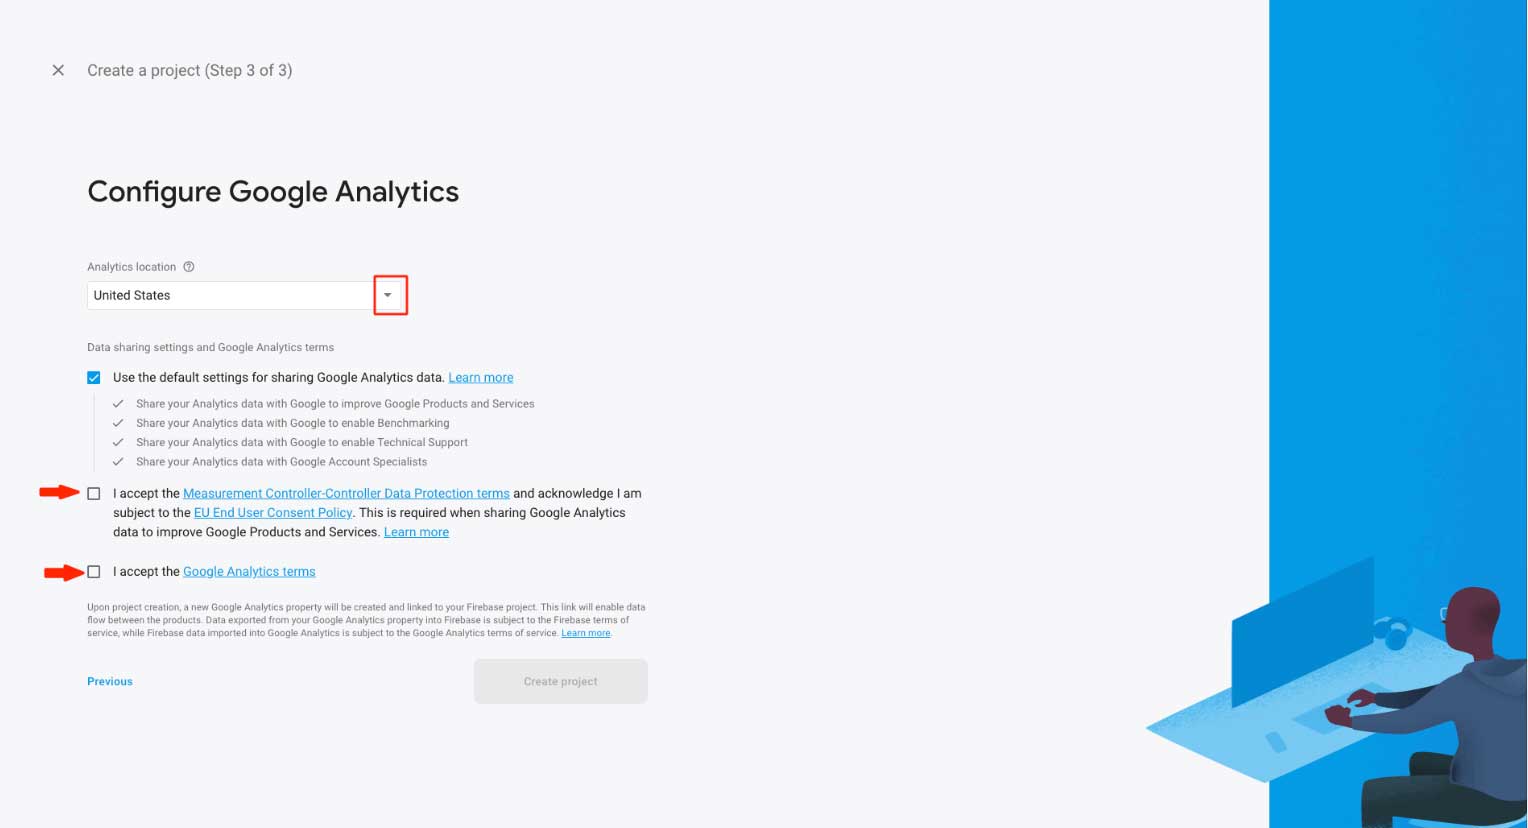
Step 9 : Click on Create Project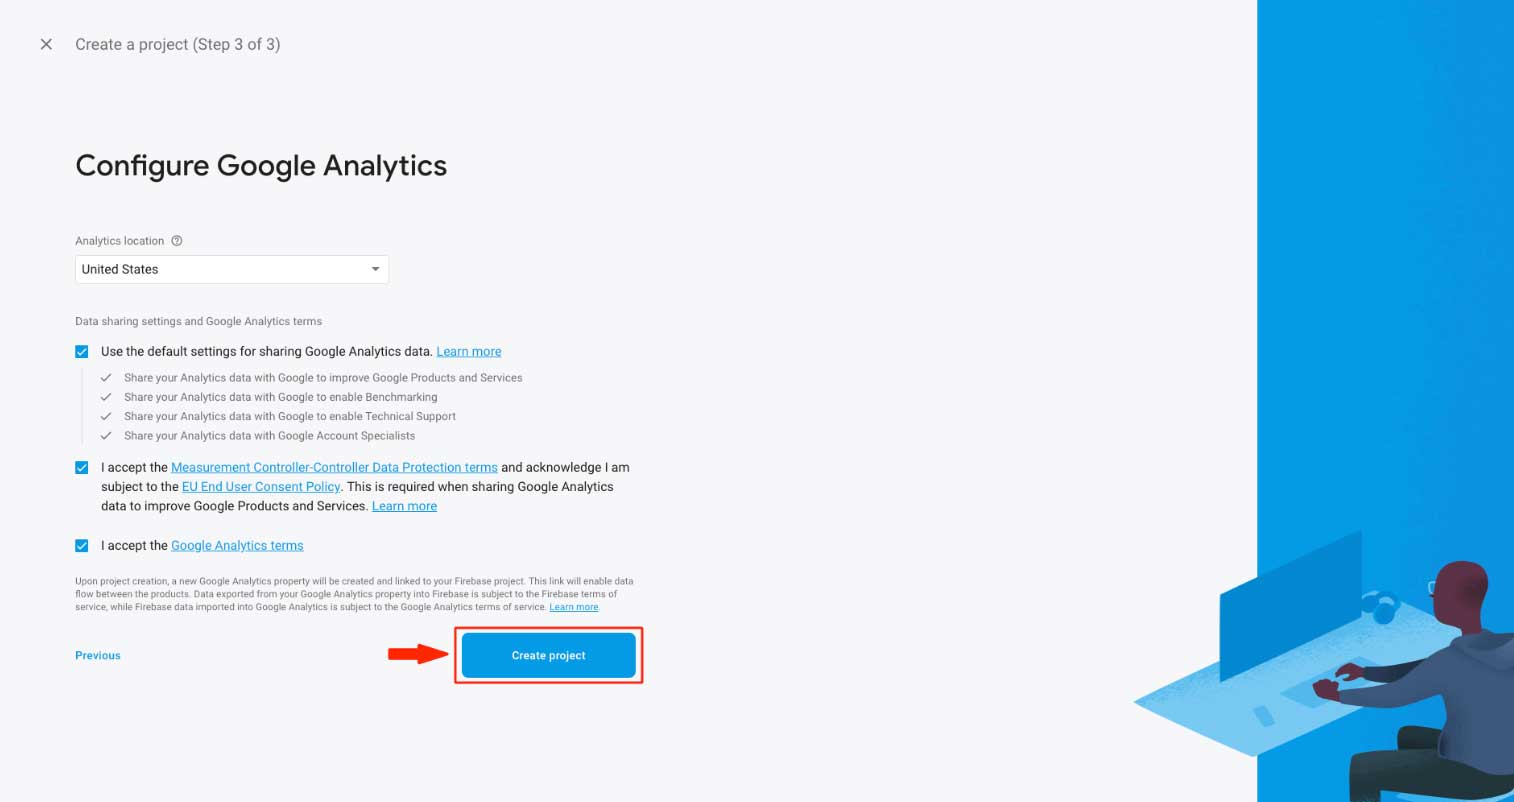
Step 10 : Click on Continue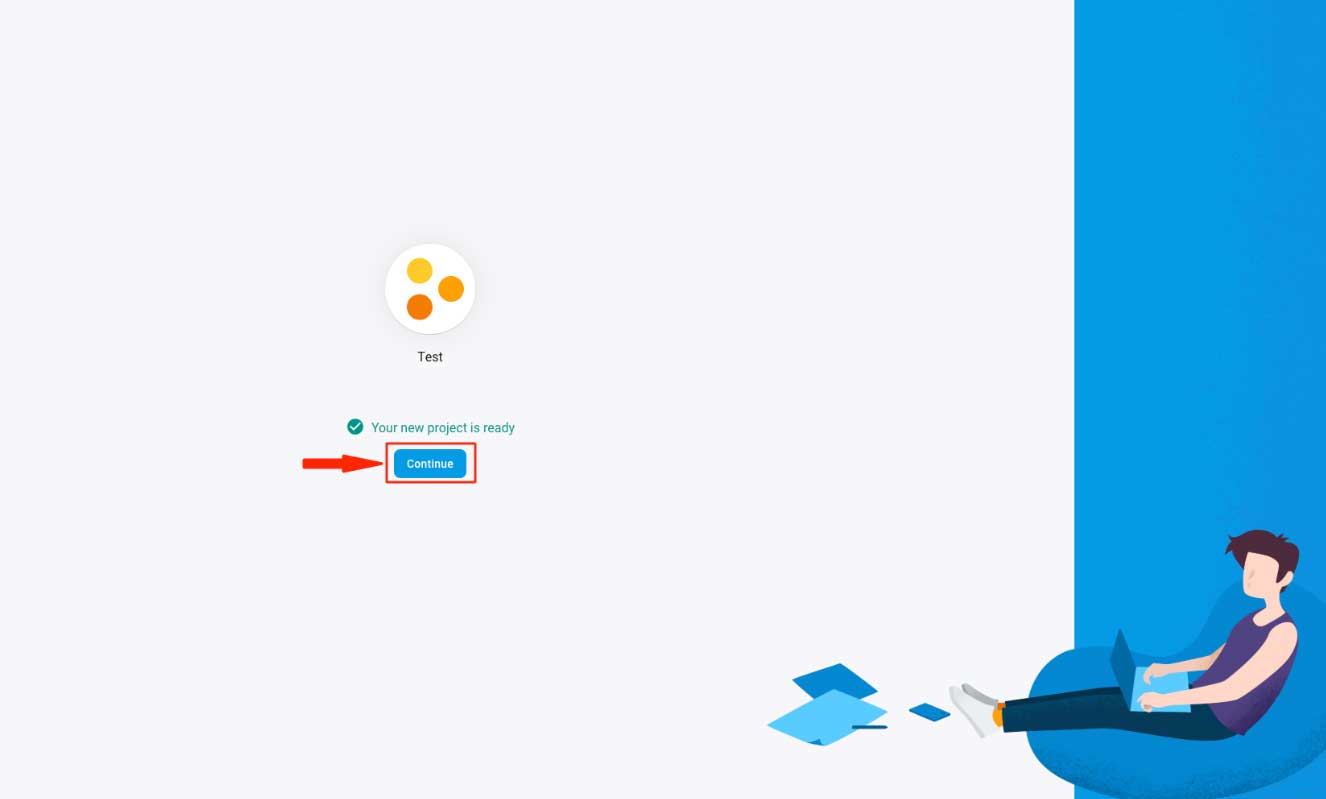
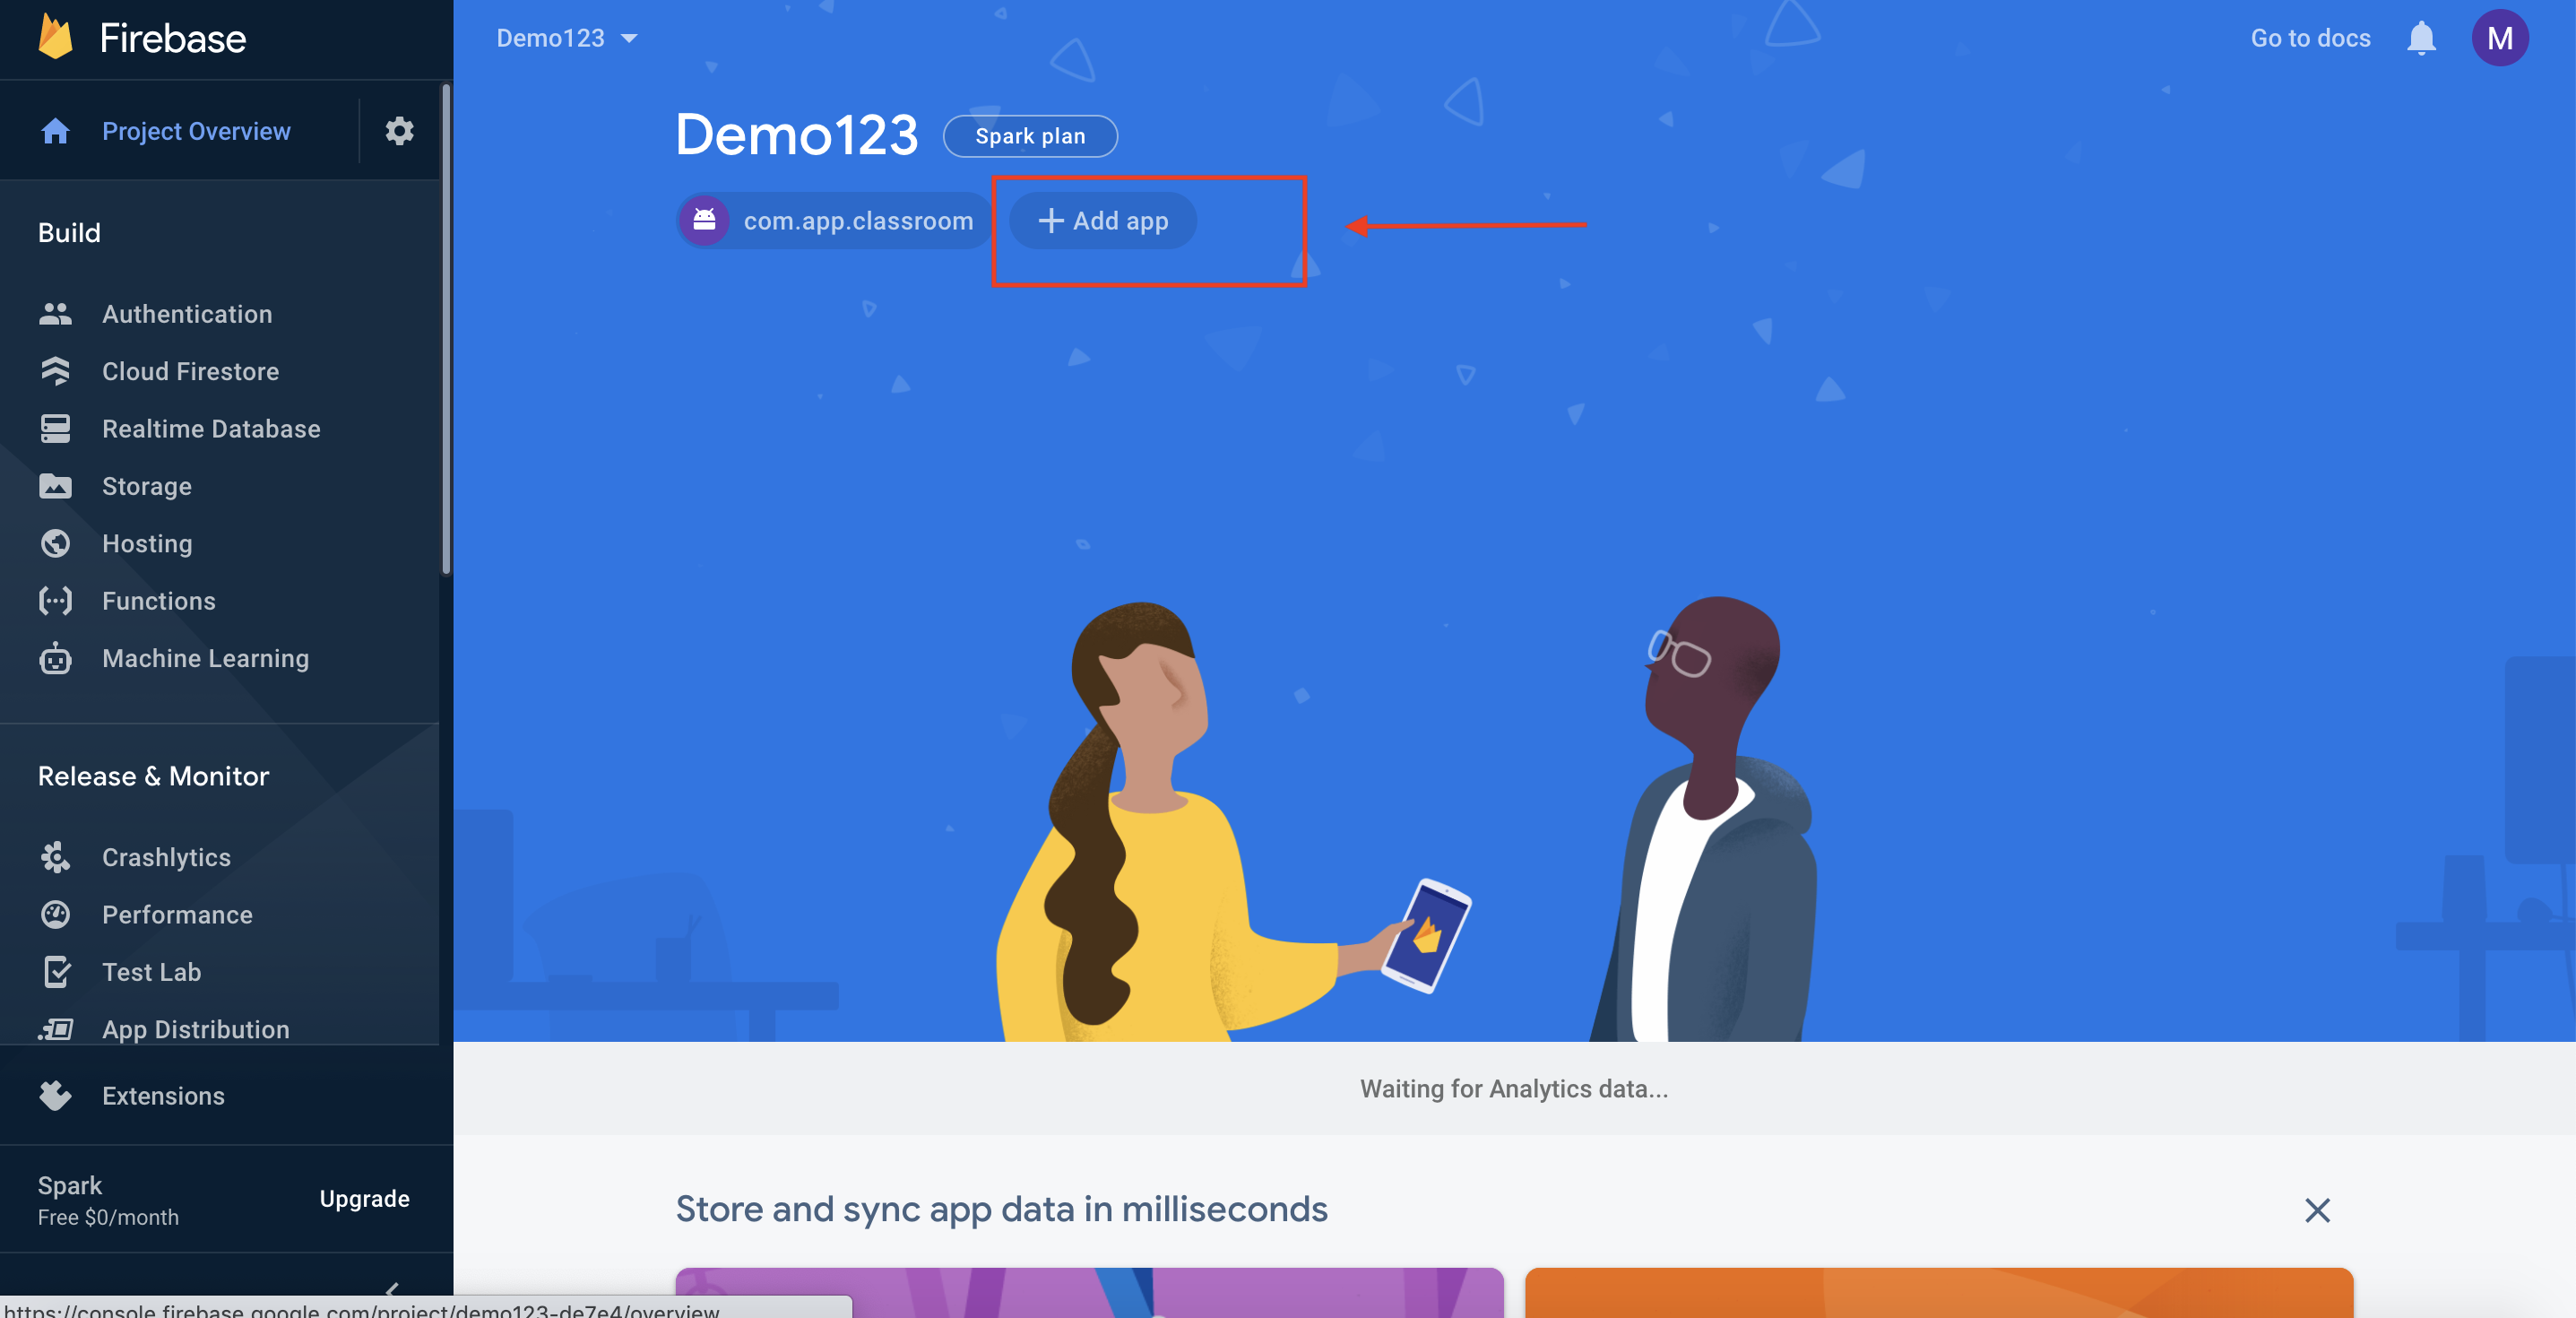
Step 11 : Click on Add App and iOS icon
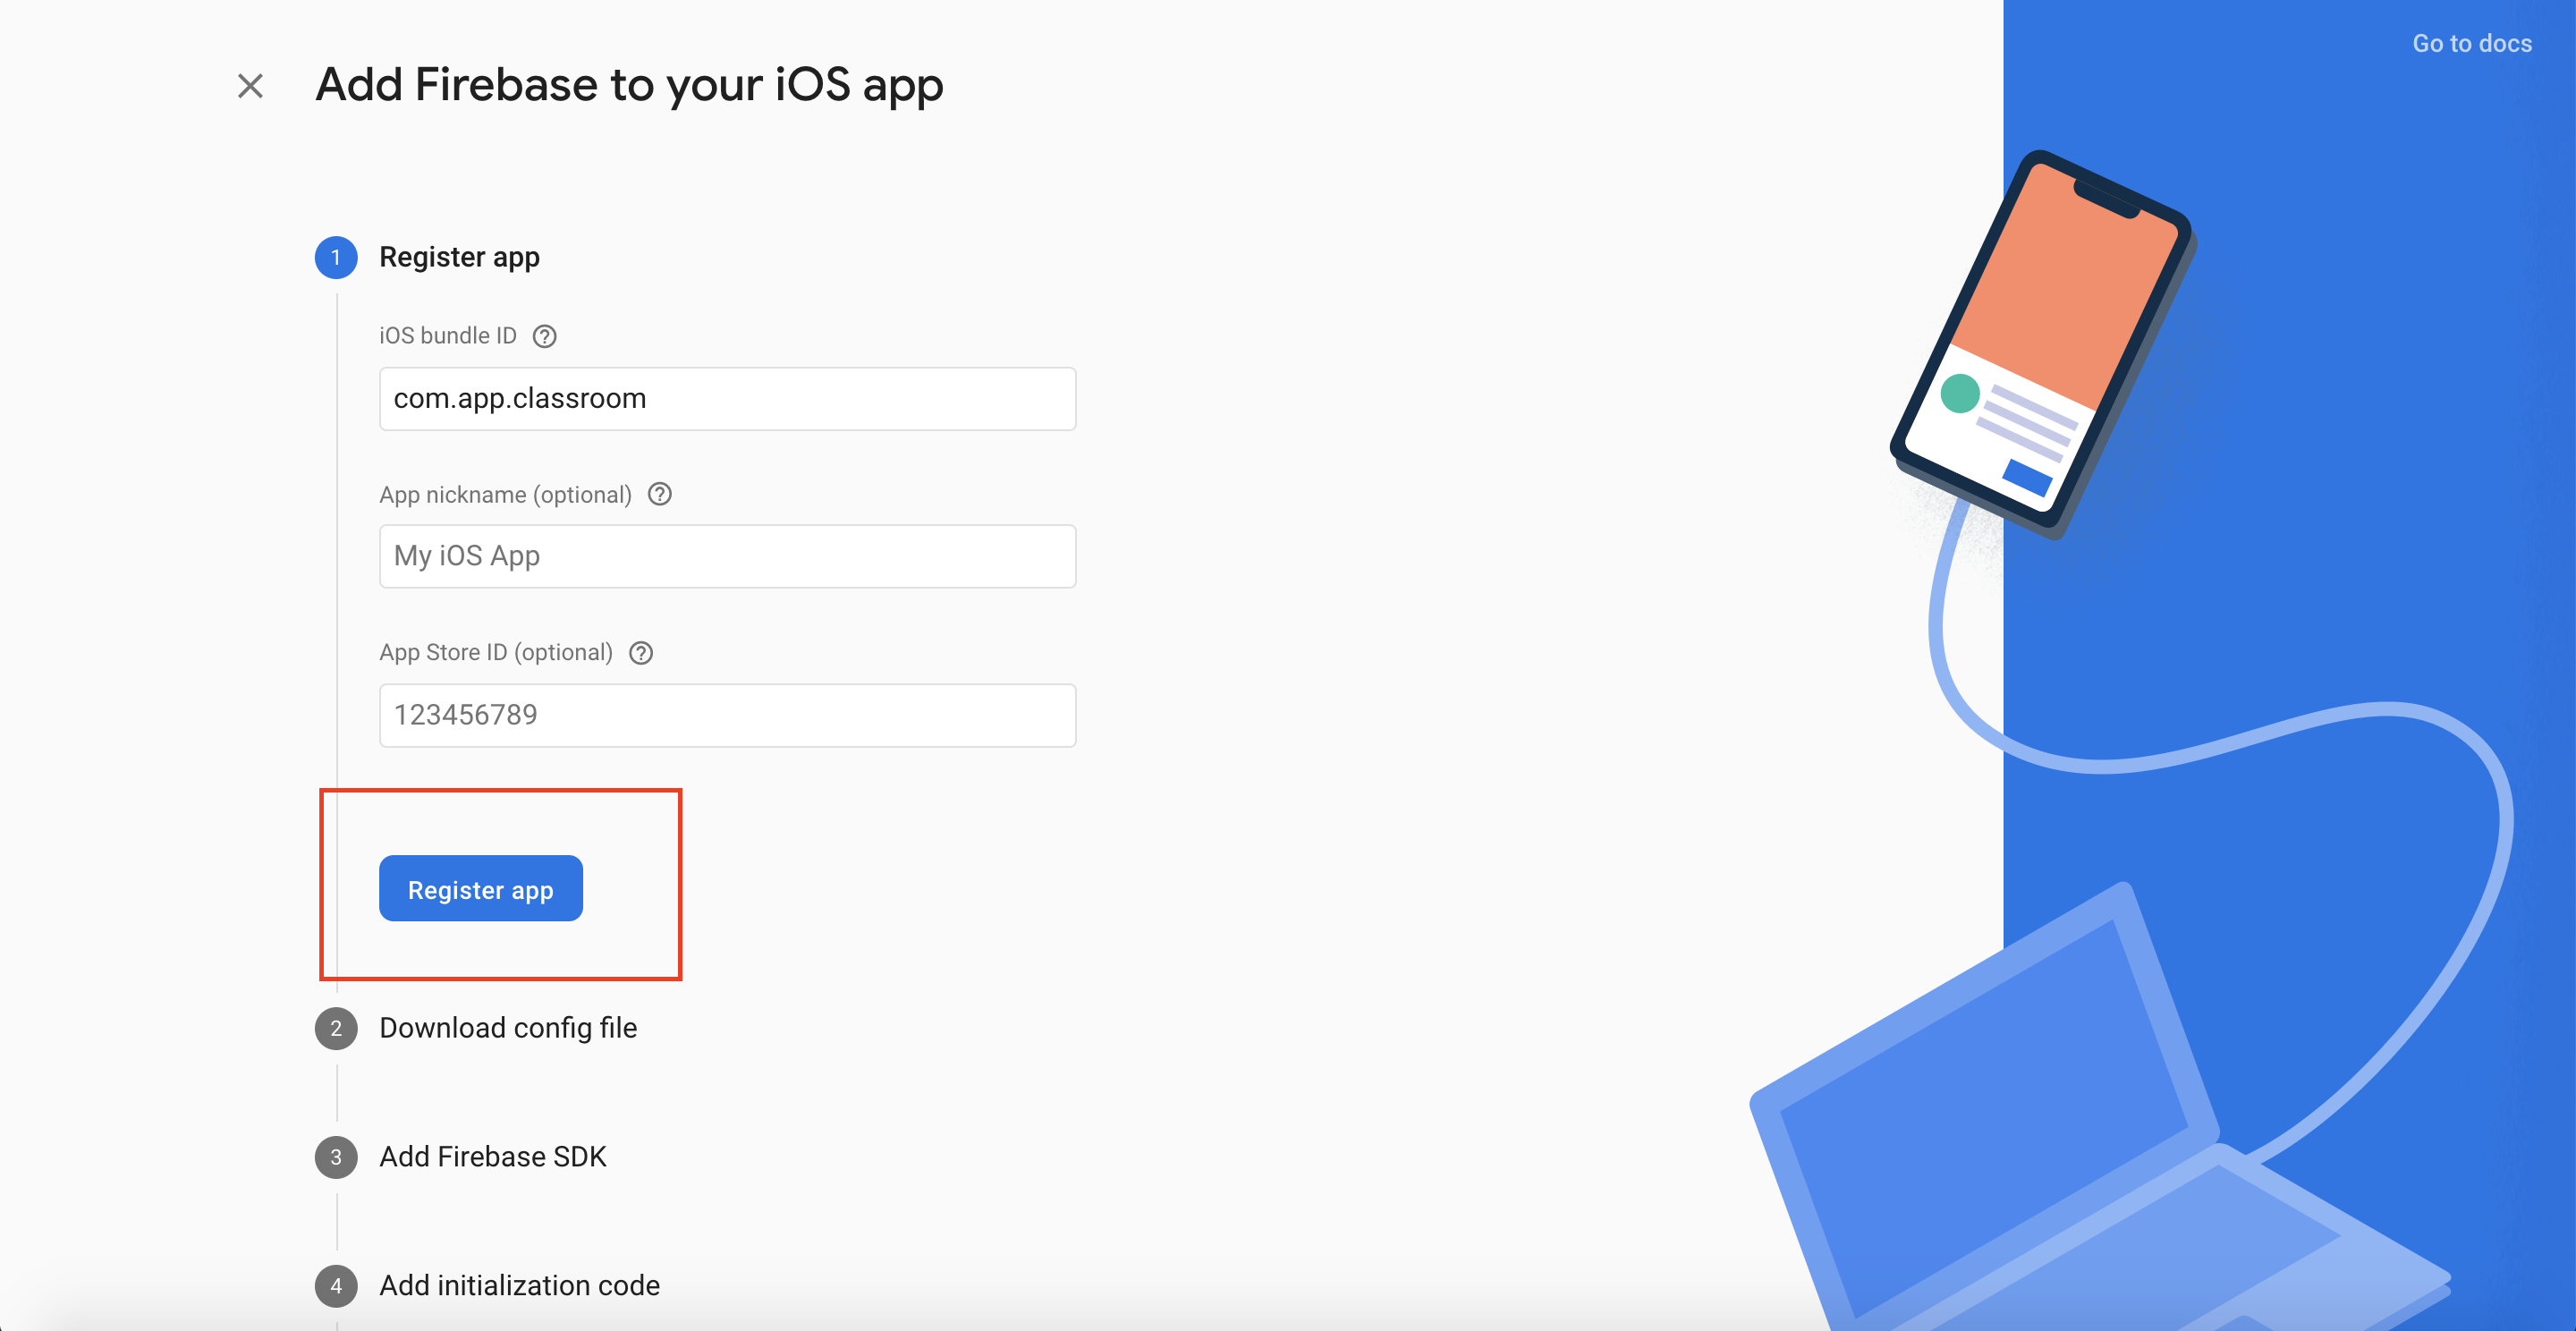
Step 12 : Enter iOS Bundle ID (com.app.appname). For example: com.appypie.classroom.
App Nickname and App store ID fields are optional. If you want, you can leave them.
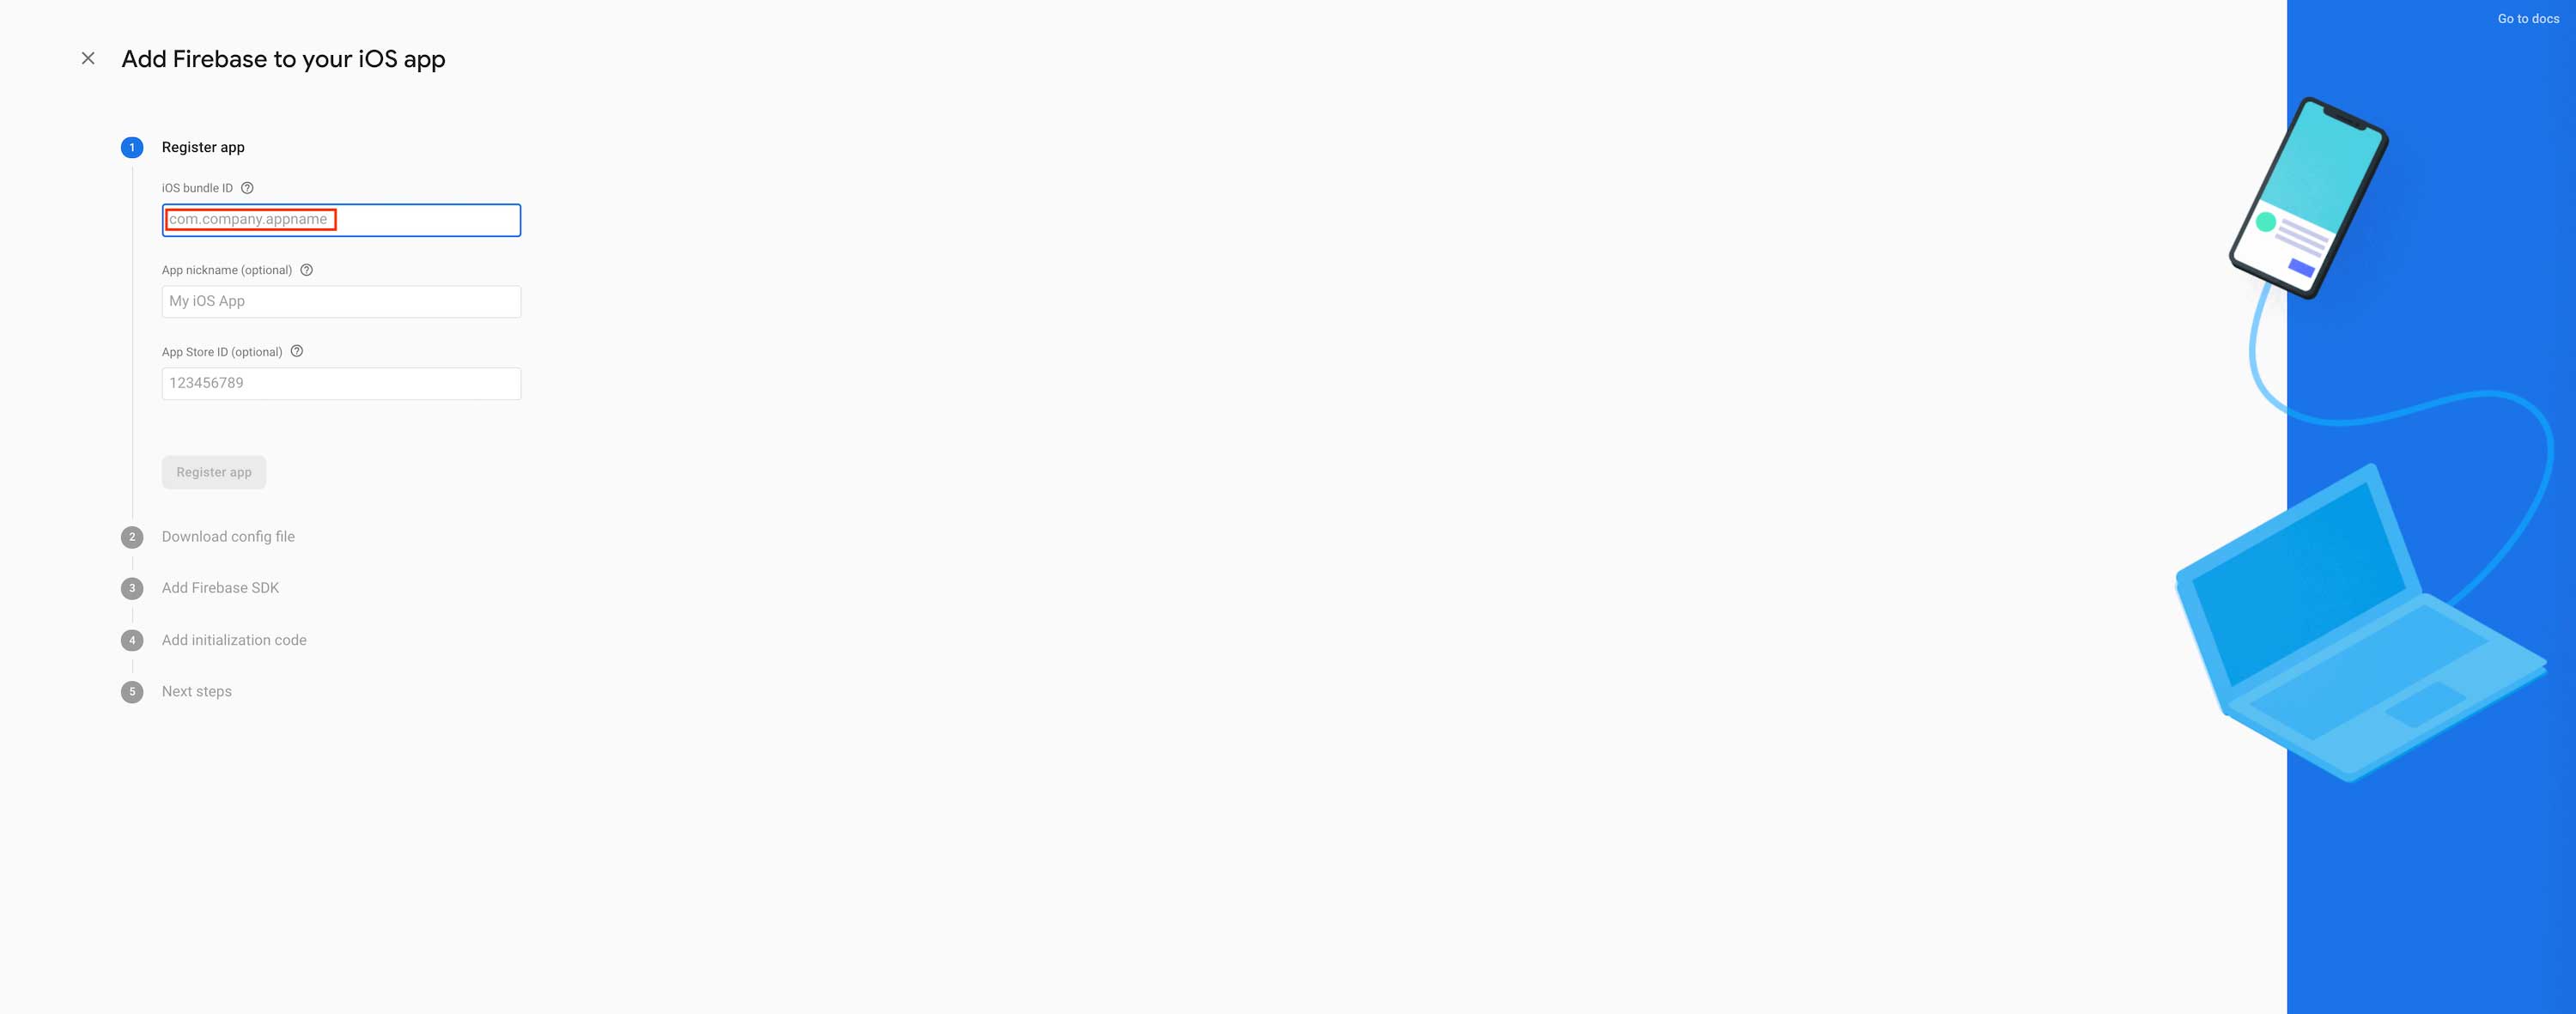
Step 13 : Click on Register app
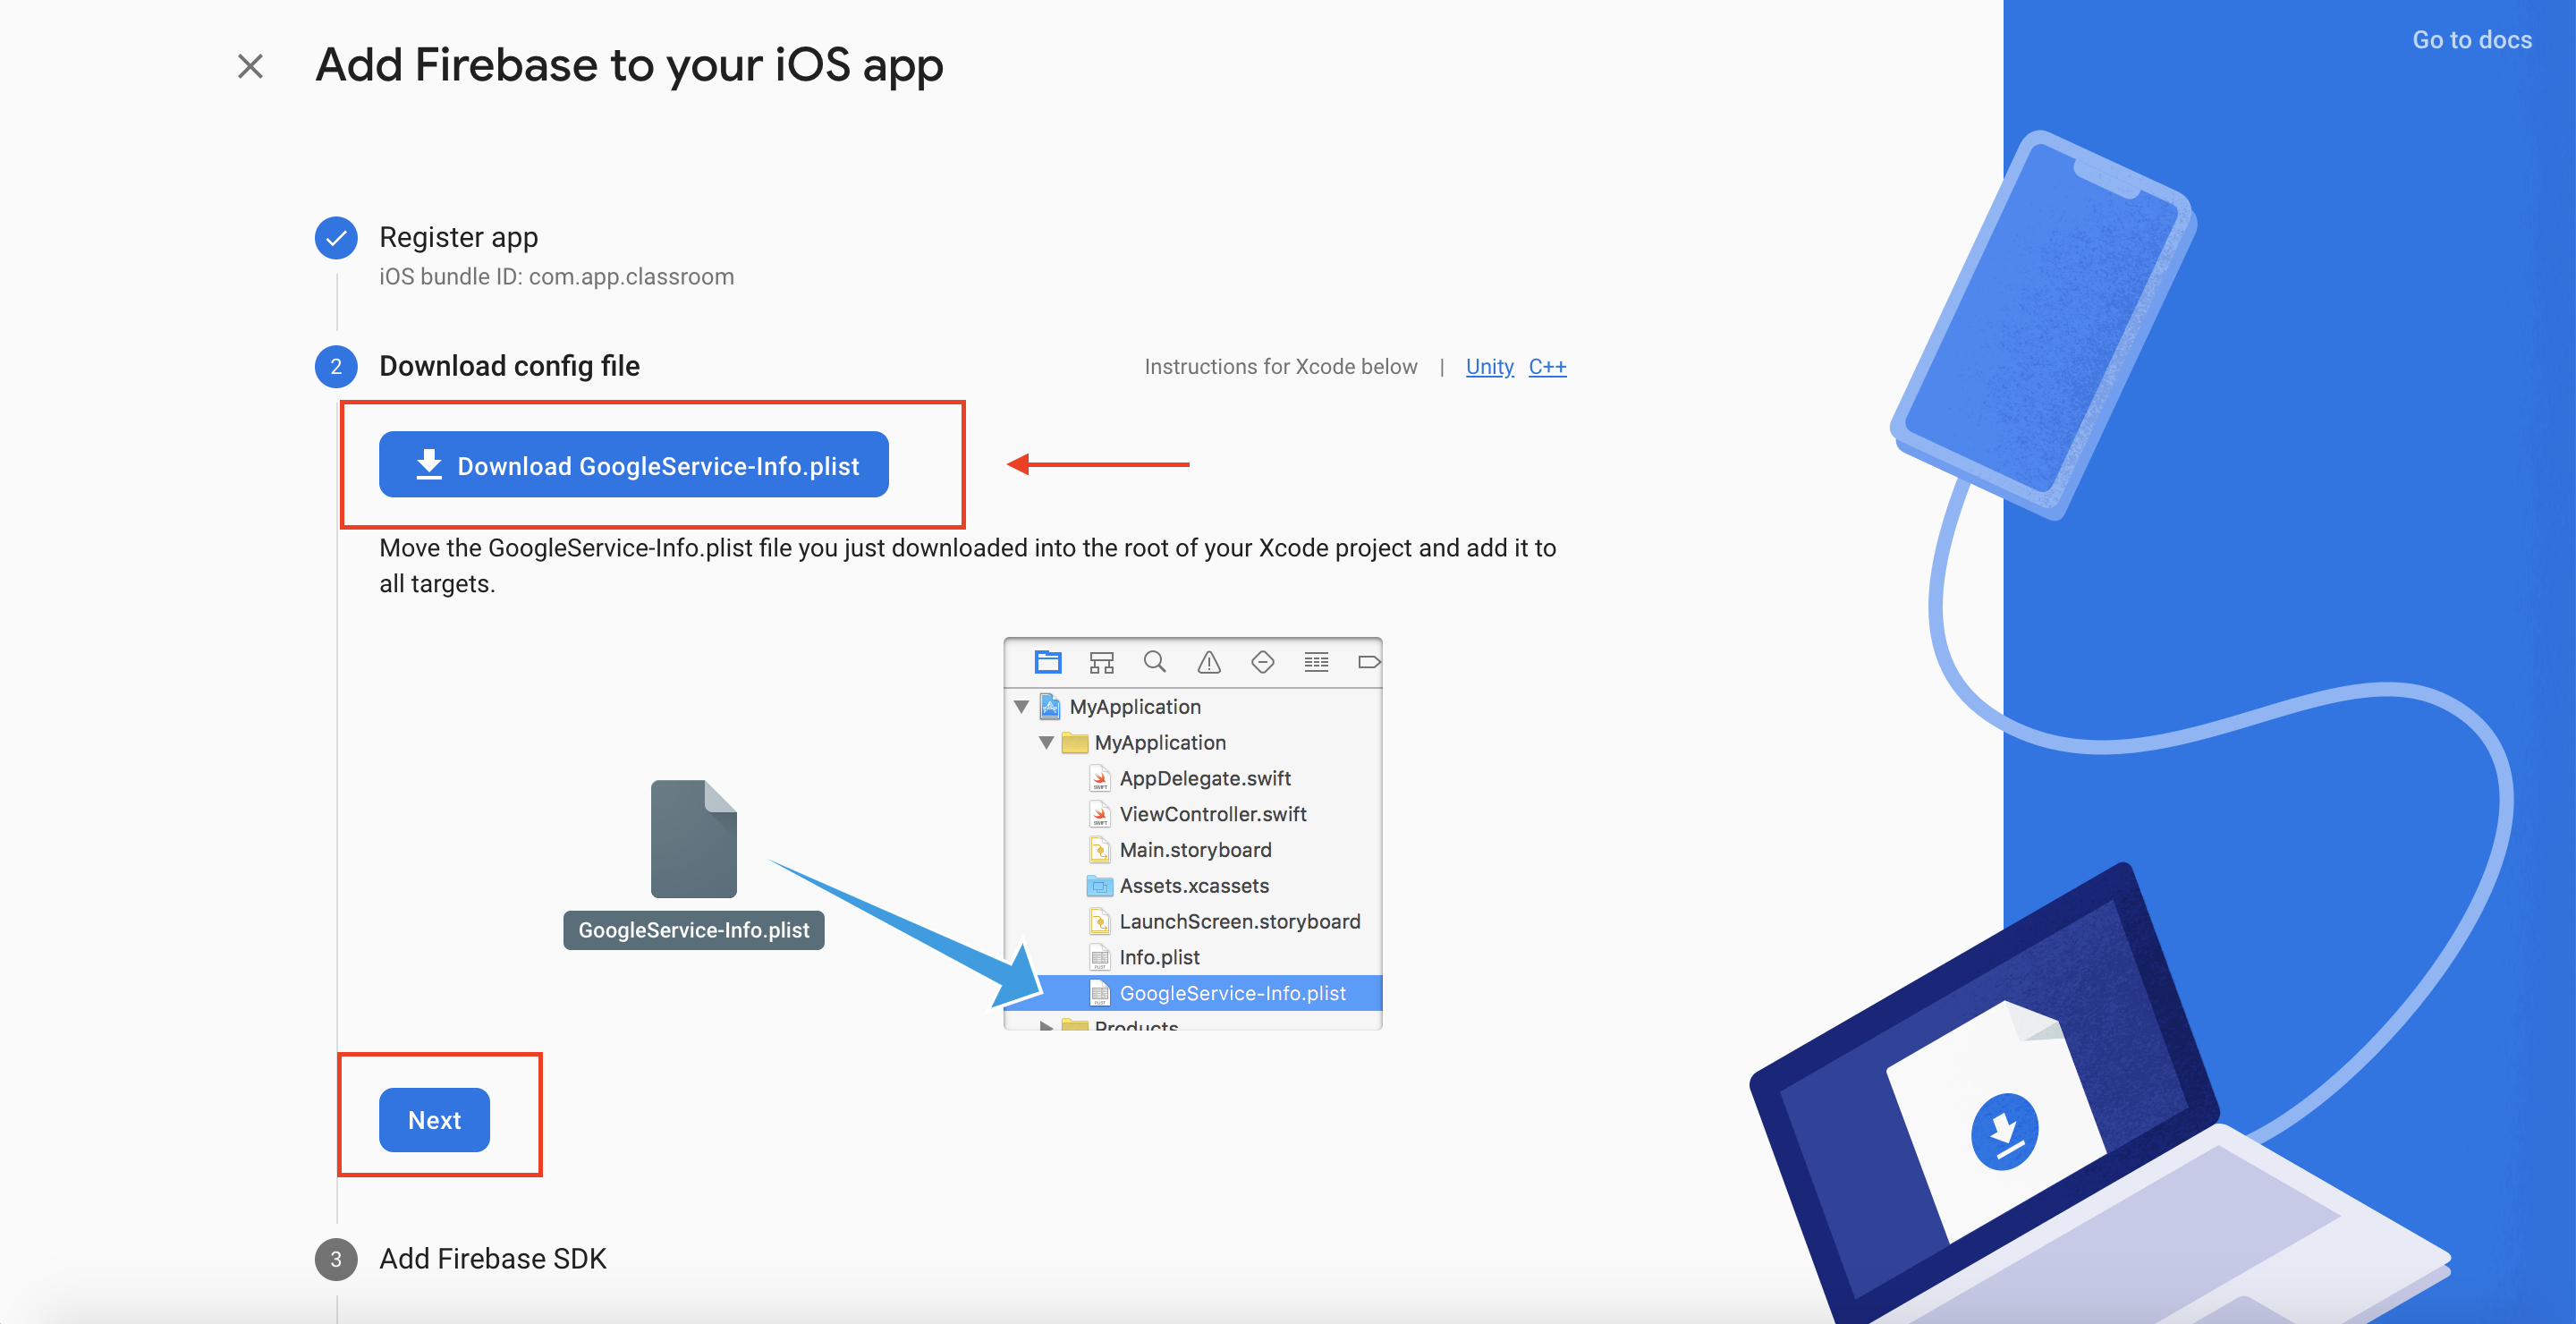
Step 14: Download GoogleService-Info.plist file on your system and click on Next
Step 15 : Click on Next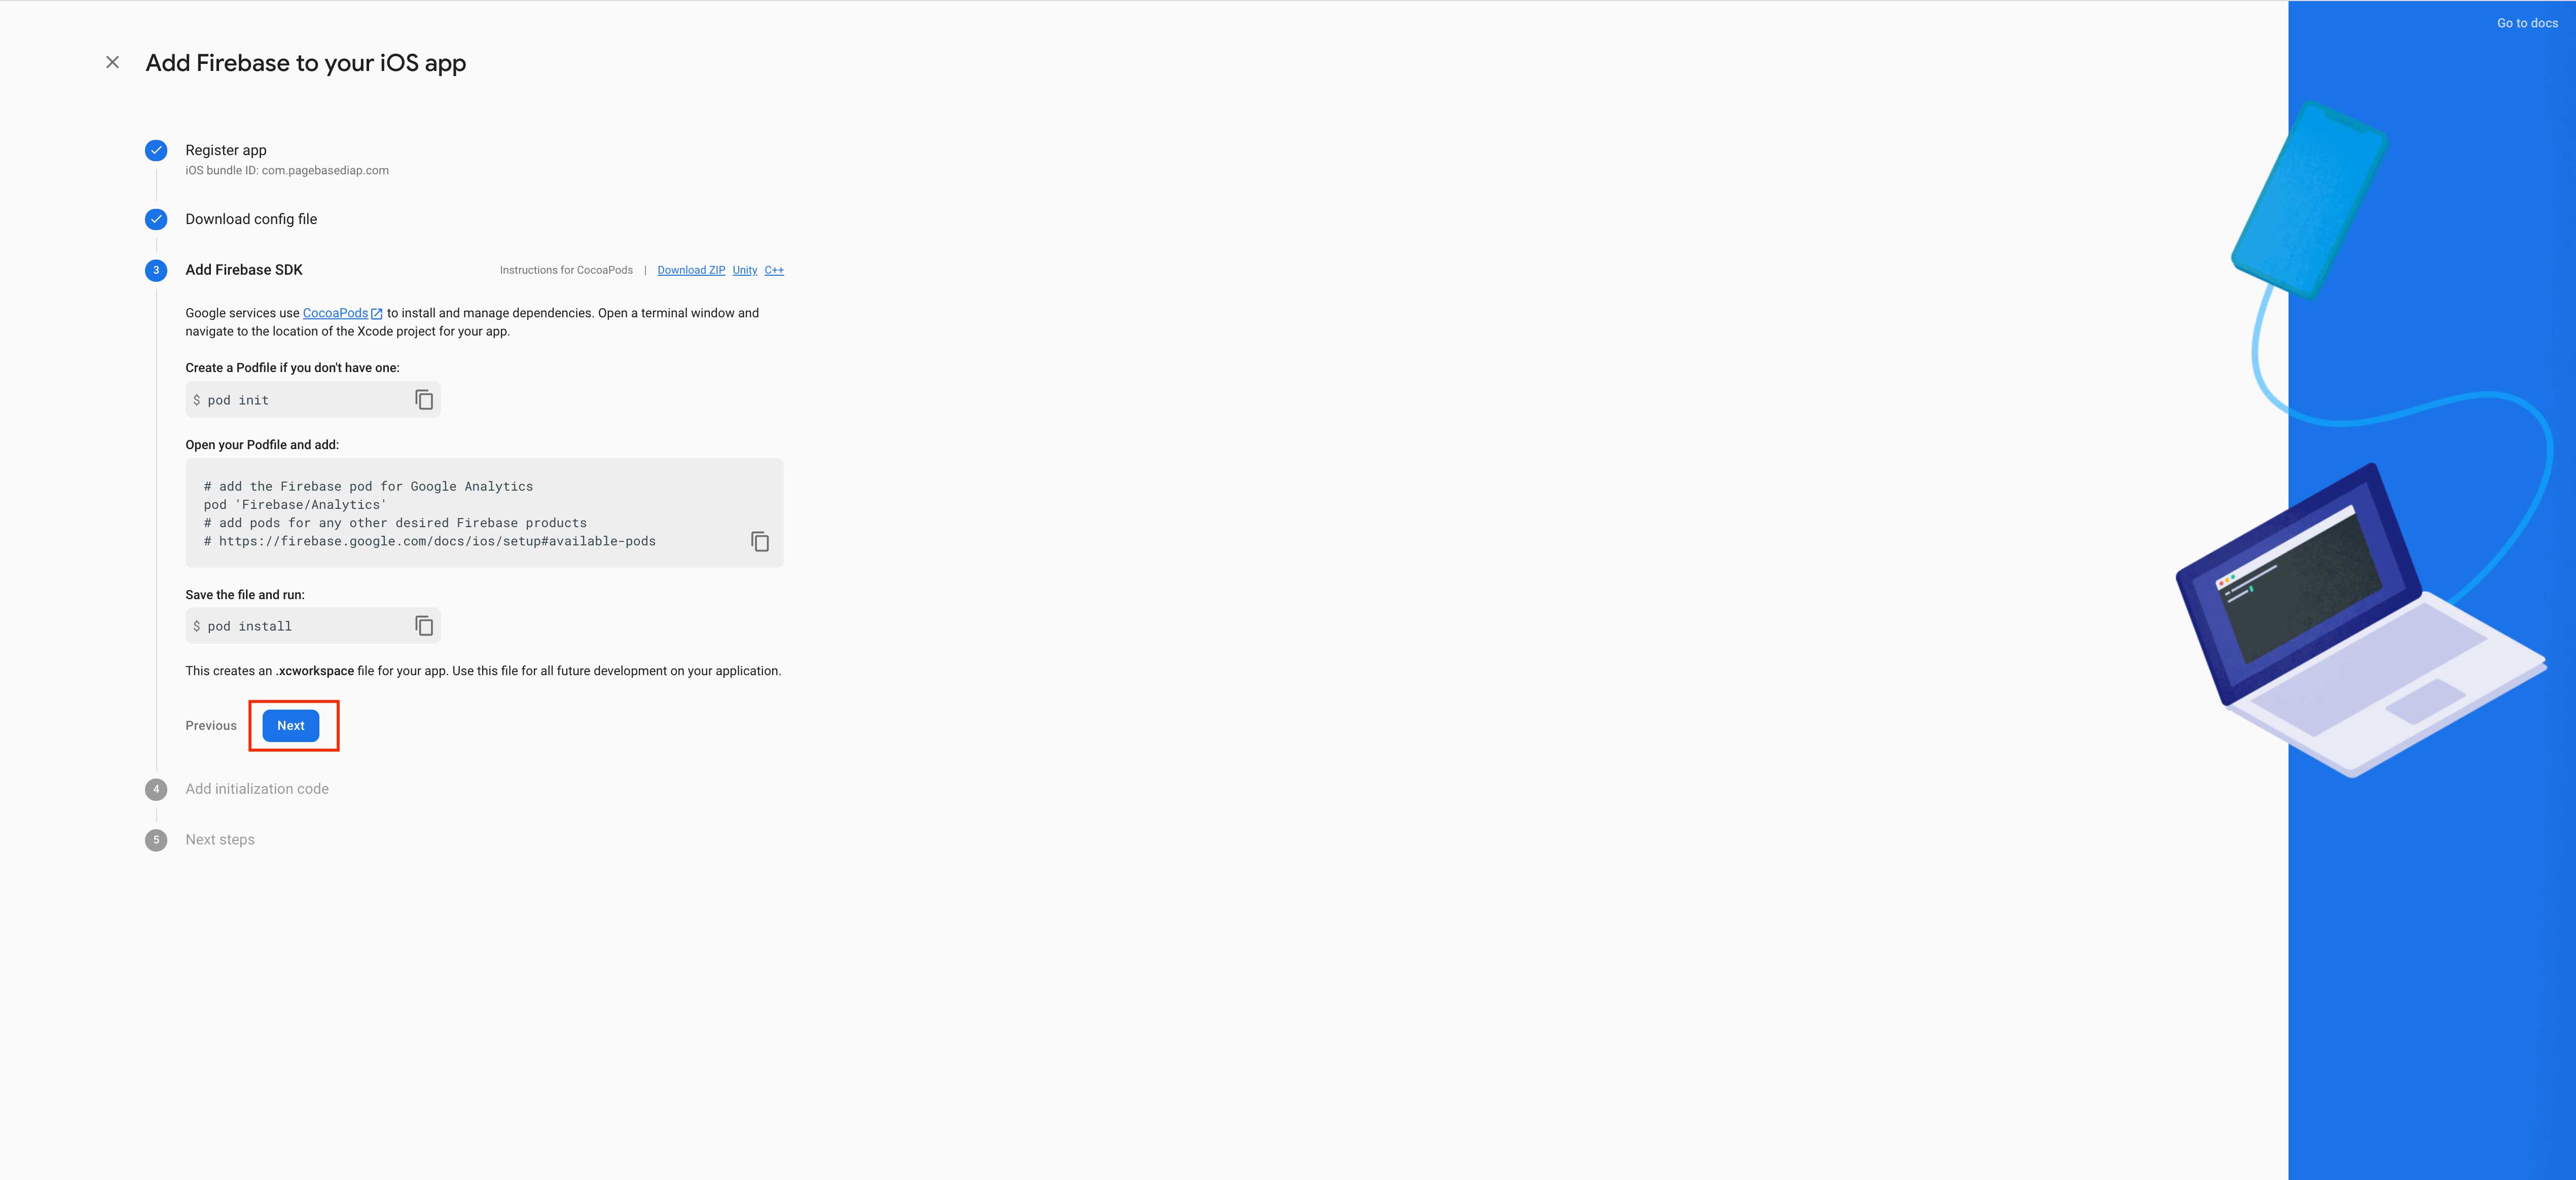
Step 16 : Click on Next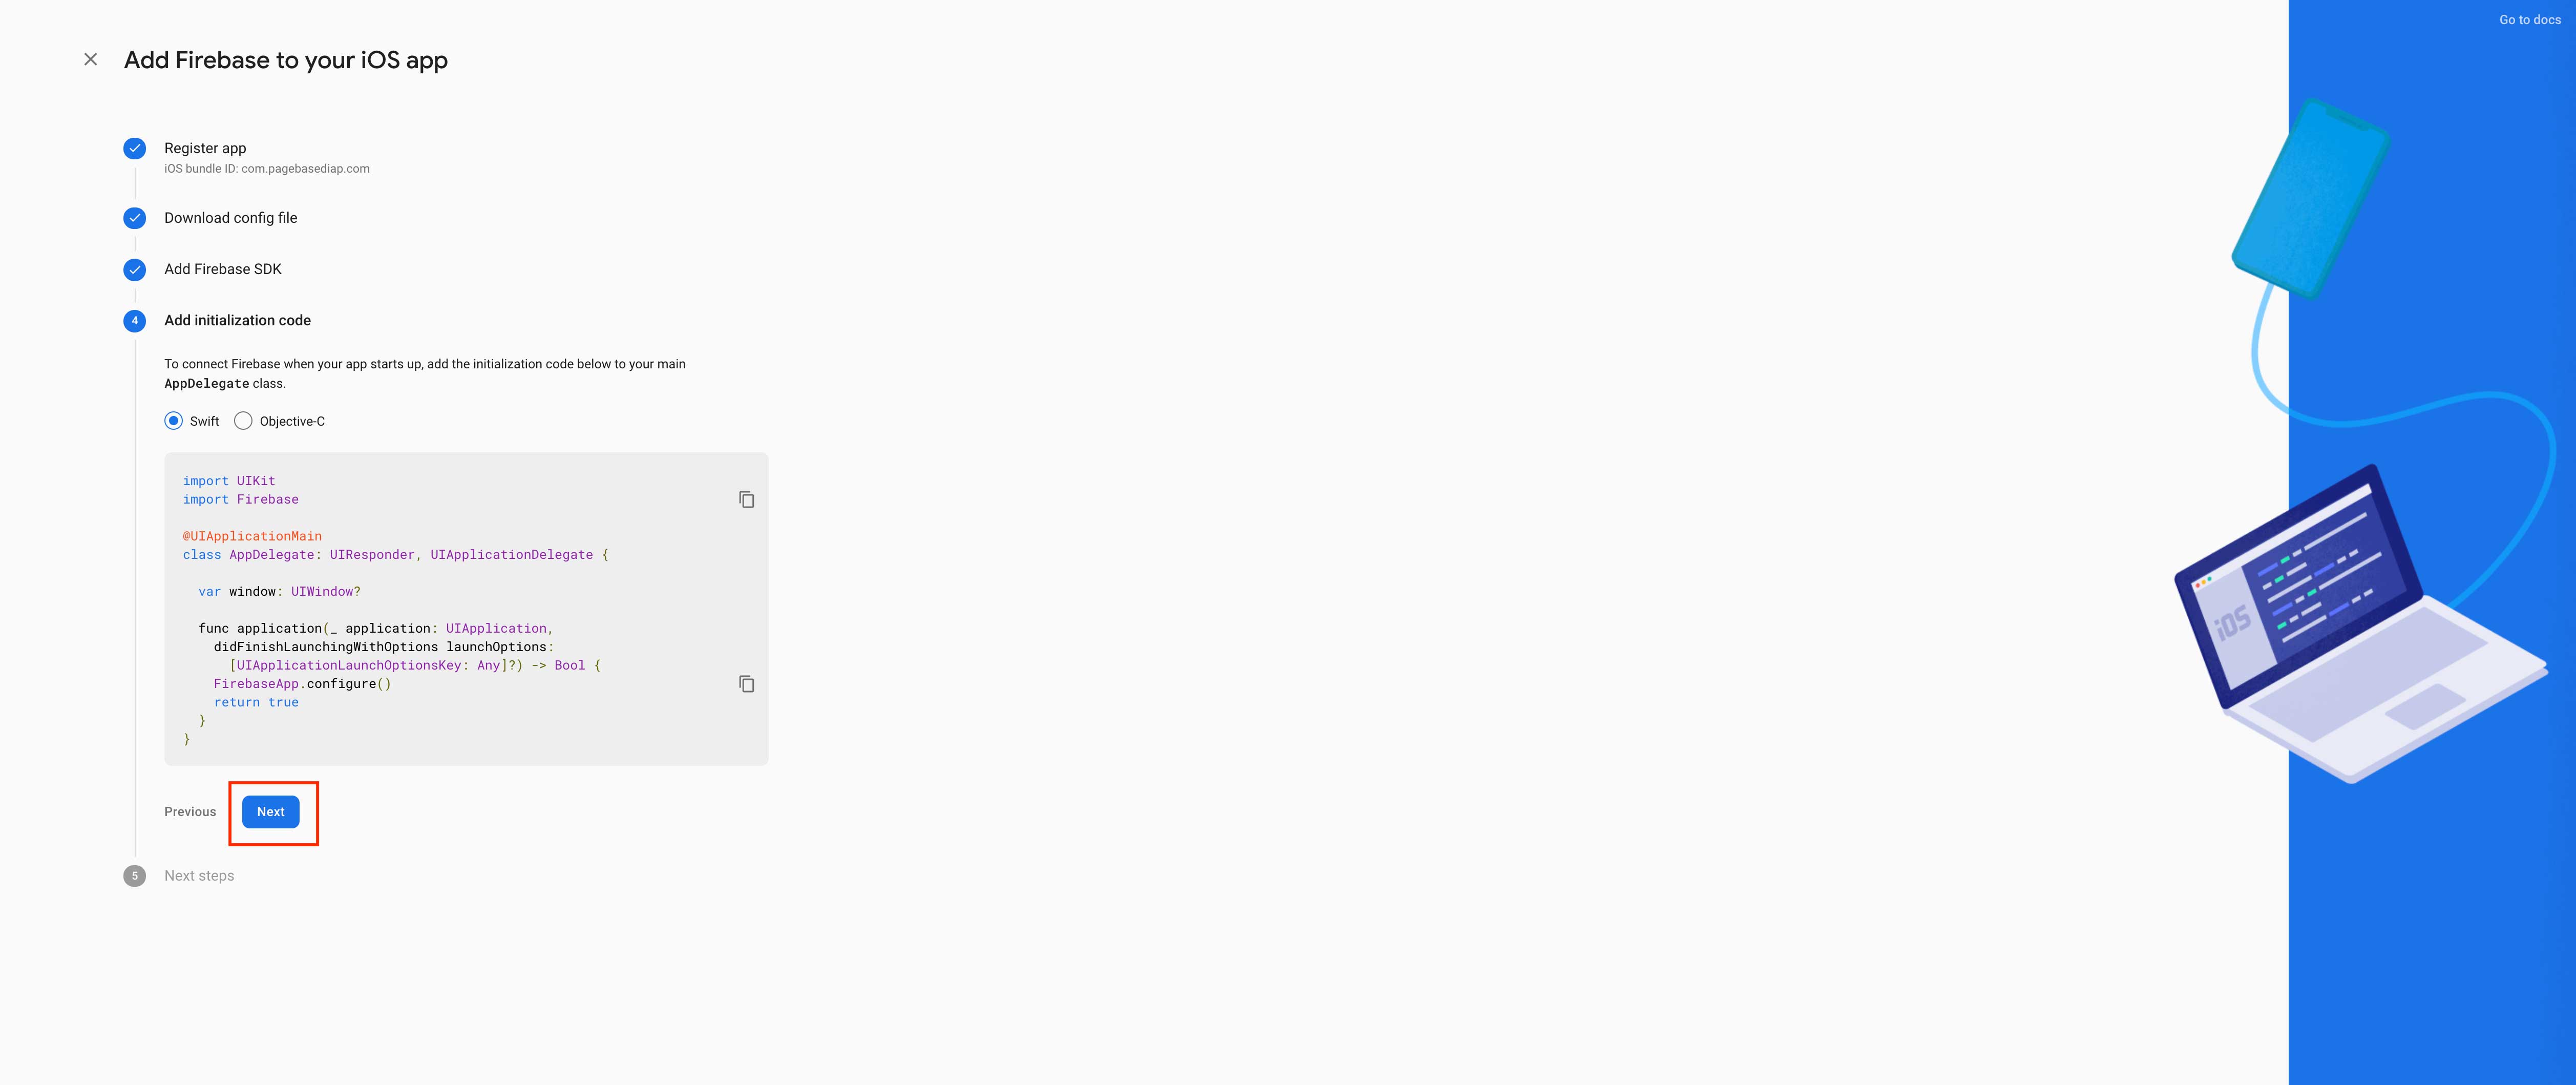
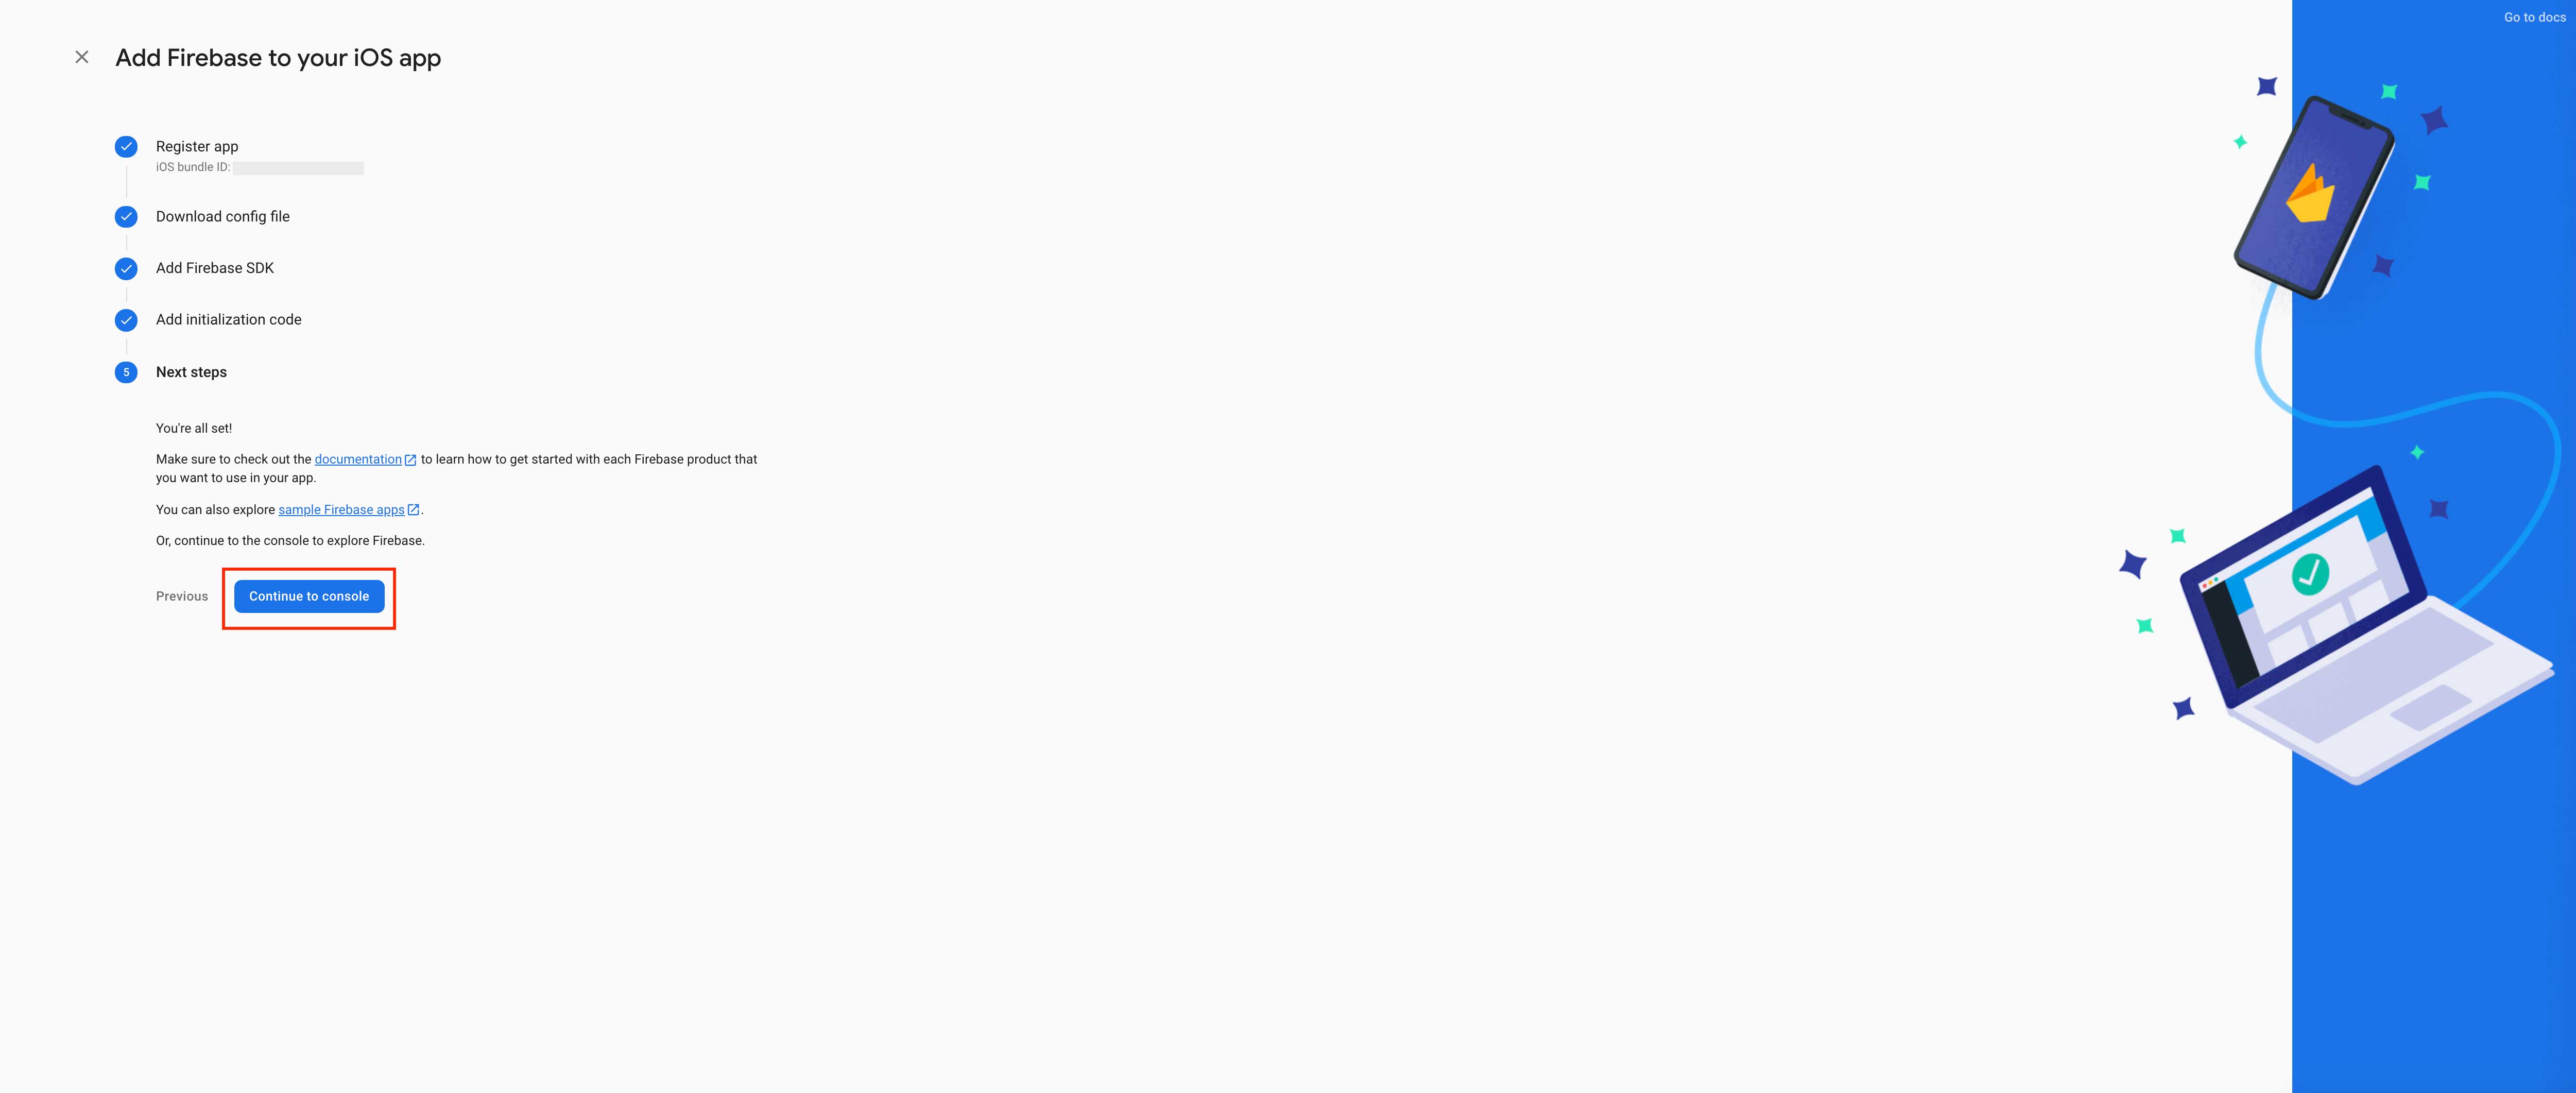
Step 17 : Click on Continue to Console
Step 18 : You will be redirected to your console dashboard and and Now go to Appy pie google class feature.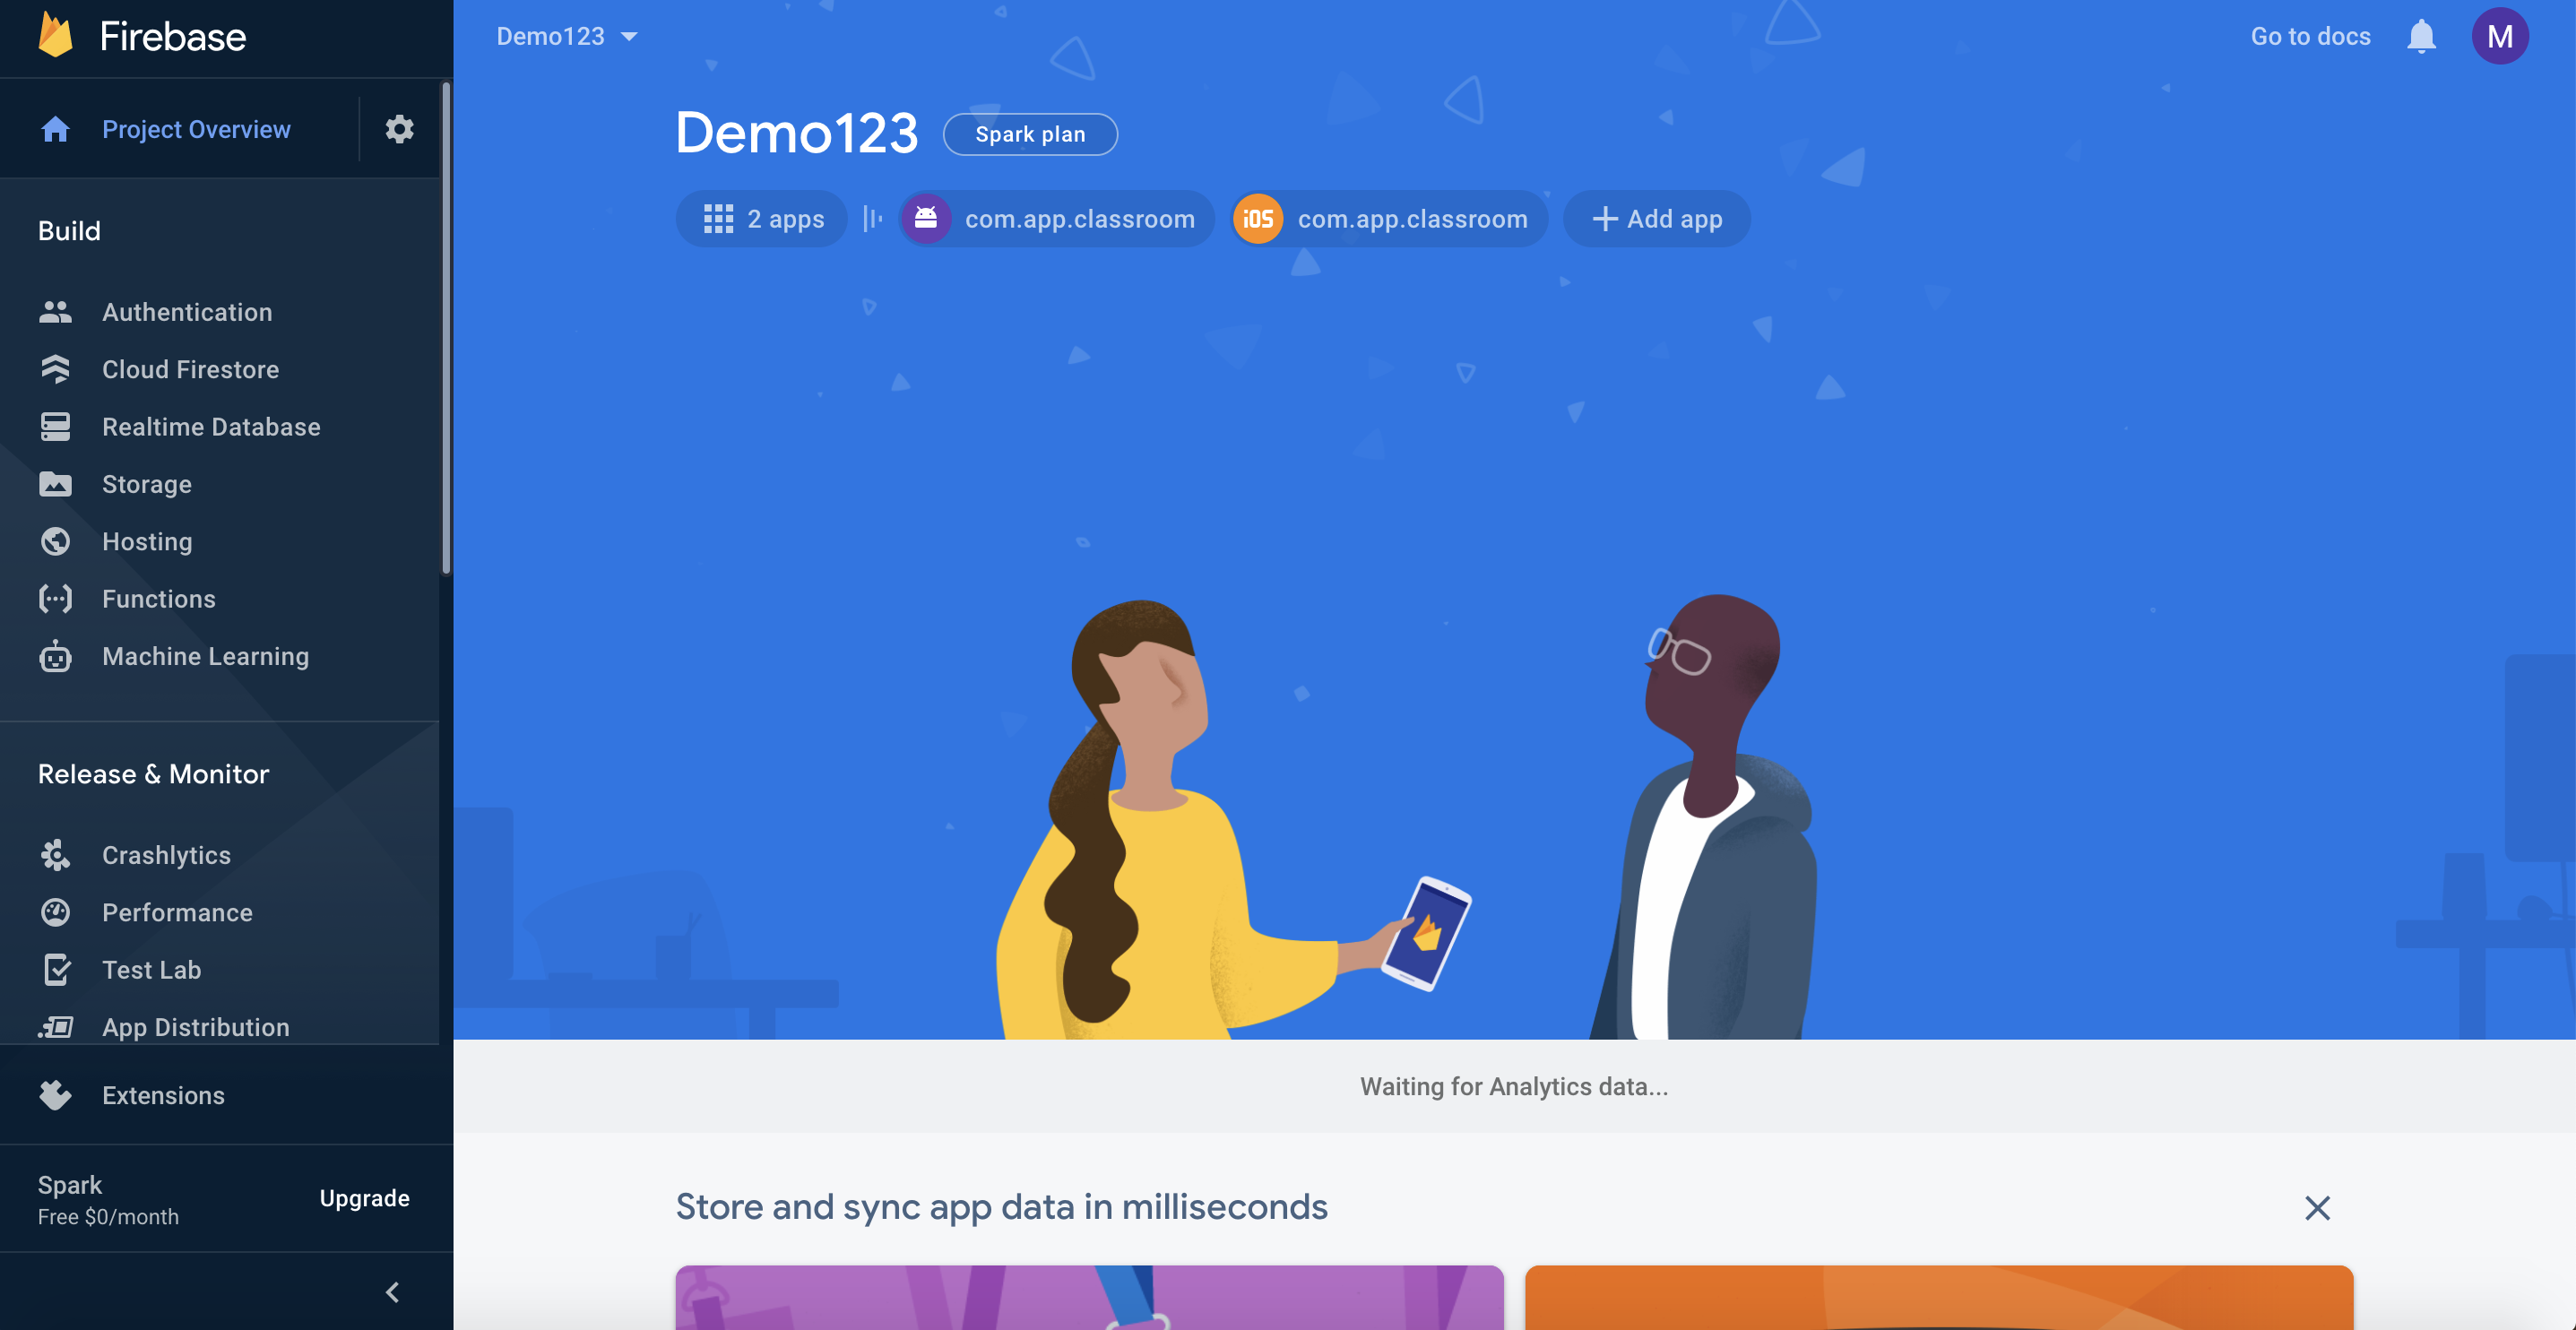
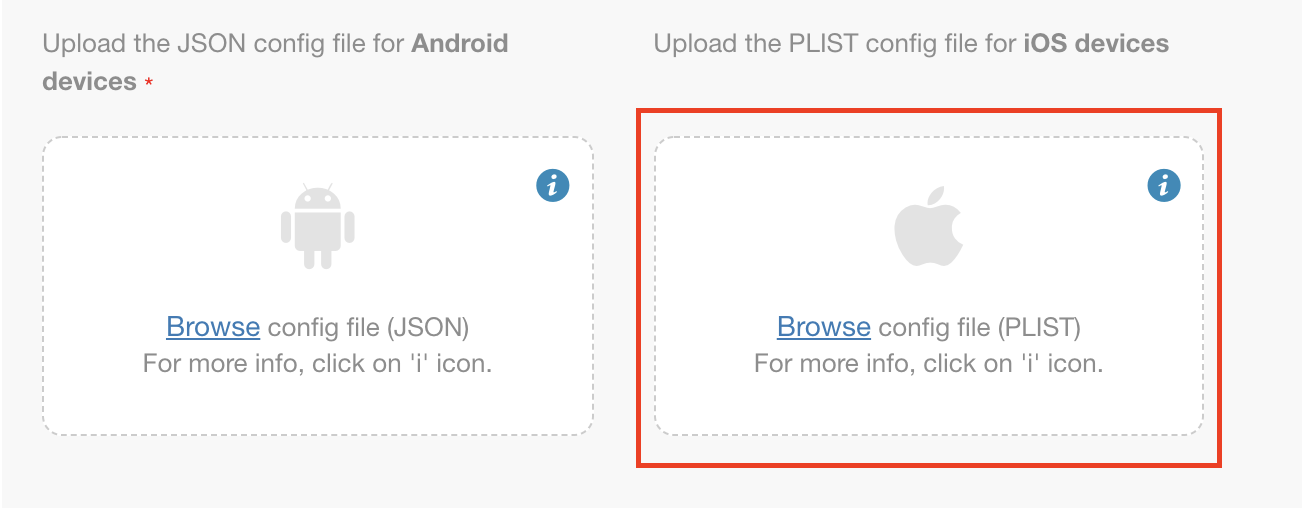
Step 19 : Now here upload the downloaded Plist File
loading...
Related Articles
- How to Create and Verify a Payment Profile in Google Play Console?
- Appy Pie: How to create an iOS Distribution Certificate?
- Appy Pie: How to create an iOS Provisioning Profile?
- Appy Pie Font Licensing: What You Need to Know
- how to get your facebook app id to integrate facebook login into your android/ios app created with appy pie?
- How to Publish Your Android App on Google Play Store: A Step-by-Step Guide?
- Appy Pie: What are the Steps to Declare Trader or Non-Trader Status on the Apple App Store?
- Appy Pie: How to add Hyperlocal feature to your app?
- How to add and edit features in Appy Pie?
Still can’t find an answer?
Send us a ticket and we will get back to you.