Knowledge Base
How to deploy Appypie live chat widget in a website created in magento?
Akash Kumar
2 min readPublished on Oct 08 2021 | Last updated on Jun 20 2022
Following are the steps to deploy Appypie live chat widget in a website created in magento:
Step 1
Open your magento website and go to your website’s backend. Click on content on the left panel.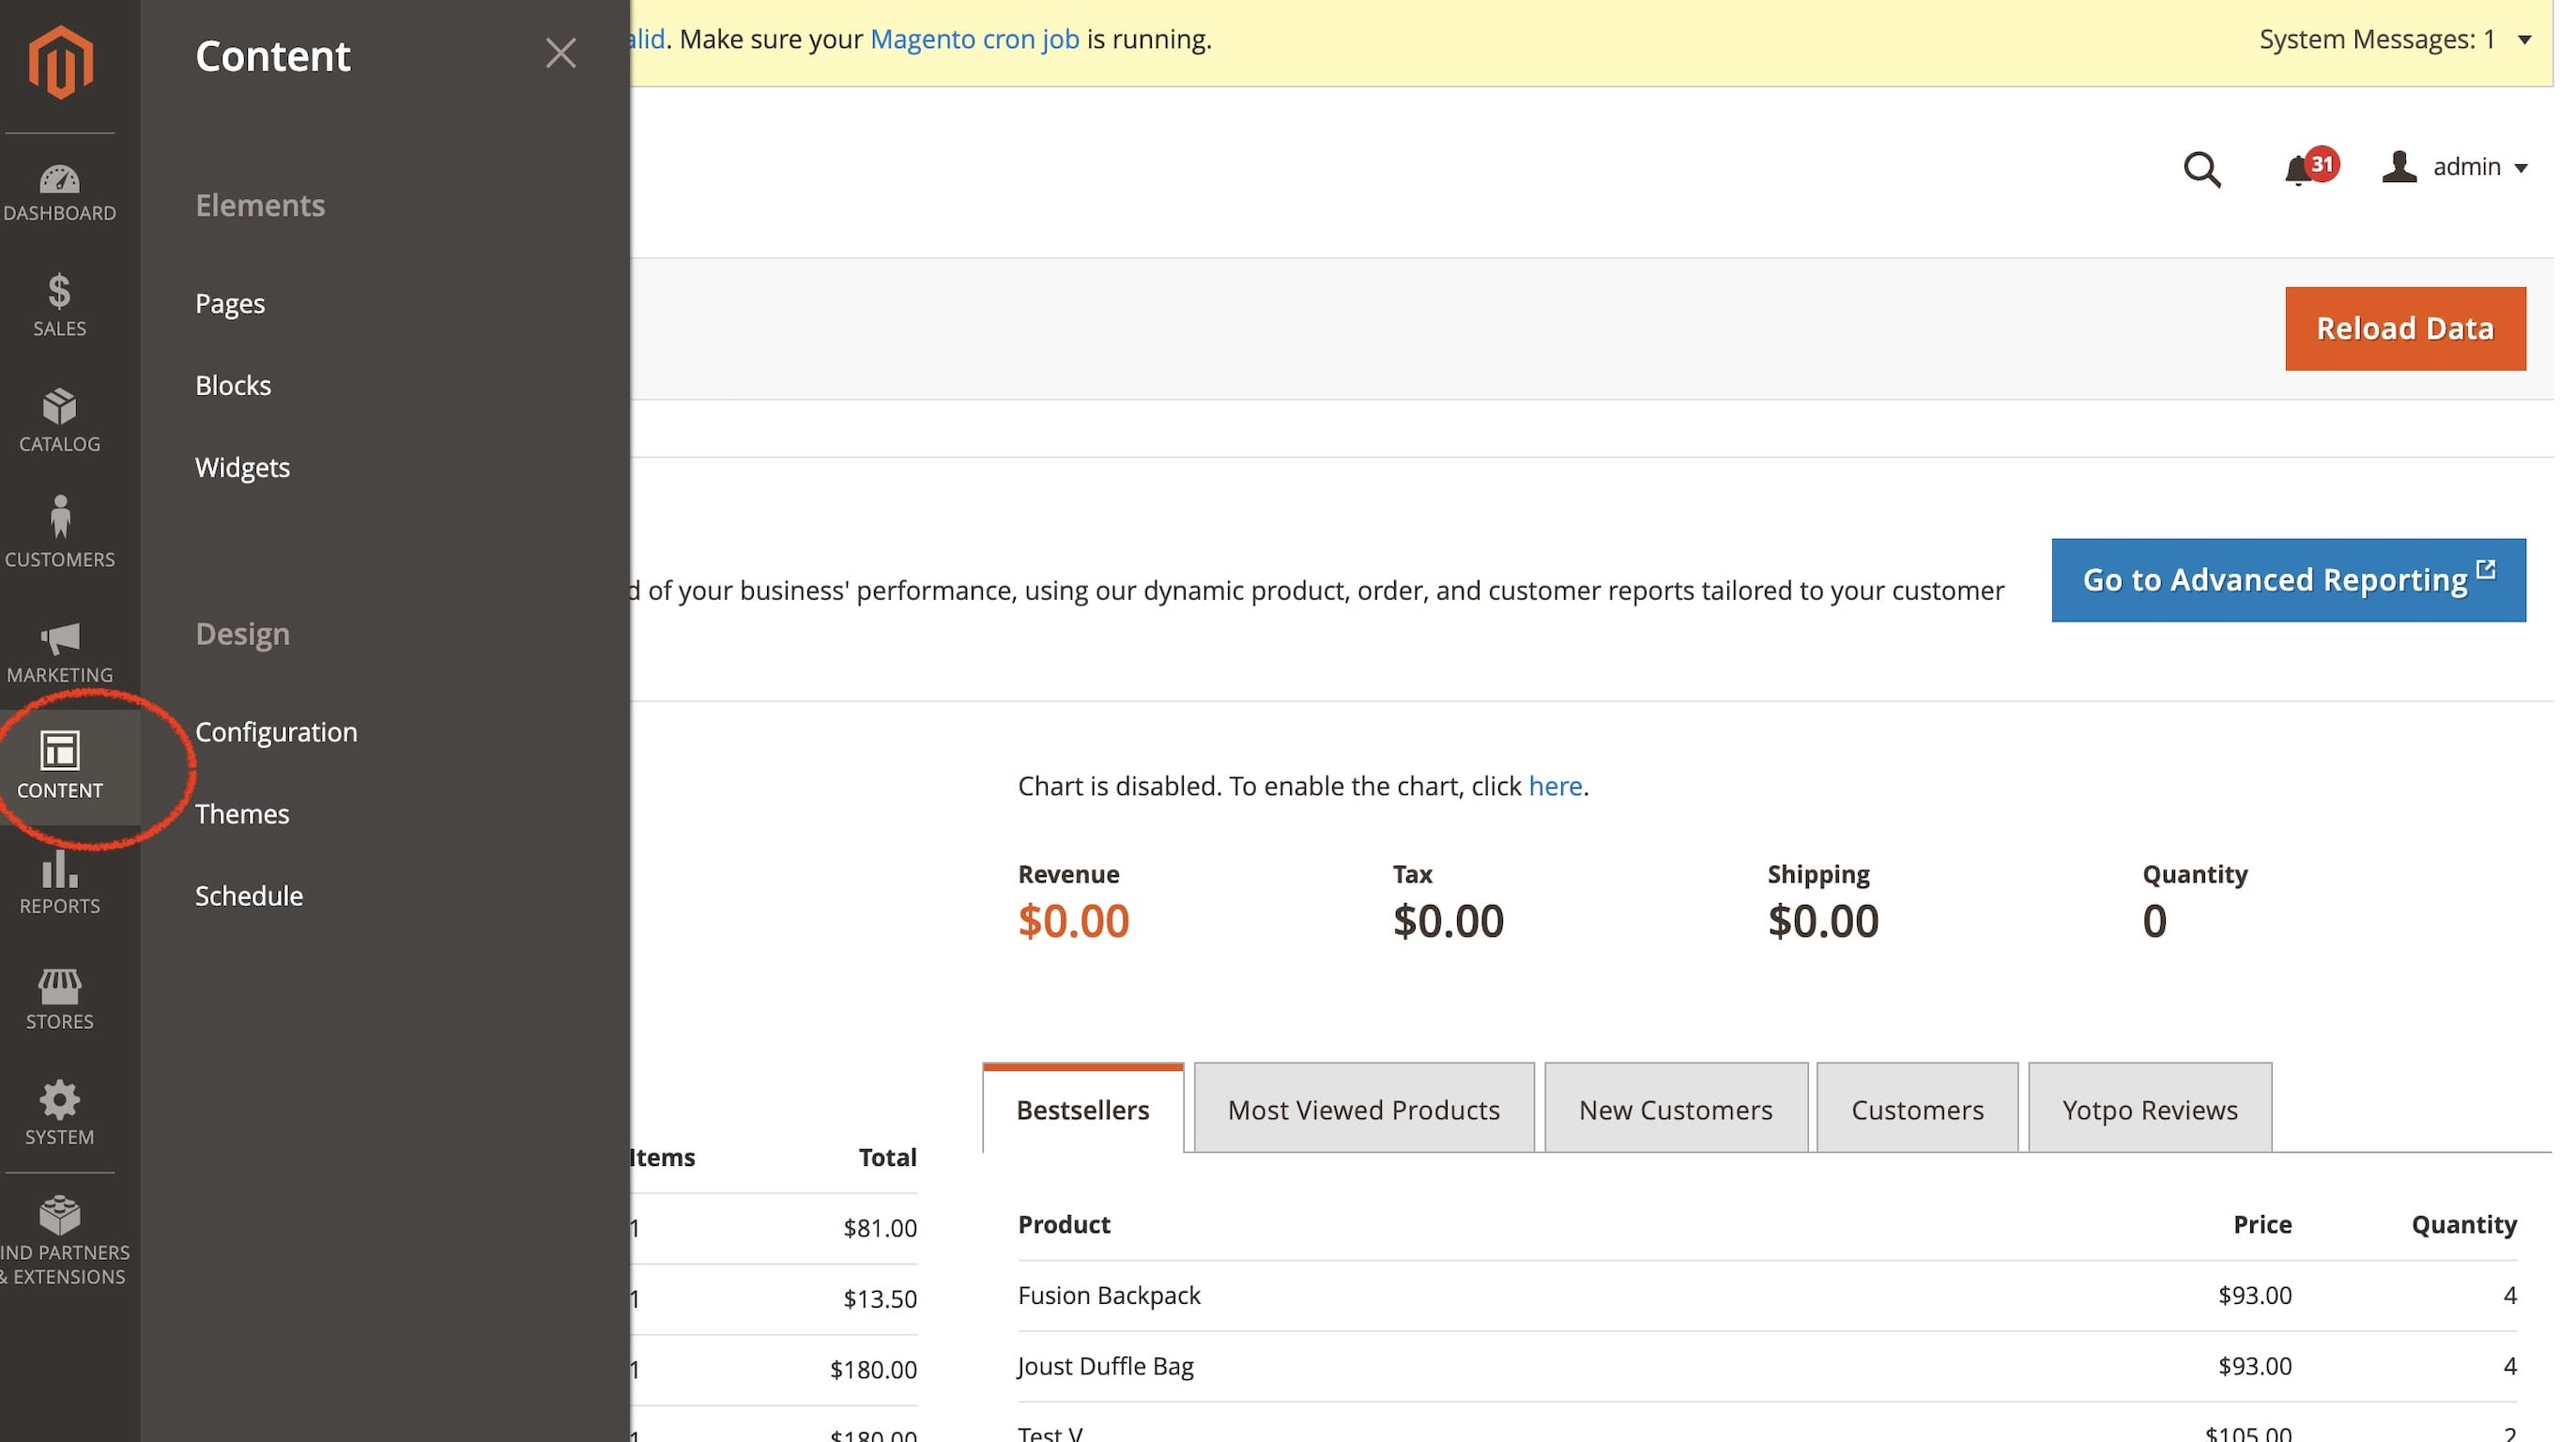
Step 2
Now click on Configuration from the design tab.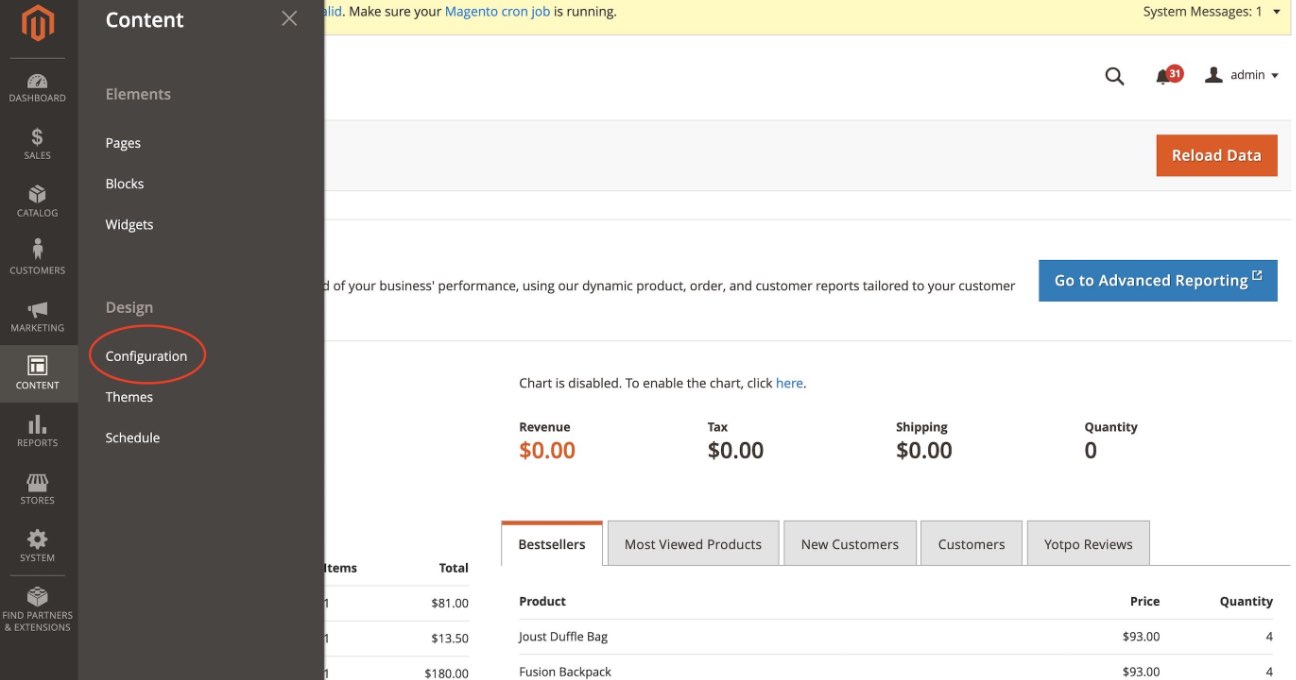
Step 3
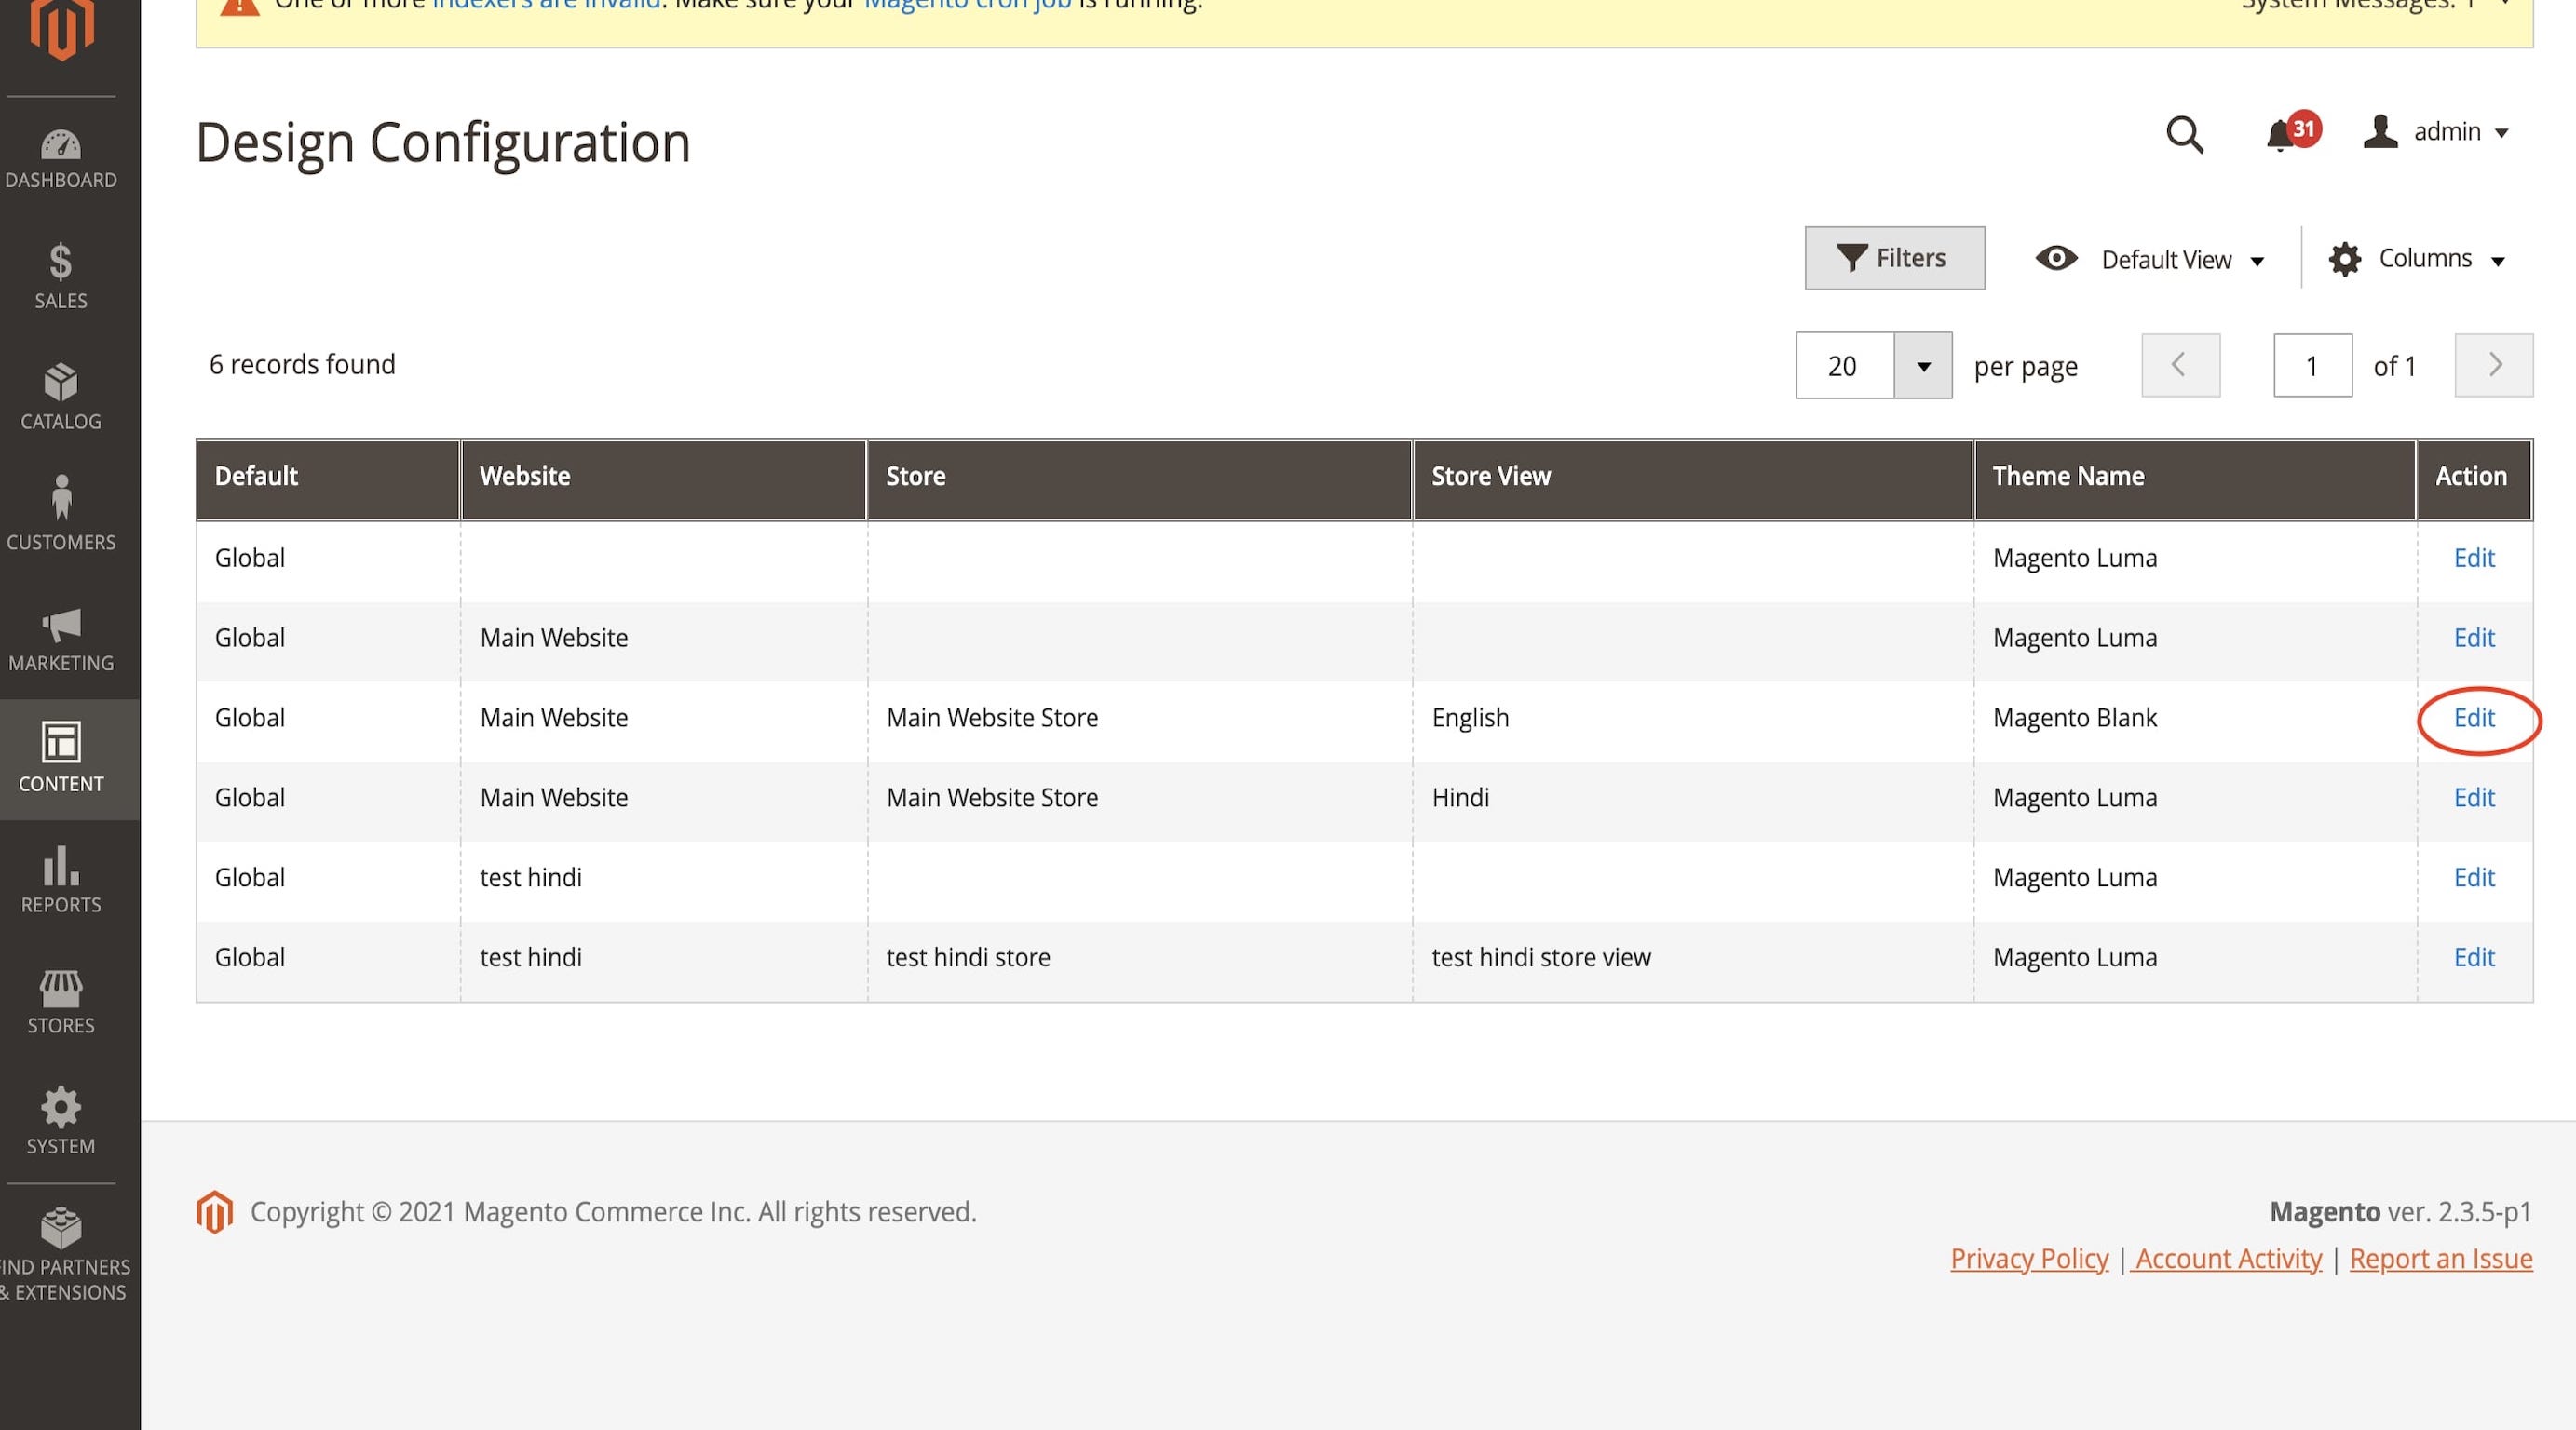
Now click on the website you want to edit.
Step 4
Scroll down to the footer section and click on it.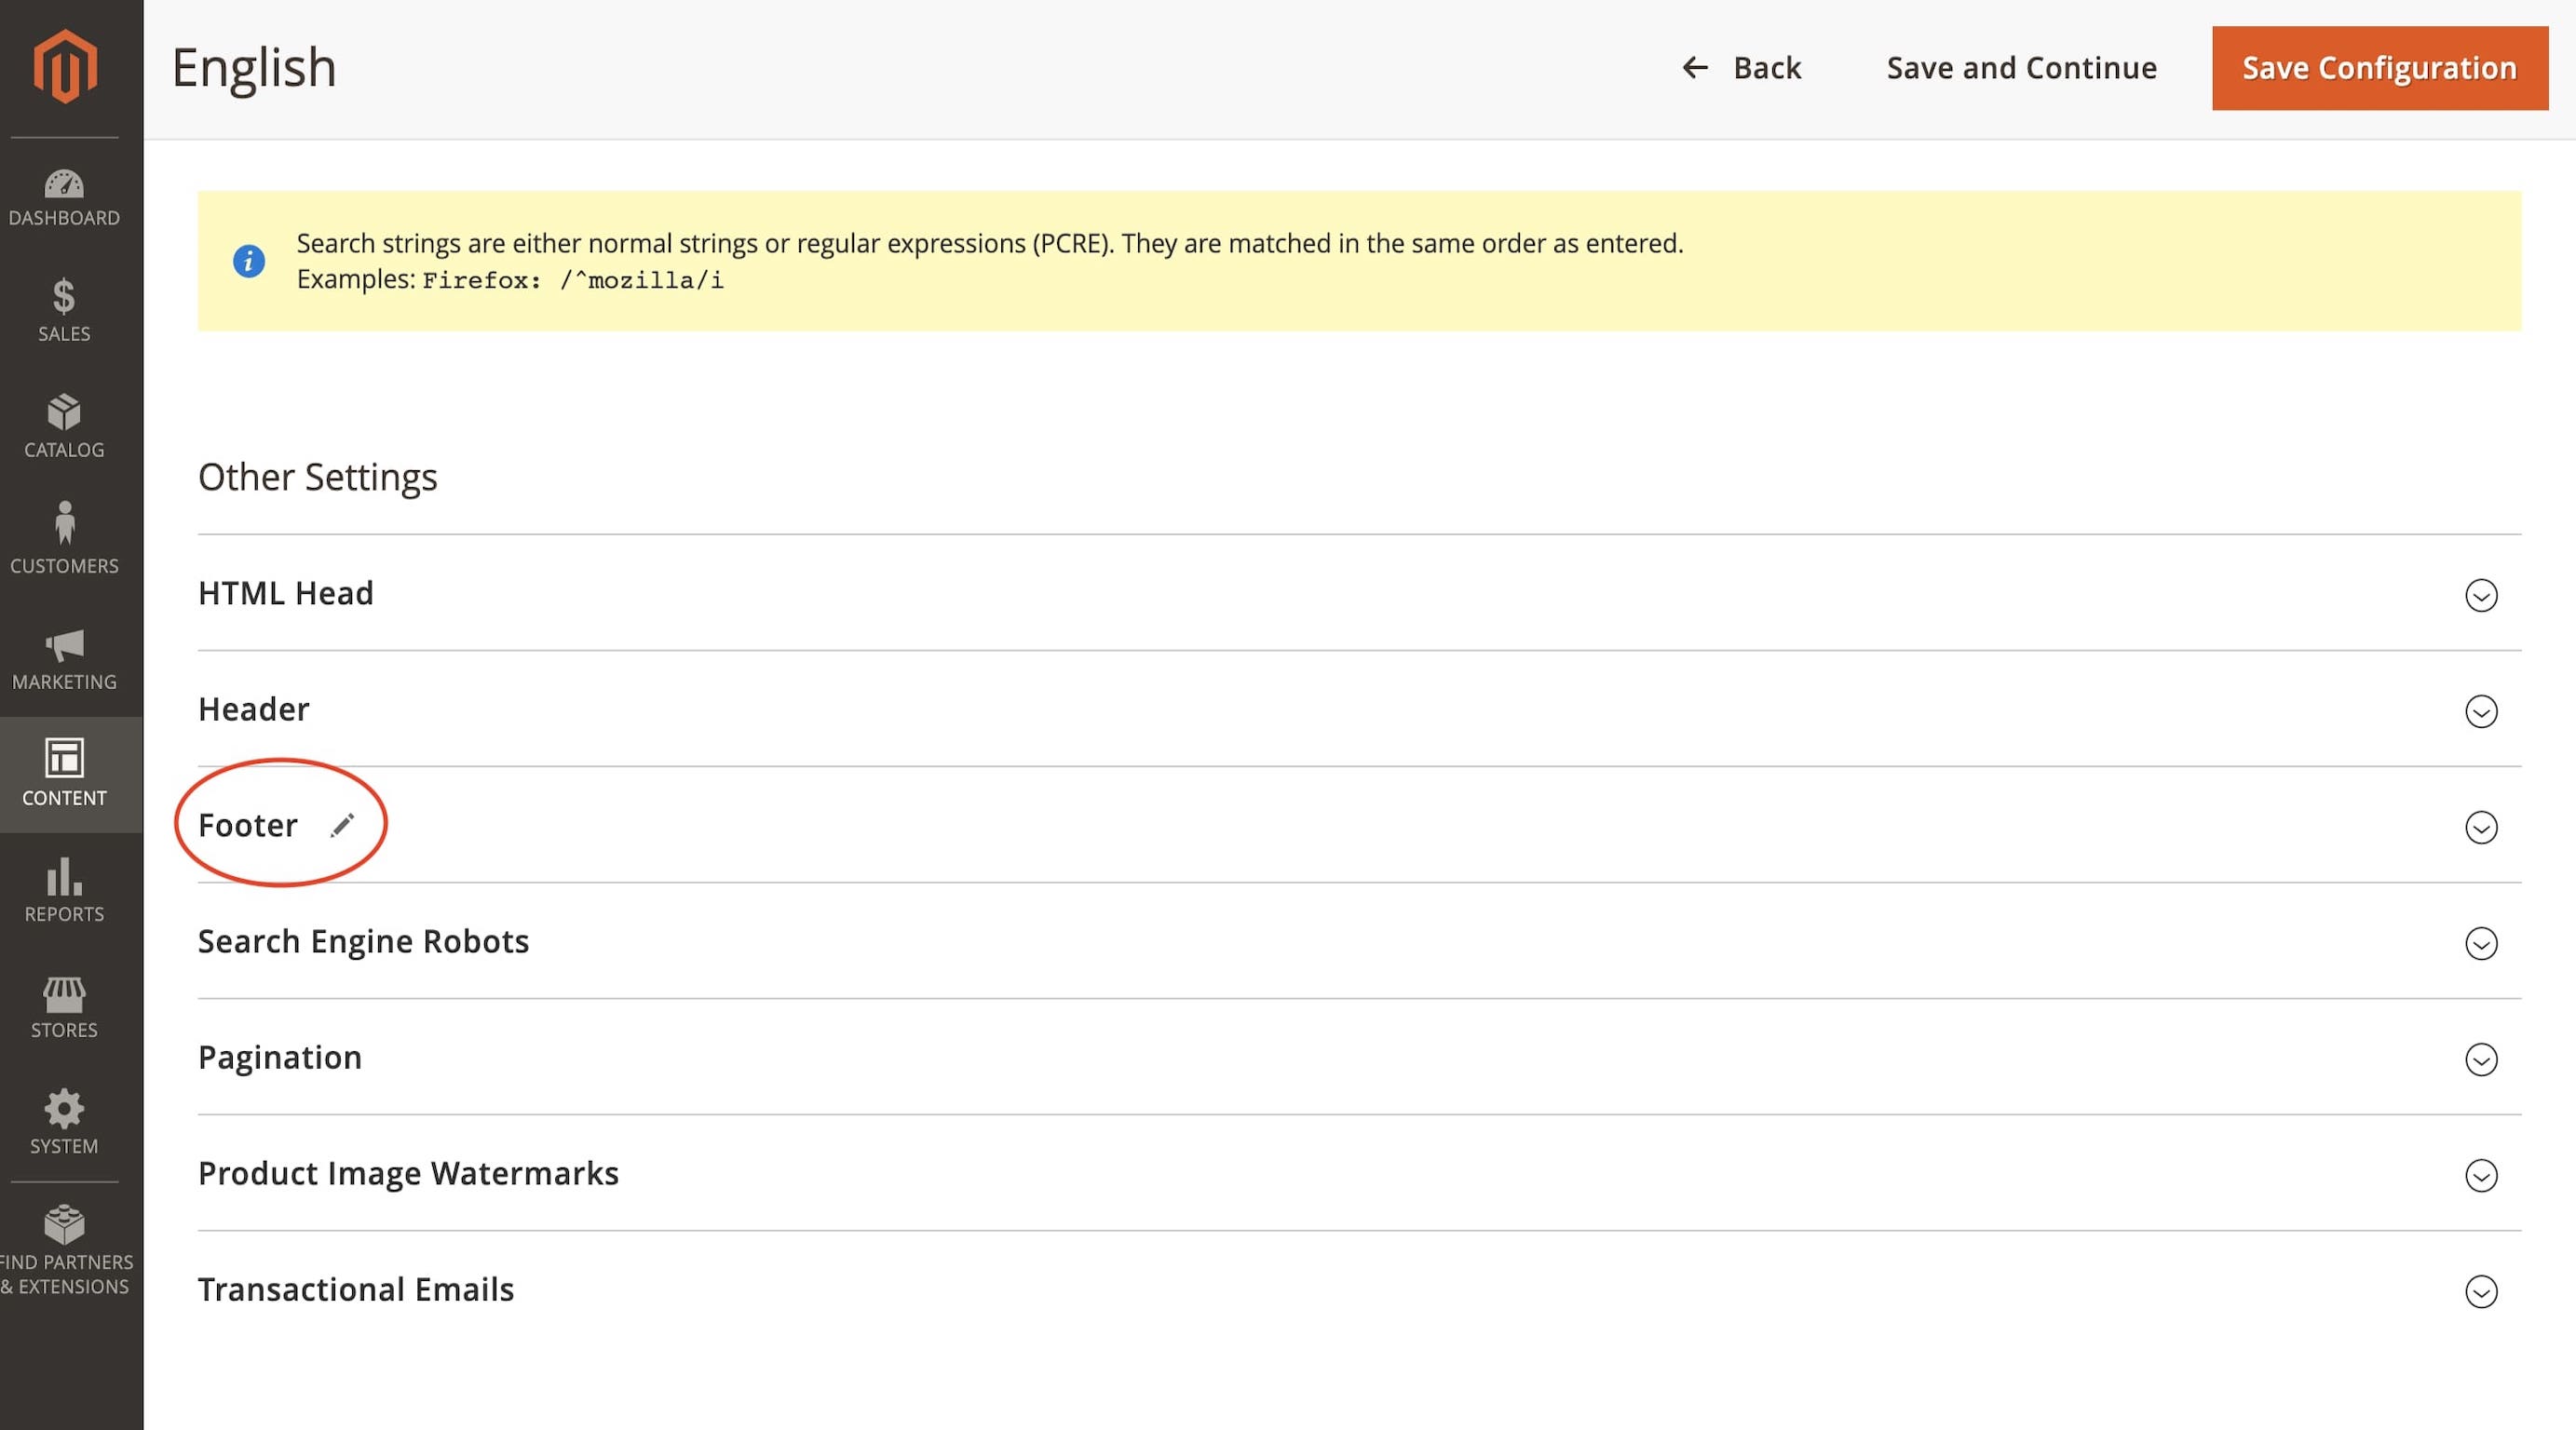
Step 5
Now log on to Appy pie Livechat section then click on the settings icon and click on install widget.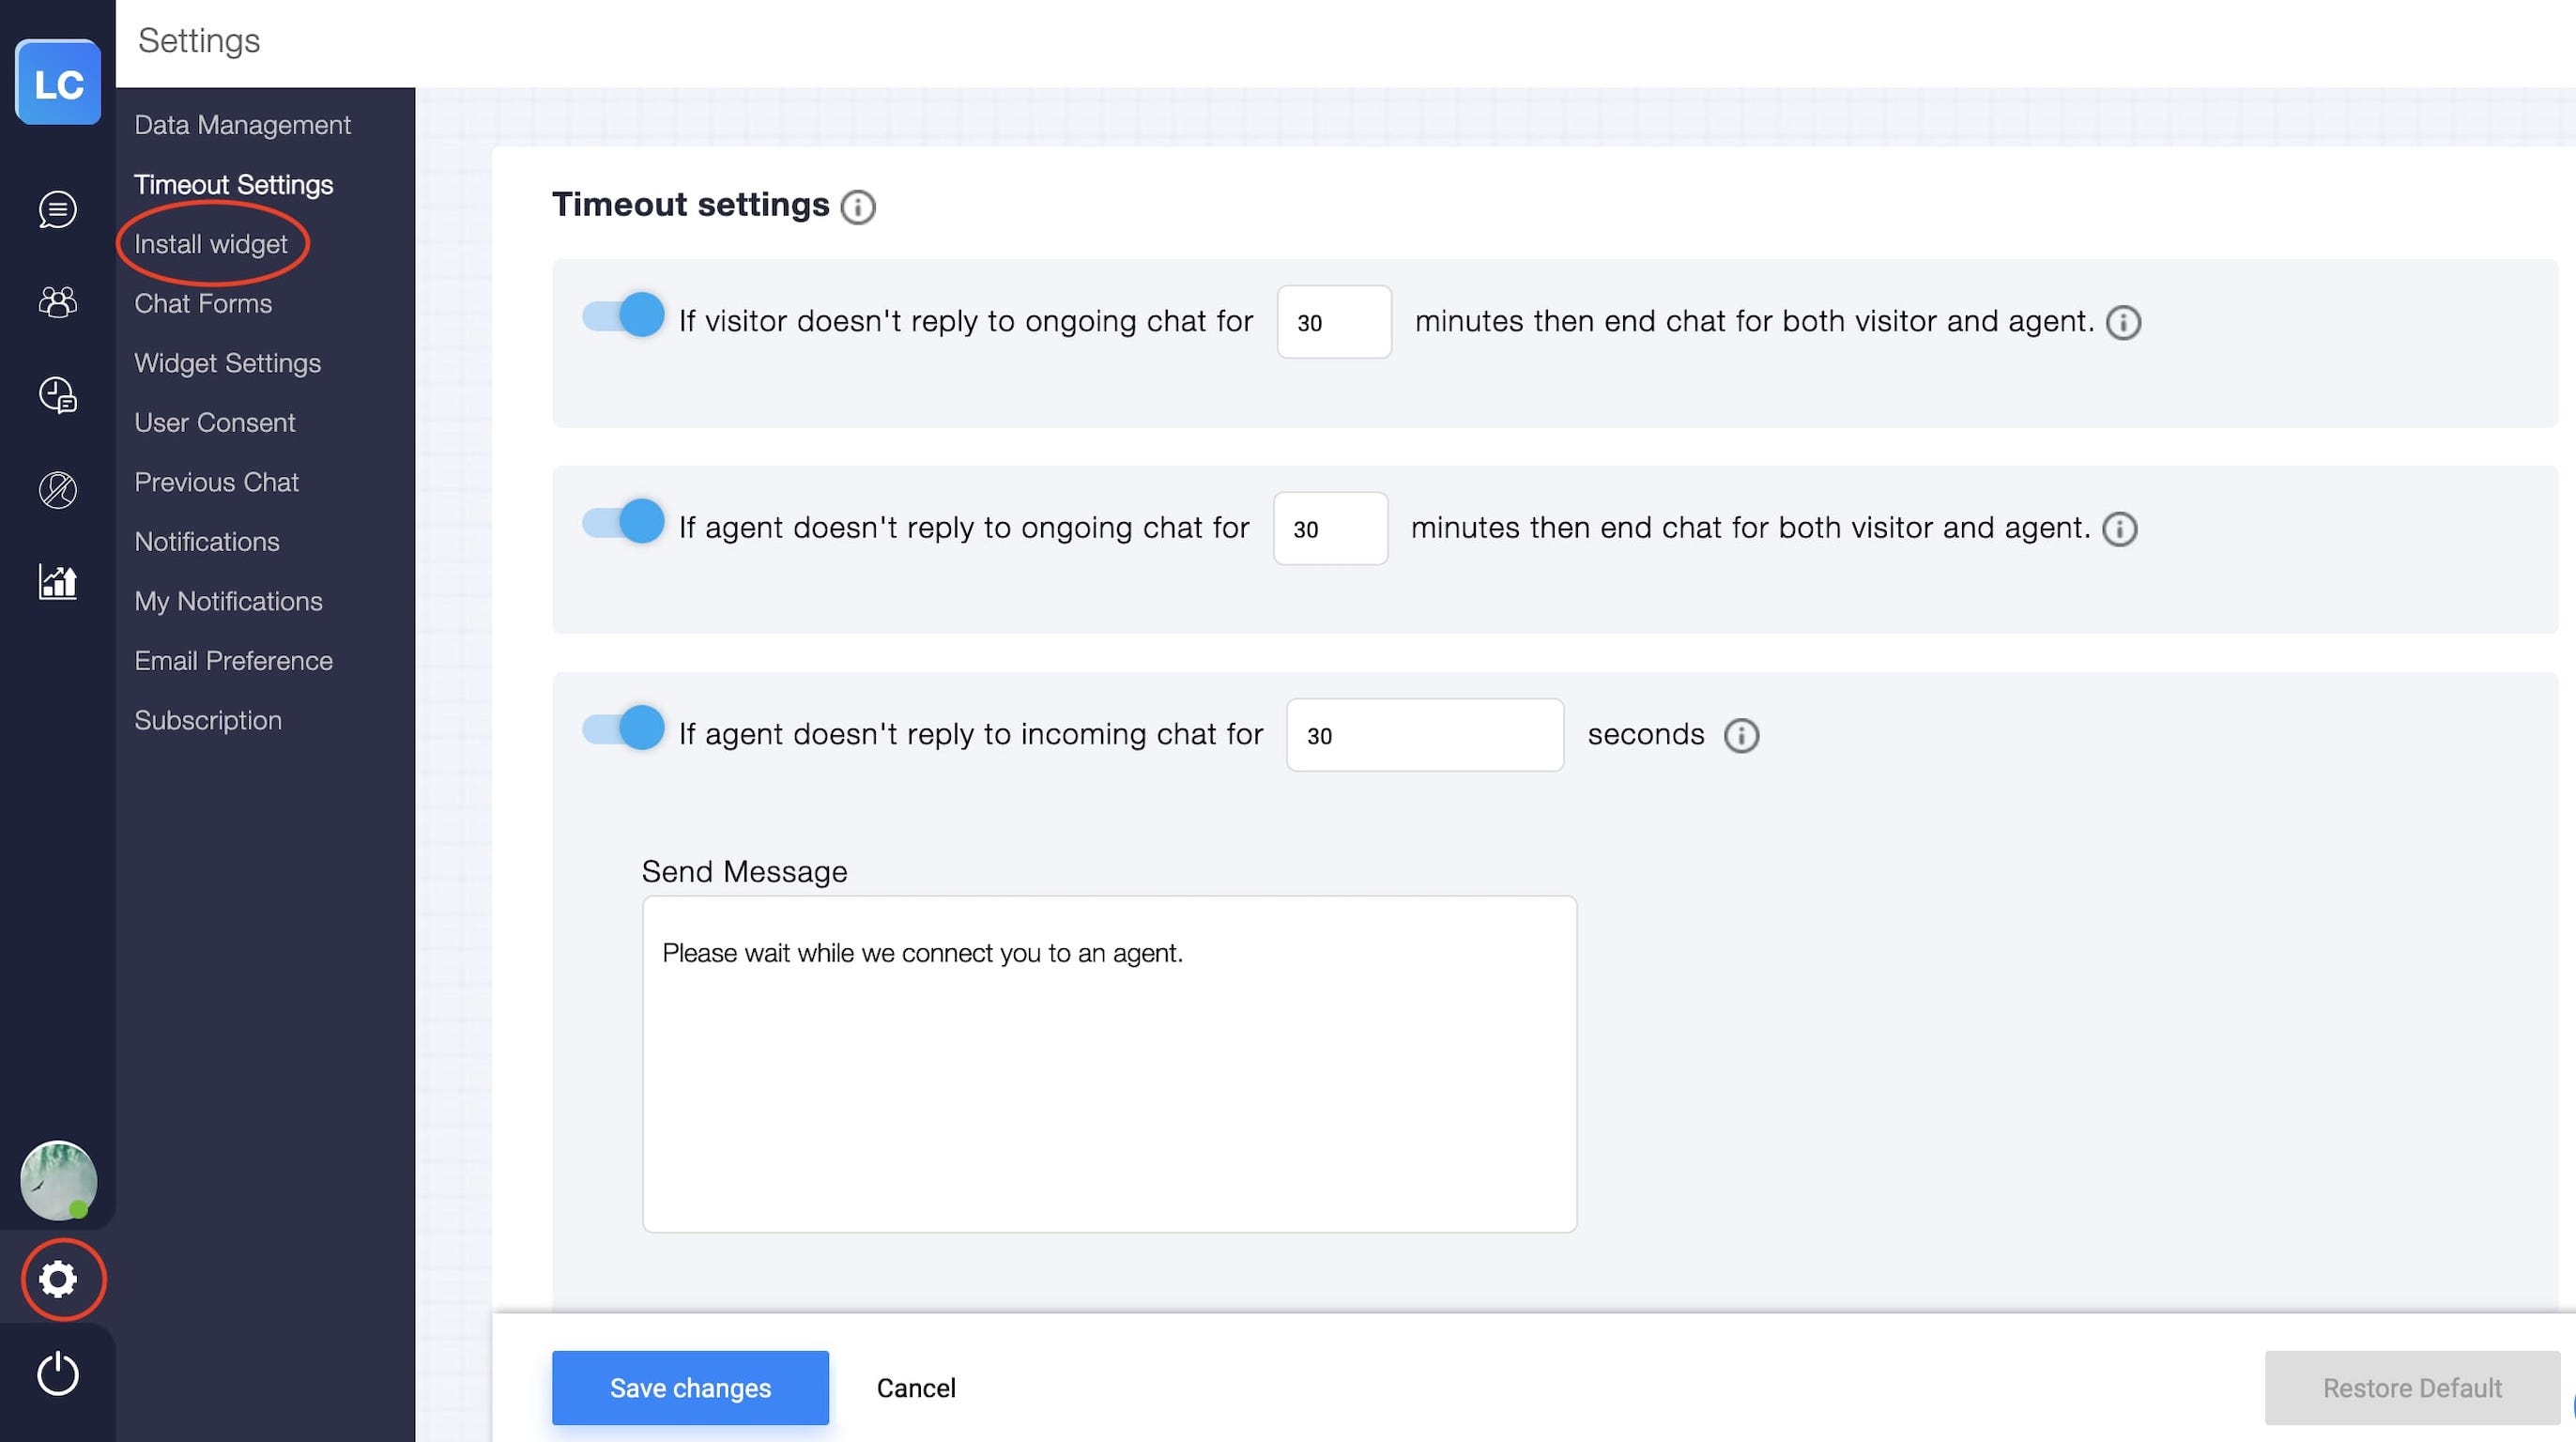
Step 6
Select On your own and Install widget in a third party in CMS.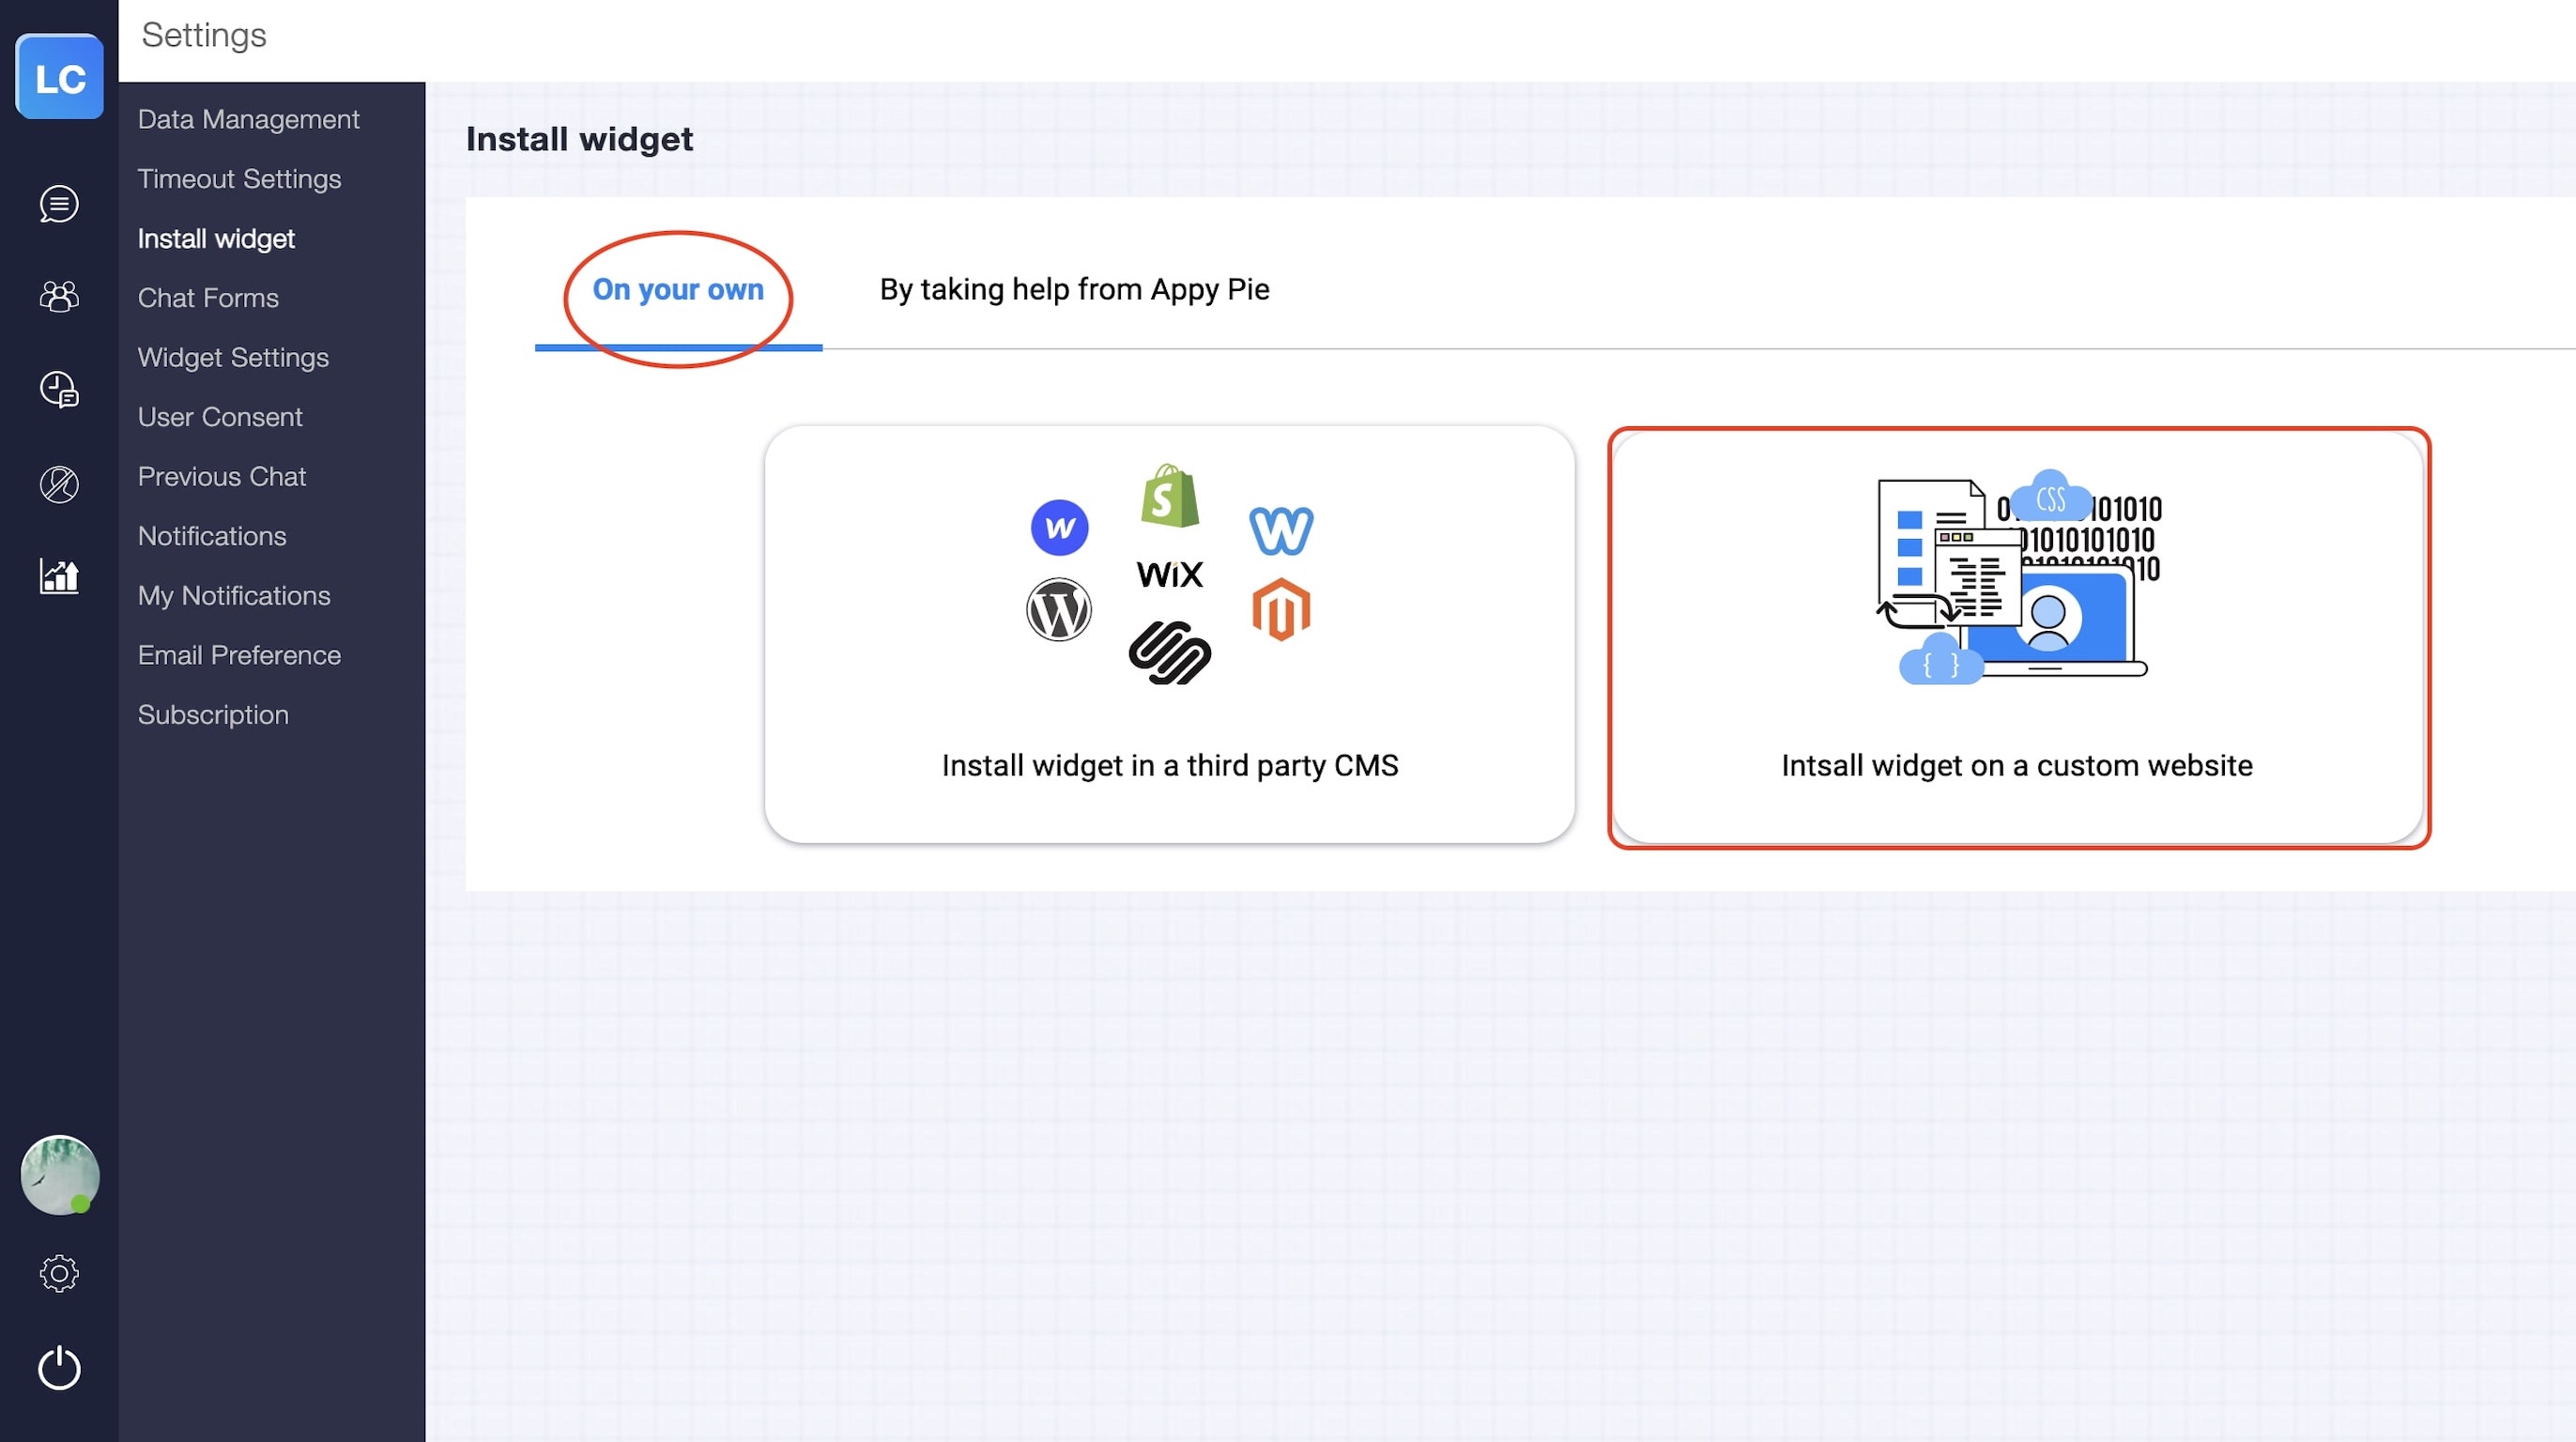
Step 7
Click on the Copy code button on your livechat’s Install widget.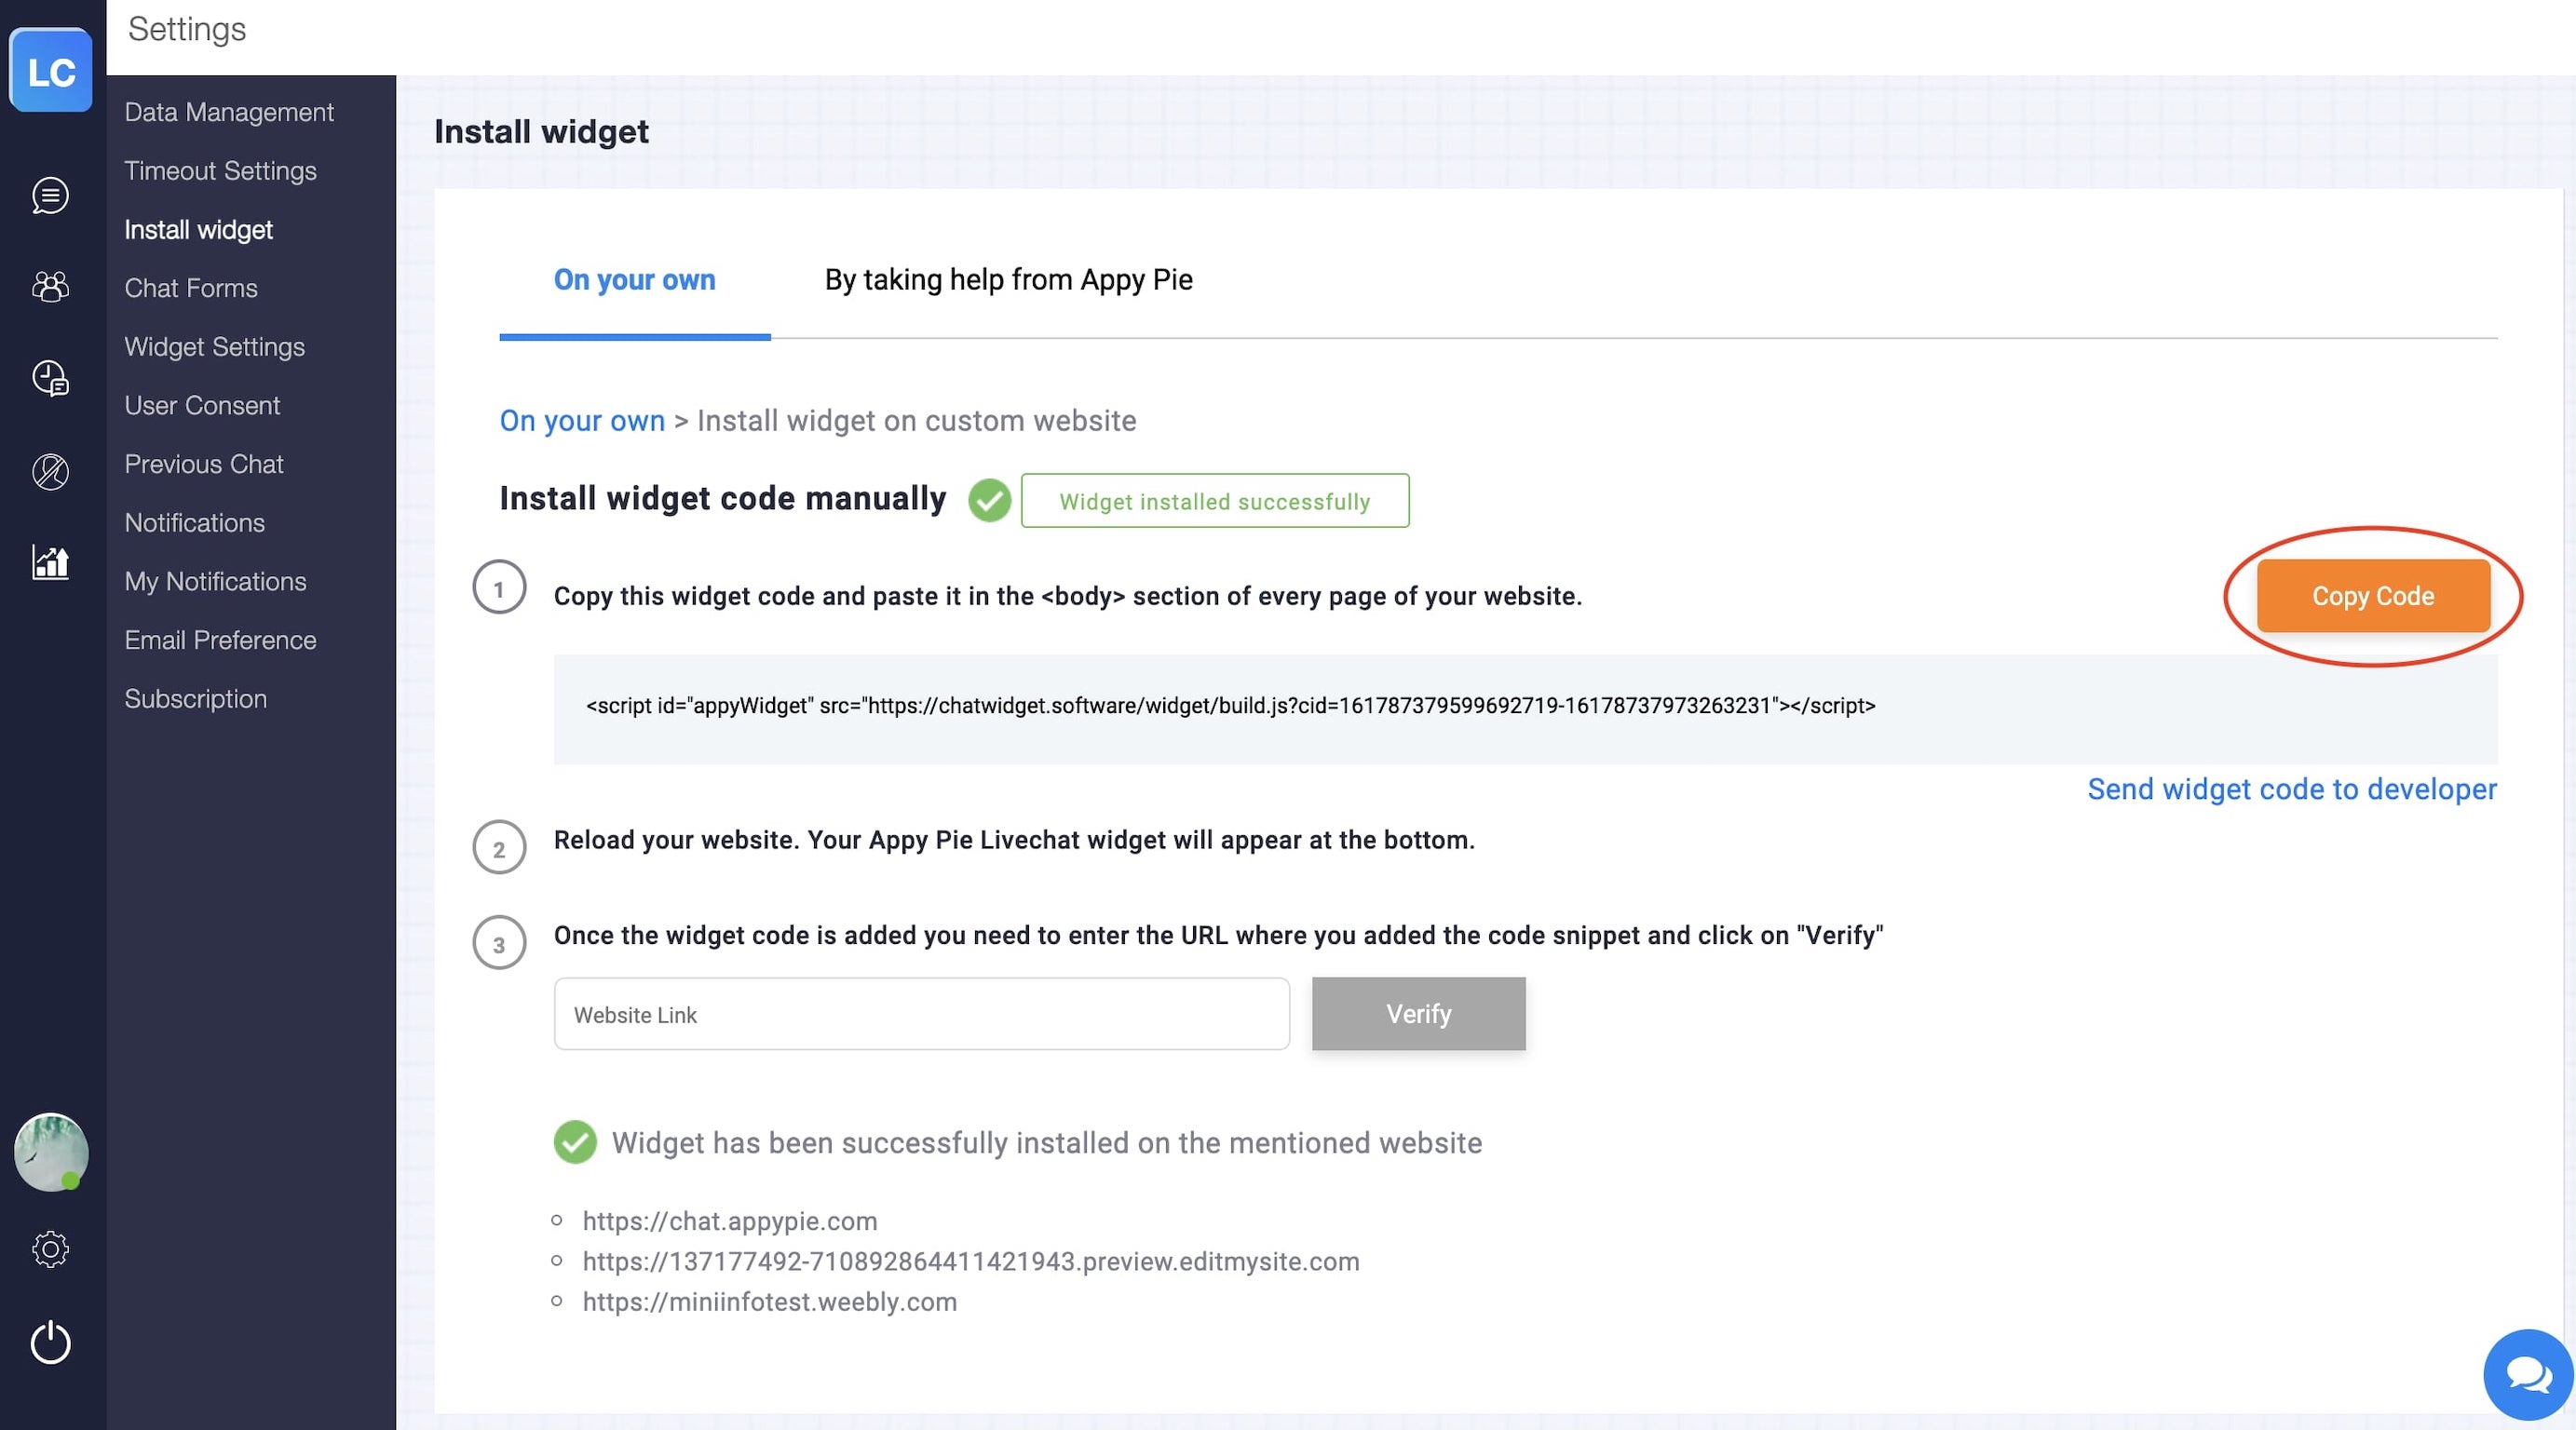
Step 8
Now go back to your magento website’s backend and navigate to the Footer section. Paste your code in the miscellaneous section and click on the save configuration button.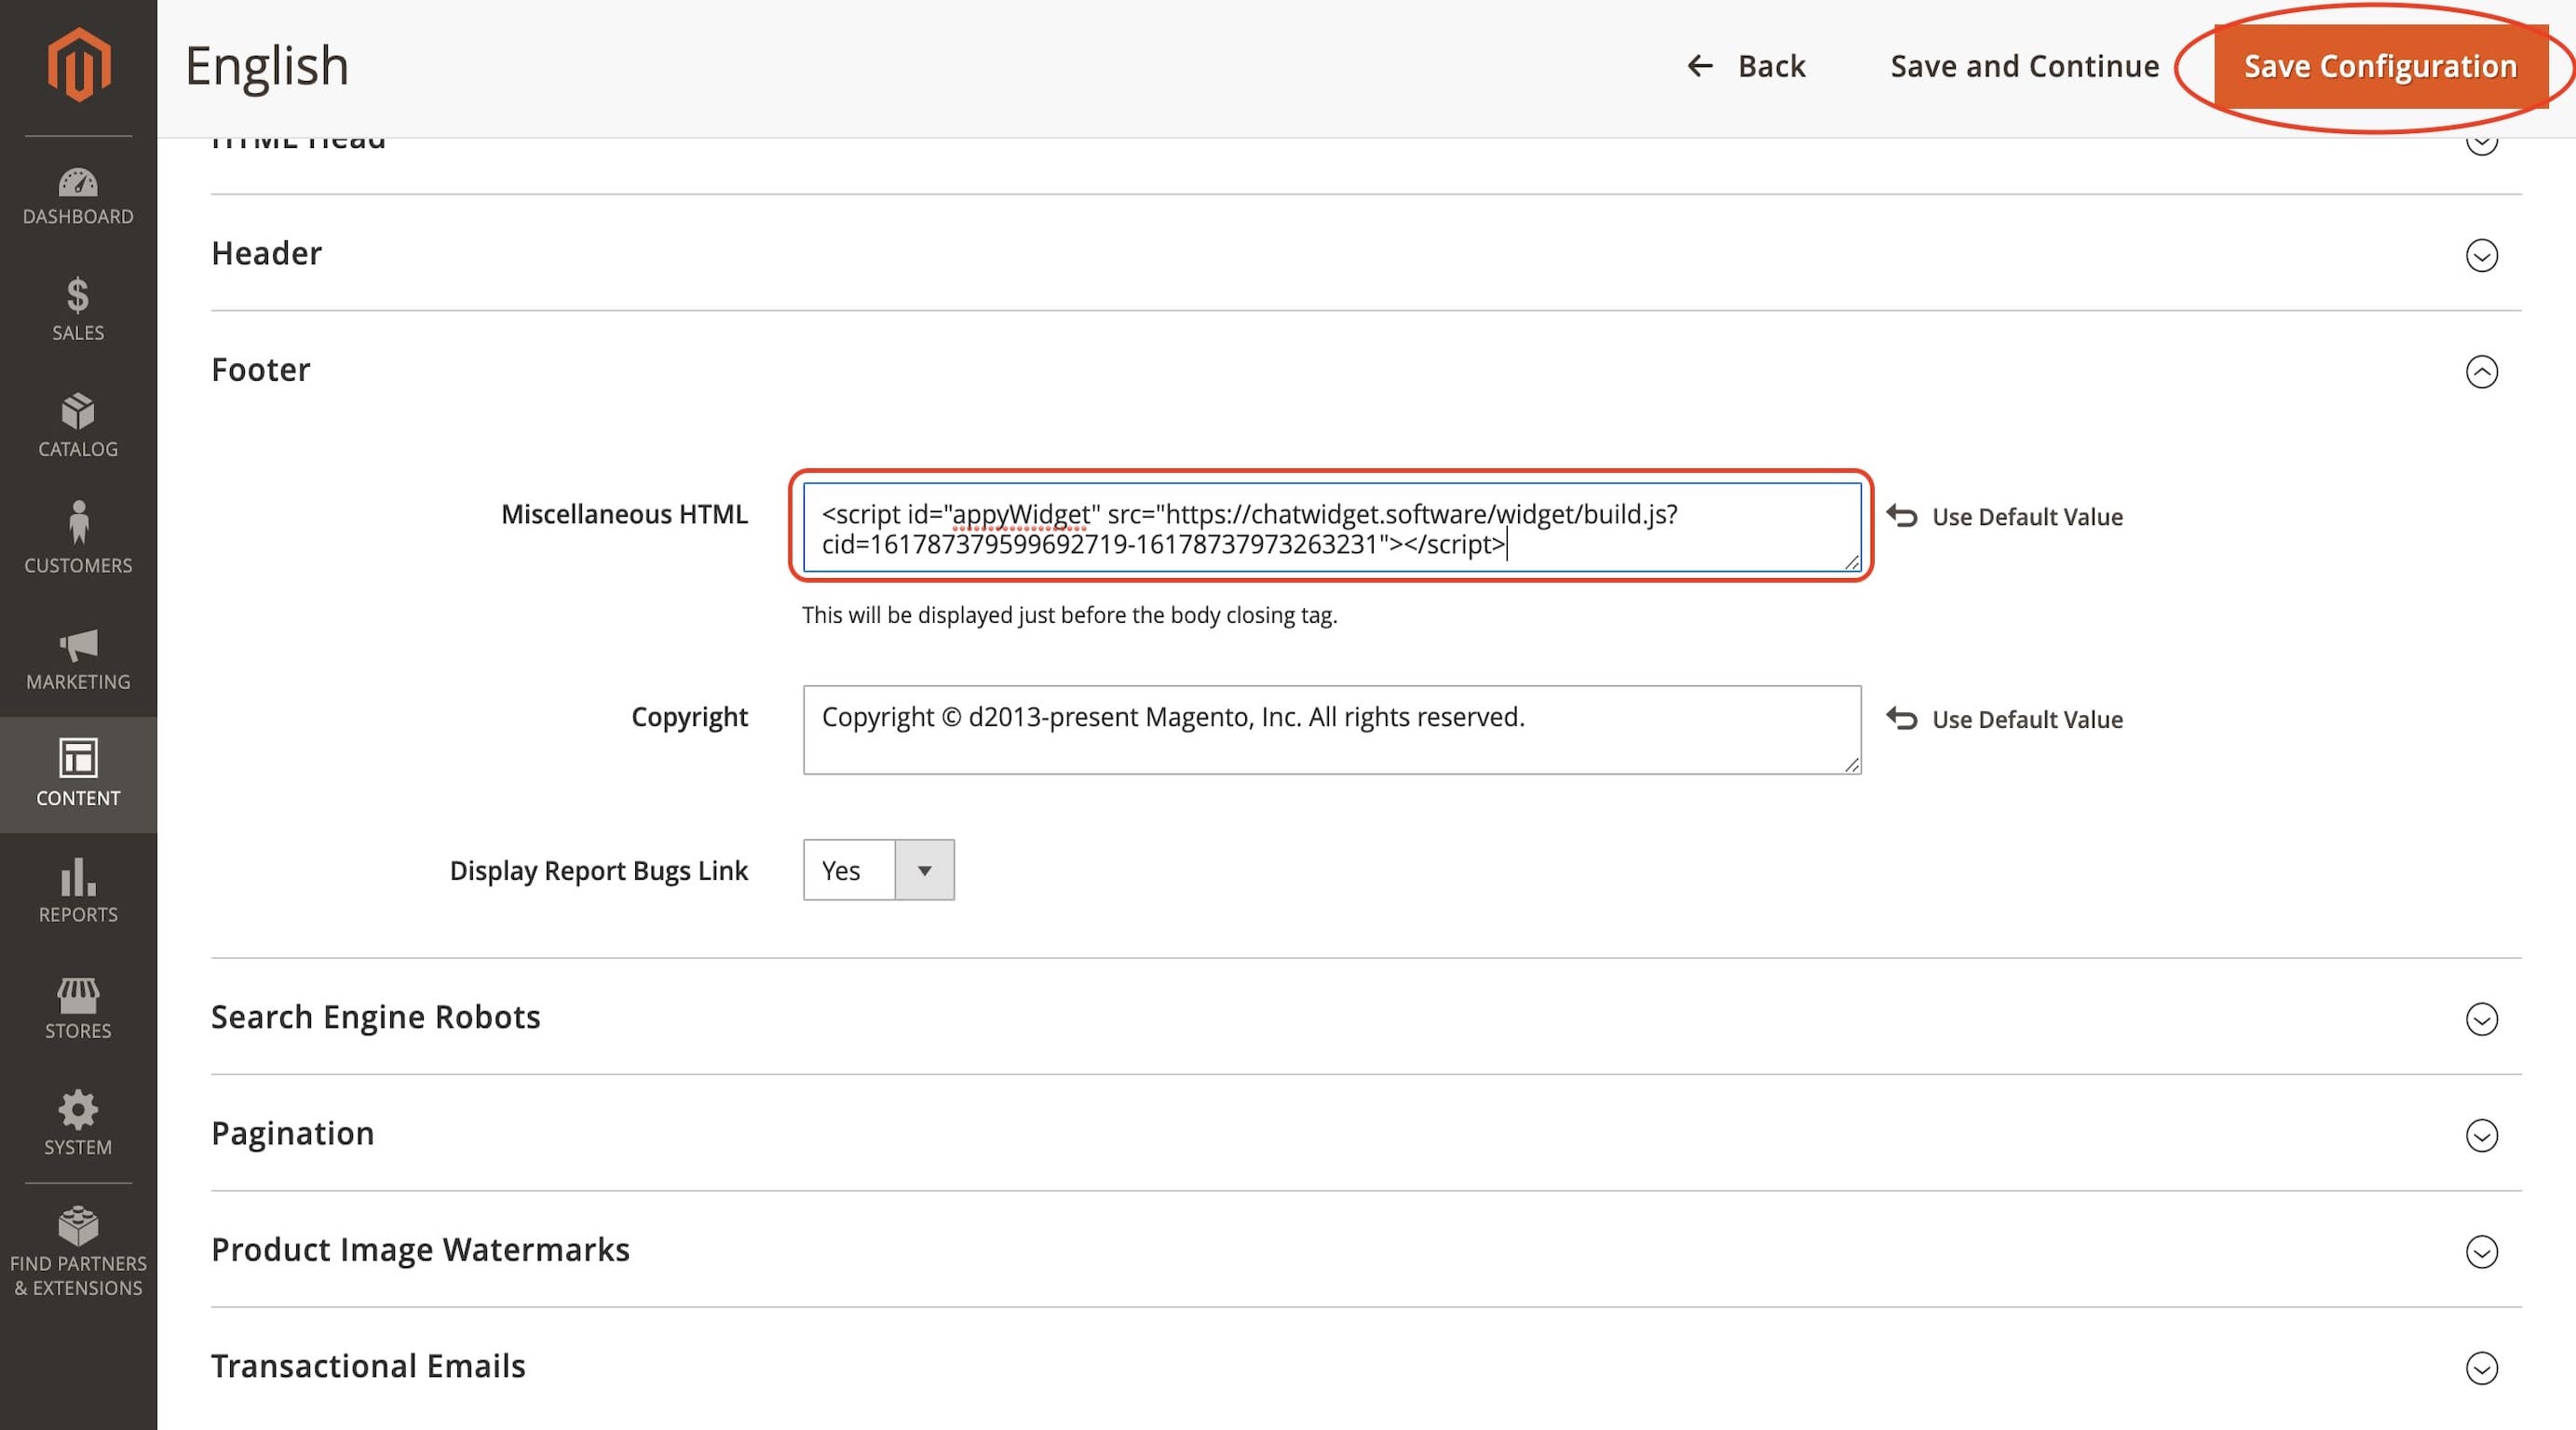
Step 9
Now go to the frontend of your website, you’ll see the live chat widget on the rightmost corner in the footer section.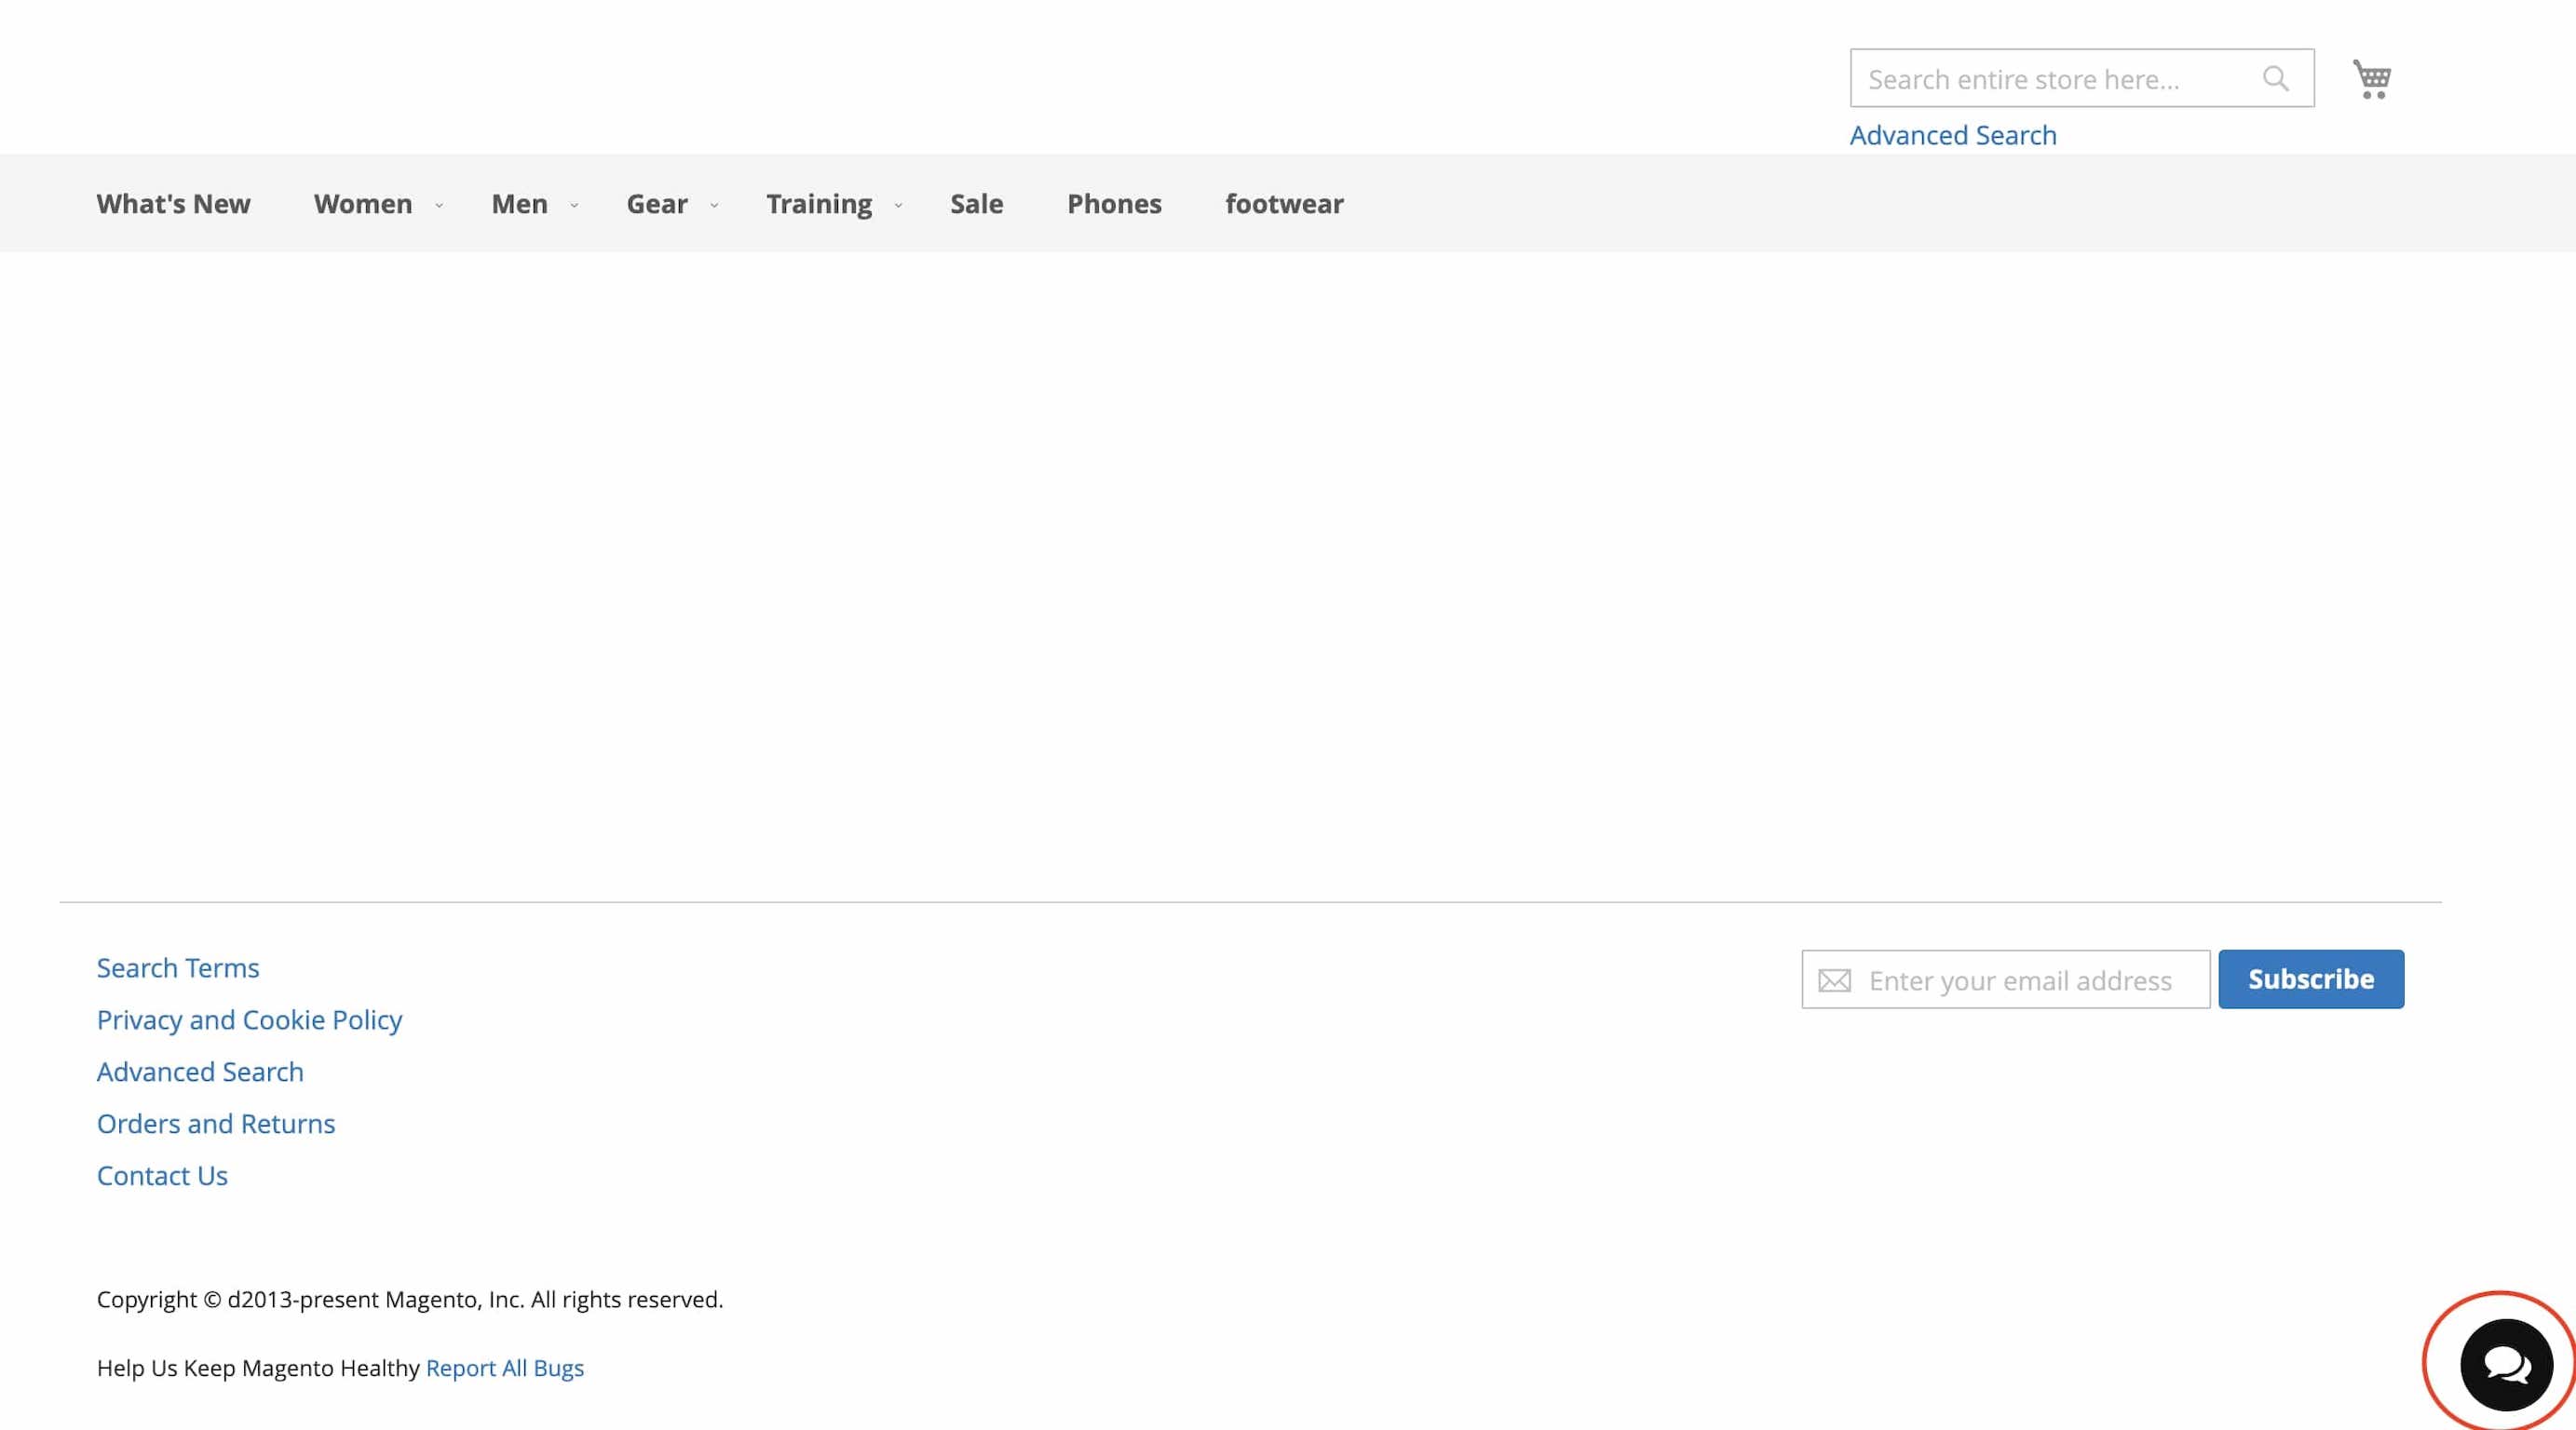
Step 10
You can now view your Appy pie Live chat on your Magento website.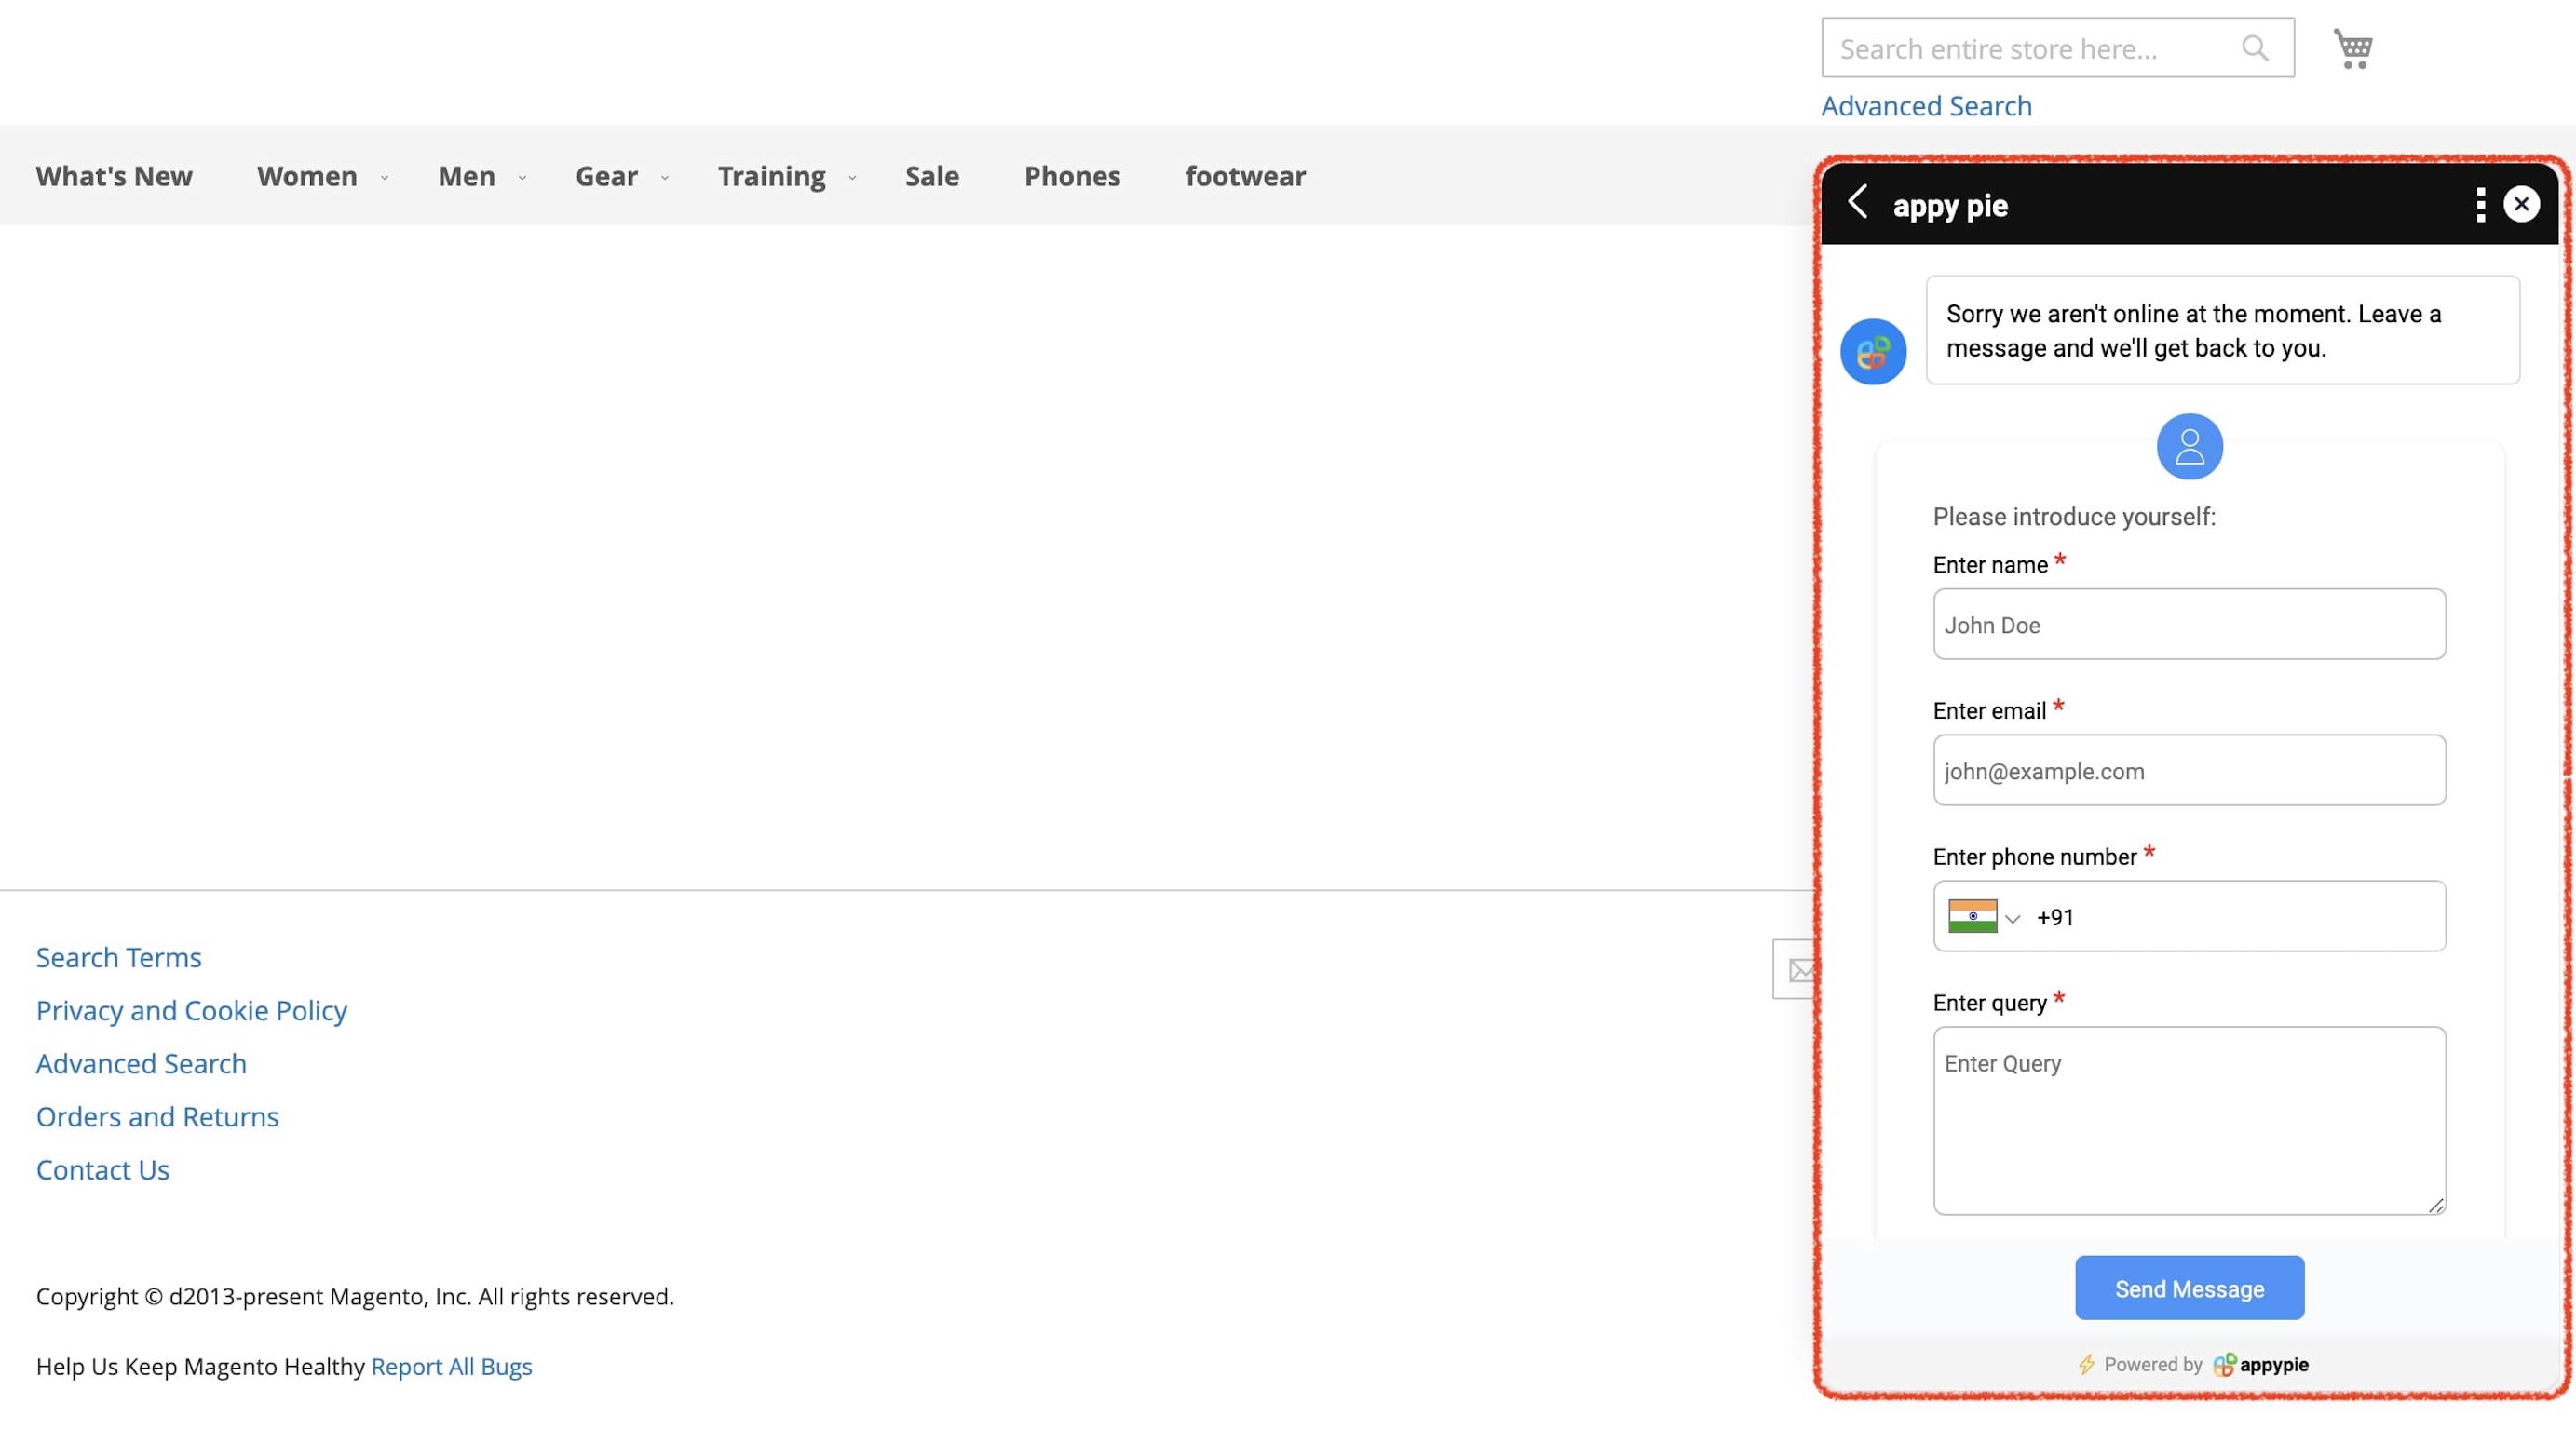
Follow our video tutorial below to know the deploy Appypie’s live chat widget in a website created in magento:
loading...
loading...
loading...
Related Articles
Still can’t find an answer?
Send us a ticket and we will get back to you.